How to master…the BBC micro:bit
The BBC's mini-puter is finally out in the wild – here's how to turn its many skills into amazing DIY gadgets...
Making gadgets is no longer just for super-nerds. And to prove that we’re entering a golden age of tinkering, the BBC last week started sending its micro:bit computers to one million lucky UK students.
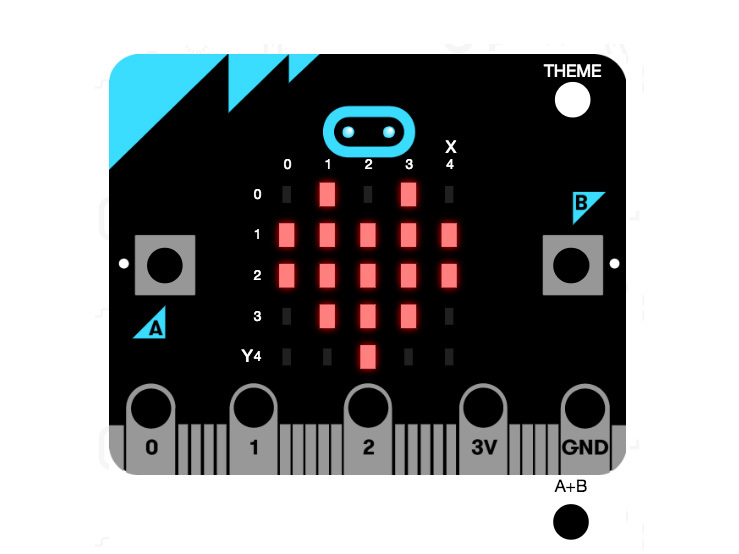
Co-developed by Microsoft, ARM and Samsung, the micro:bit has a bunch of built-in sensors, including an accelerometer and compass, plus a matrix of 25 individually programmable LEDS. Put this together with Microsoft’s Touch Develop editor, and you have enough tech to hack NASA (possibly).
Luckily, we’ve put together this list of nine fun-but-legal micro:bit projects to try instead, ranging from simple to satisfyingly tricky. And if you’re not one of those lucky year seven students, it’s still well worth a read – the micro:bit will be available to buy later this year from a BBC non-profit organisation.
We’ll let you know as soon as that happens – until then, it’s time to get planning and making…
Best starter projects: 1) Compass
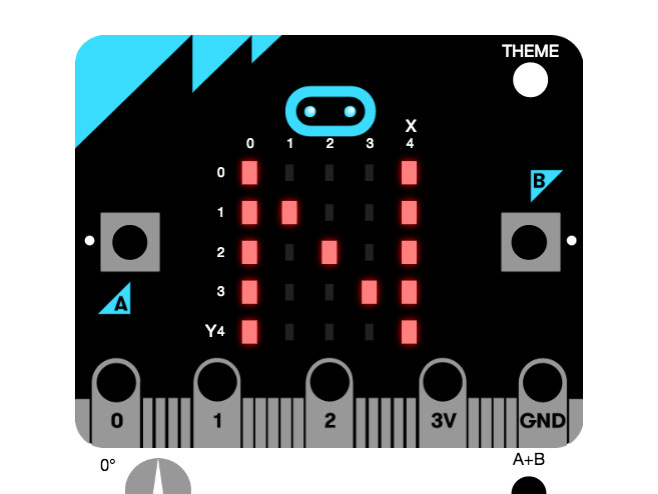
If the question “Dad, how do digital compasses work?” has seen you attempt to change the subject onto whether cereal is a type of soup, this project’s for you. The micro:bit has a built-in magnetometer – all you need to get it to display its direction is a little code, the contents of which will handily introduce you both to the handy concept of conditional statements.
2) Game counter
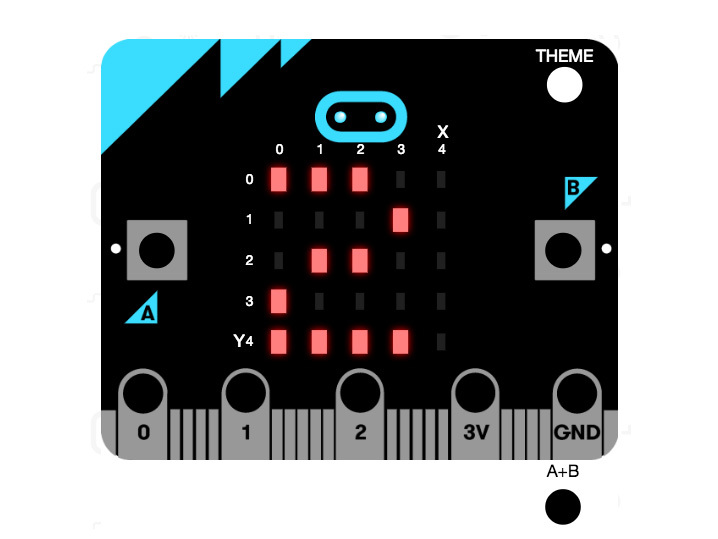
In the micro:bit age there’s no excuse for keeping score with an abacus, so upgrade your table football with this easy project. The initial code lets you add numbers to the micro:bit’s LED display via button presses. But from there you learn how to add ‘shake-to-reset’ functionality, all of which will come in handy when you build your own table football game (see next page).
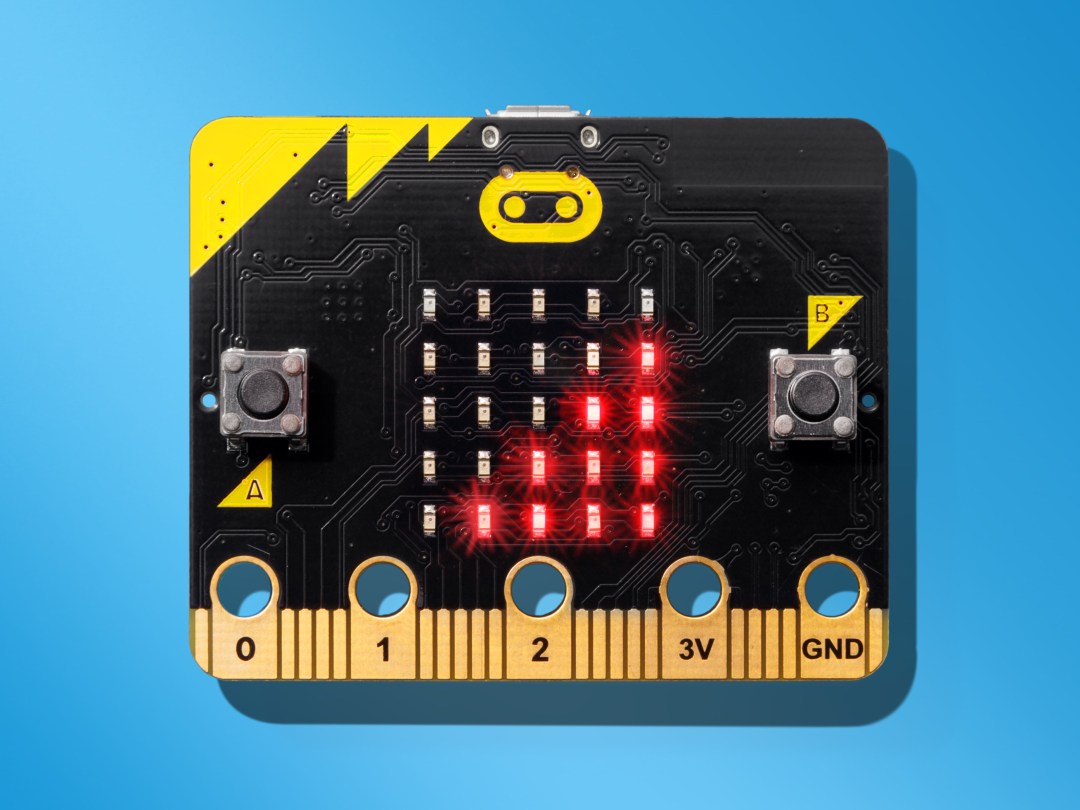
3) Flashing heart
As early Spectrum coders discovered, working with limited hardware is a useful lesson. The micro:bit might only have 25 LEDs, but each can be programmed separately. This project displays a flashing heart which, while disappointing as Valentine’s cards go, could spark ideas for visual feedback using other recognisable symbols (no, not that one, Kevin).
Learn how to code a flashing heart
NEXT PAGE: INTERMEDIATE
– Make a micro:bit air guitar
– Plus: the best micro:bit games to make
Intermediate: 1) Micro:bit air guitar
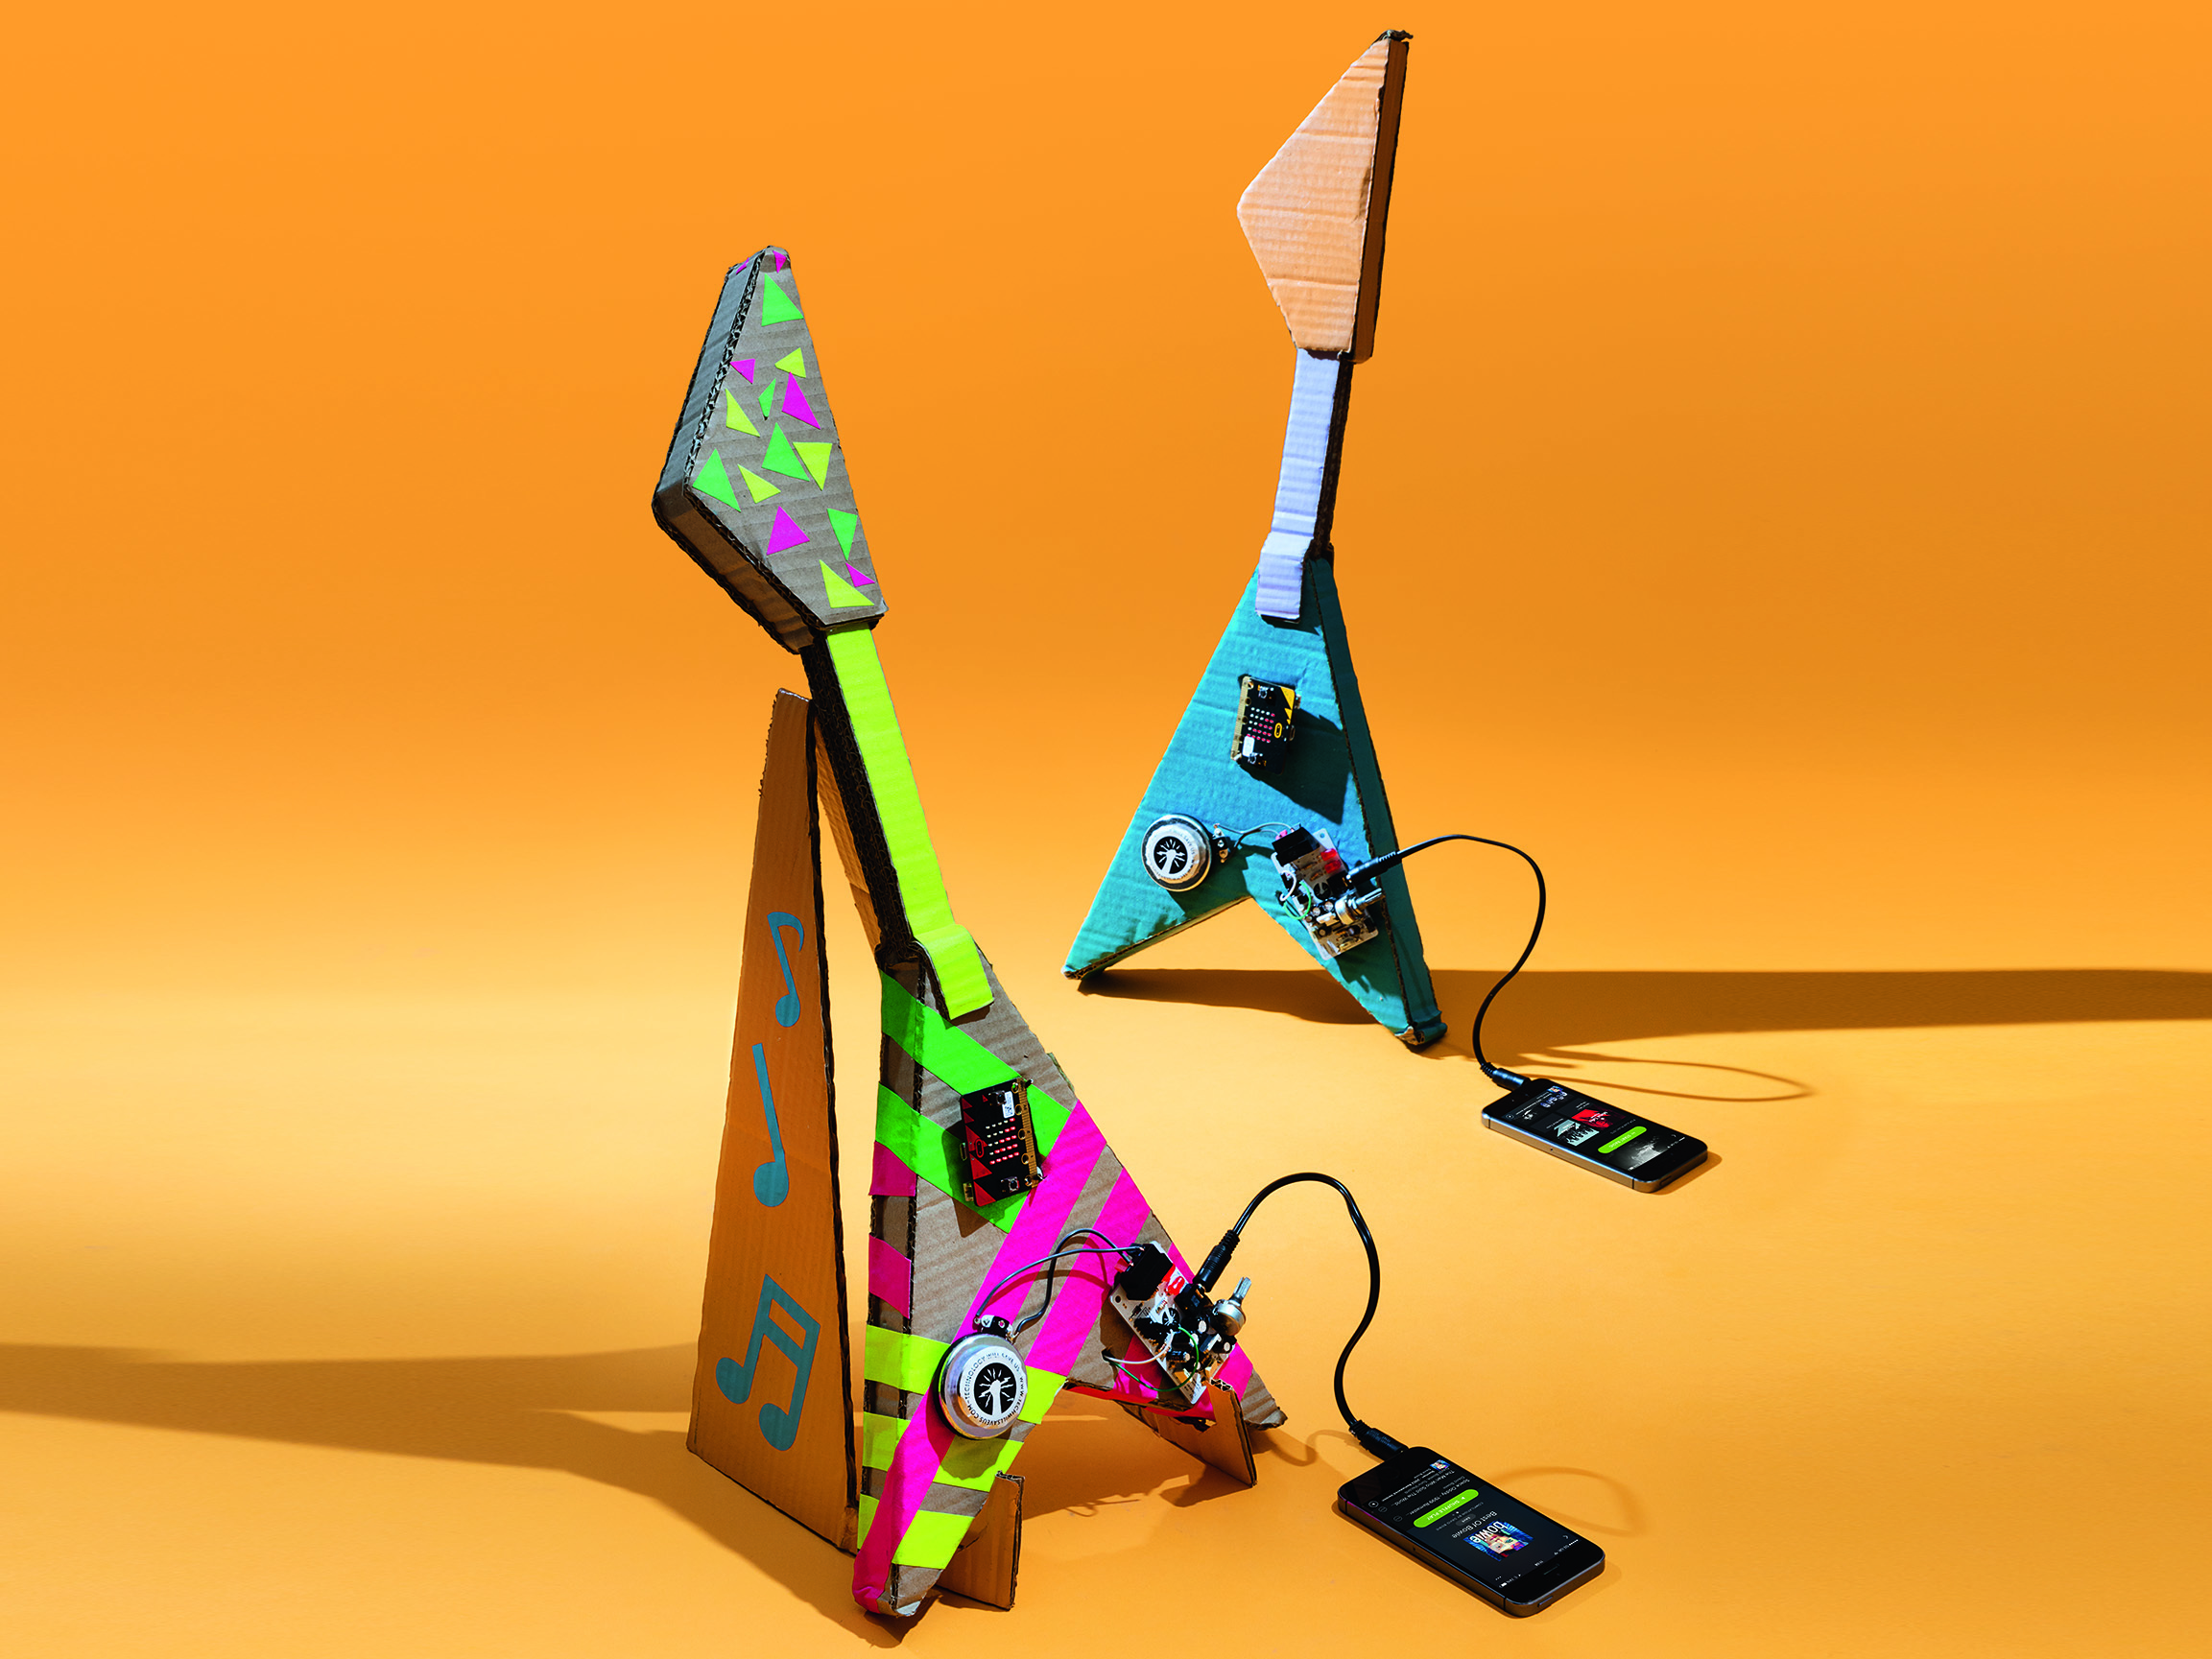
You could get a real Gibson Flying V guitar, but then you’d have to learn how to actually play it. Better to make this micro:bit version that gets louder the more you shake it.
It works thanks to the micro:bit’s built-in accelerometer – this senses any tilting, which the project’s code communicates to the speaker kit’s volume input. The guitar itself is requires some Blue Peter-style cardboard trickery and double-sided tape. But from there it’s simply a case of using the jumper wires and crocodile clips to connect the speaker kit to your micro:bit.
For full build instructions go to the Tech Will Save Us Air Guitar page.
Ingredients
DIY speaker kit £26
Jumper wires x2 £5 / maplin.co.uk
Crocodile clips x2 £3 / maplin.co.uk
Loctite Glue Gun £13 / amazon.co.uk
Plus: Ruler, tape, scissors, corrugated box
2) Perfect pancakes
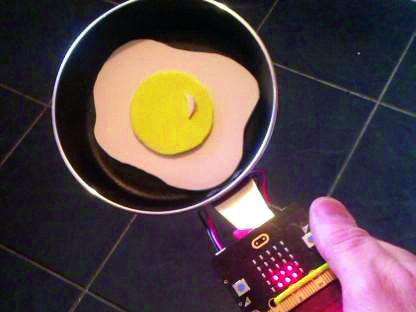
It won’t help you cook real pancakes (or in this case, a fried egg), but this game from the Institution of Engineering and Technology is a good intro to the micro:bit’s accelerometer. Tape the micro:bit to a frying pan handle, make a cardboard pancake or egg, and flip it before the screen tells you it’s burning.
3) Micro:bit watch

Follow the instructions below to fashion your battery-powered watch from an old pair of jeans and a t-shirt. Then upload Microsoft’s script to start playing rock, paper, scissors against the micro:bit. It’s no PS4-killer, but you did build it with your own fair hands – and you can’t say that about Football Manager Mobile.
4) Mini table football
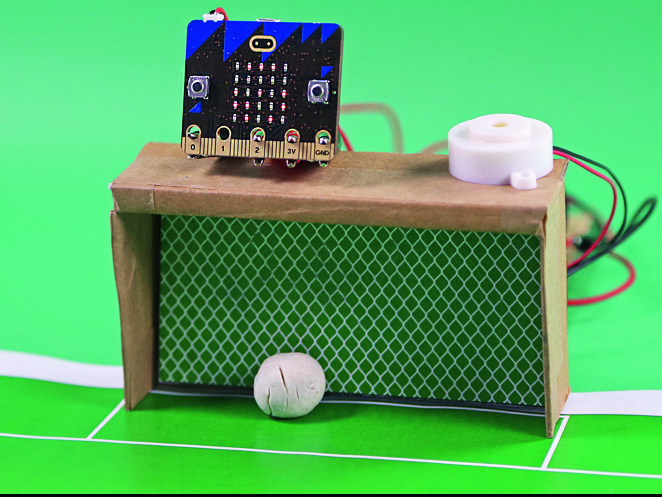
This one’s more involved, but a nice step up from the game counter in ‘beginner’s projects’ on the previous page. You’ll need the £17.50 conductive dough kit from Tech Will Save Us, plus crocodile clips to attach it. All that fiddling will be worth it when you’ve got an automatic scoreboard for your new Subbuteo habit.
Learn how to make a micro:bit football scoreboard
NEXT PAGE: MASTER
– Find out how to make a micro:bit-controlled crane
– Plus: build a self-driving buggy
Master: 1) Micro:bit crane
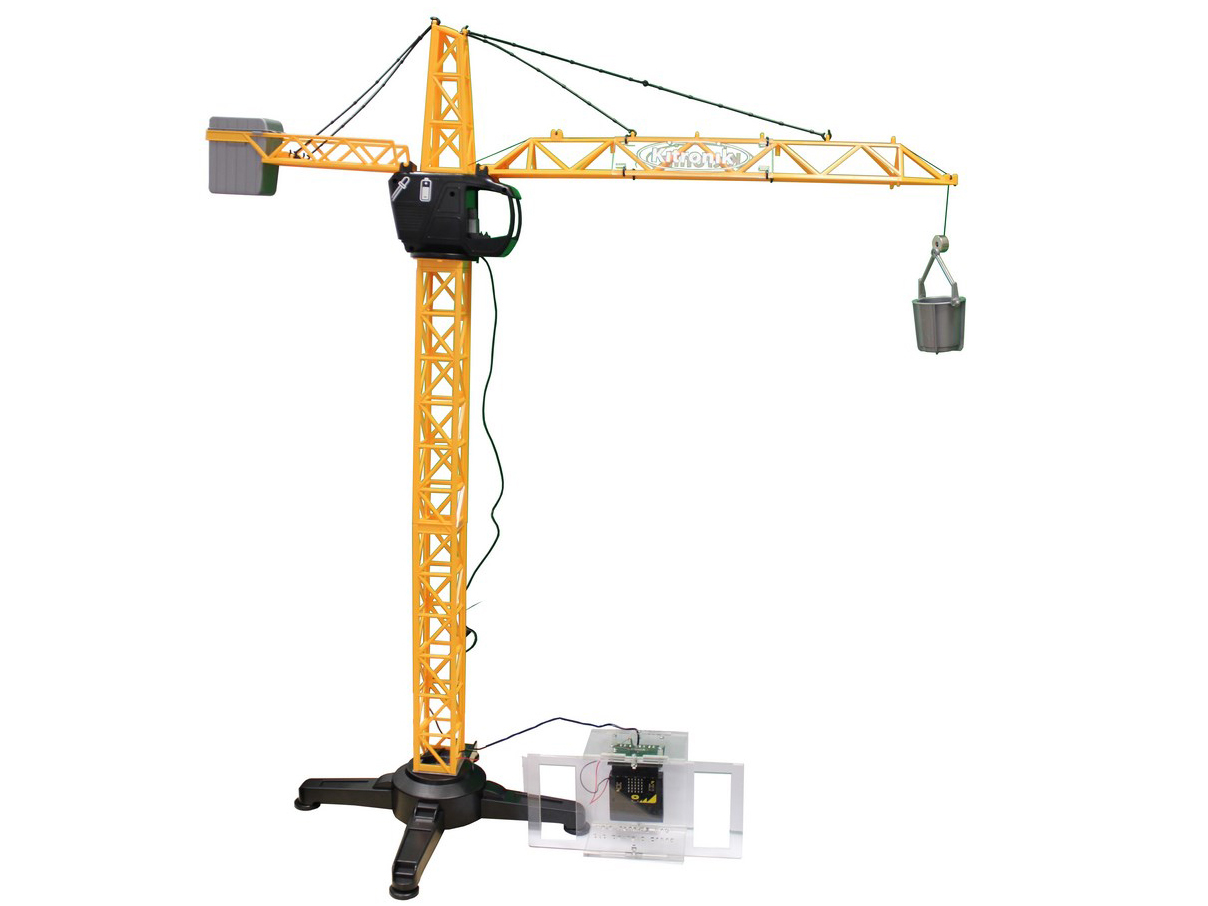
This project shows you how to use the micro:bit to hack an existing toy. More importantly, it also gives you an excuse to buy an awesome crane.
The first step is to cut the cable to the crane’s existing controller, cut away the insulation using some wire strippers, then connect it to a one of Kitronik’s Motor Driver Boards.
Once that’s done, slot the micro:bit into the Motor Driver Board’s connector and start testing your motion-sensing controller. Tilting it left or right will rotate the crane, while up or down will raise or lower its cable. All of which will make you look very clever. For full instructions, go to the step-by-step guide at Kitronik.
Ingredients
100cm Remote Control Crane £15
Translucent box (for controller) €15
Plus: 8 x M3 6mm machine screws, 4 x 6mm plastic spacers
2) Self-driving buggy

Take your micro:bit to clever class by turning it into an amazing line-following robot. This project’s kit list may be short, but it does involves some minor soldering – so you’ll need a soldering iron plus some experience of dabbling around with liquid metal.
The buggy follows lines by using two light-dependent resistors. These tell how much of the light from the buggy’s two LEDS is reflected back from the ground – when these sense the black line, this signal is sent to the micro:bit, which then steers its ride using the left and right motors.
It might not be the easiest micro:bit project, but it does show the amazing things you can do with the BBC’s wallet-friendly computer. For full instructions on how to build your buggy, head to Kitronik’s twelve-step guide.
Ingredients
Kitronik line-following buggy kit €32
Plus: A wire stripper, flathead screwdriver, pliers, Philips screwdriver, USB-to-micro USB cable, black insulation tape
 Mark Wilson
Features editor
Mark Wilson
Features editor