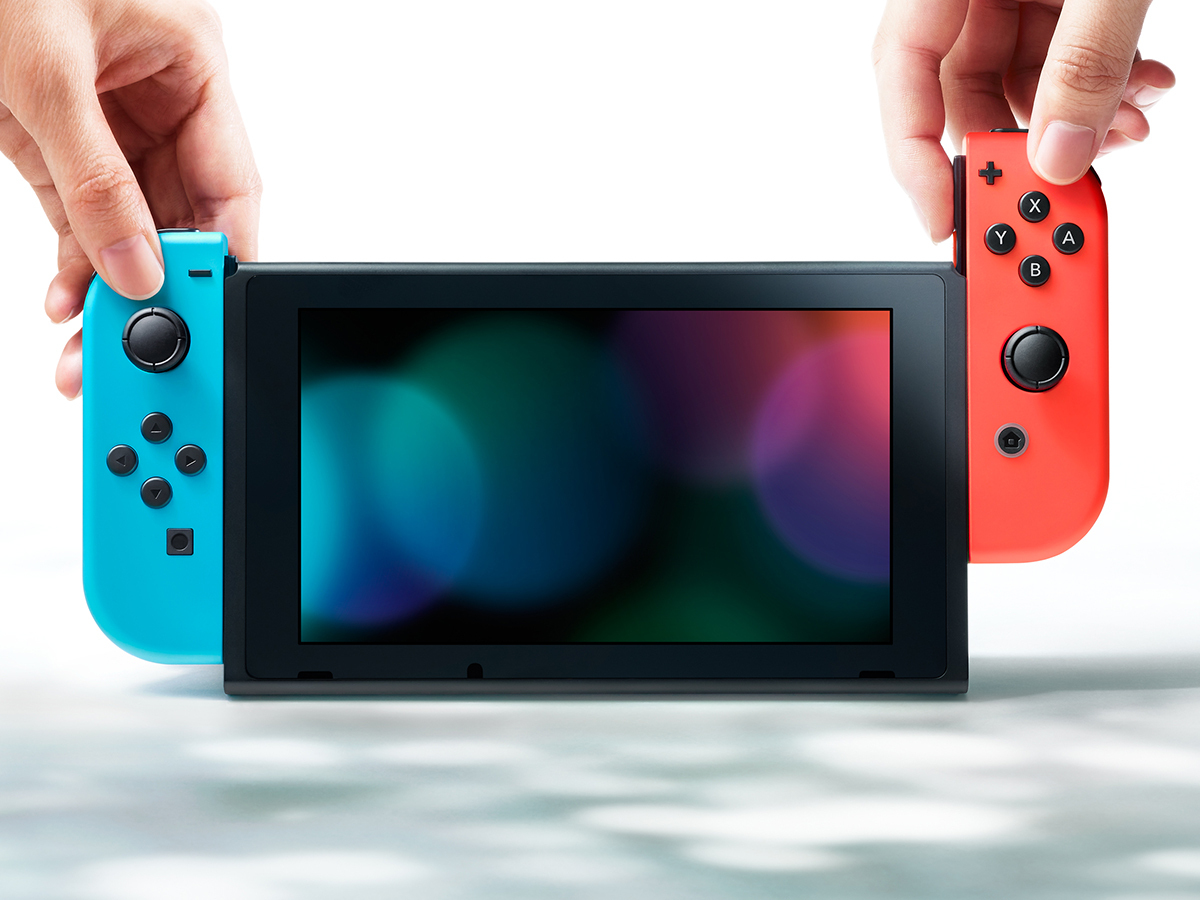
How to master… the Nintendo Switch
Become a Switch pro with these 21 must-read tips and tricks
In expected fashion, the Nintendo Switch is incredibly easy to understand and use, and even potentially complicated processes are made about as painless as possible. Good job, Nintendo.
That said, while basic usage might be obvious, there are plenty of ways to get even more out of your home/portable hybrid console, and some things you might not know about or expect. For example, have you set up parental controls for the family? Do you know how to record and share video clips? Are you prepared to do a hard reset after a gnarly system crash?
Luckily, a quick read of these 21 tips ahead can turn you into a Switch pro pronto. Read on to learn how to master the system, with tips catering to beginners, intermediate players, and advanced users alike.
Also, be sure to read our picks for the best Nintendo Switch games available today, as well as some of the top cheap titles on the eShop. And if you need to kit out your console with some fresh gear, we’ve got recommendations there as well.
Additional words by Adam Cook
Beginner Tips
1) Get a microSD card
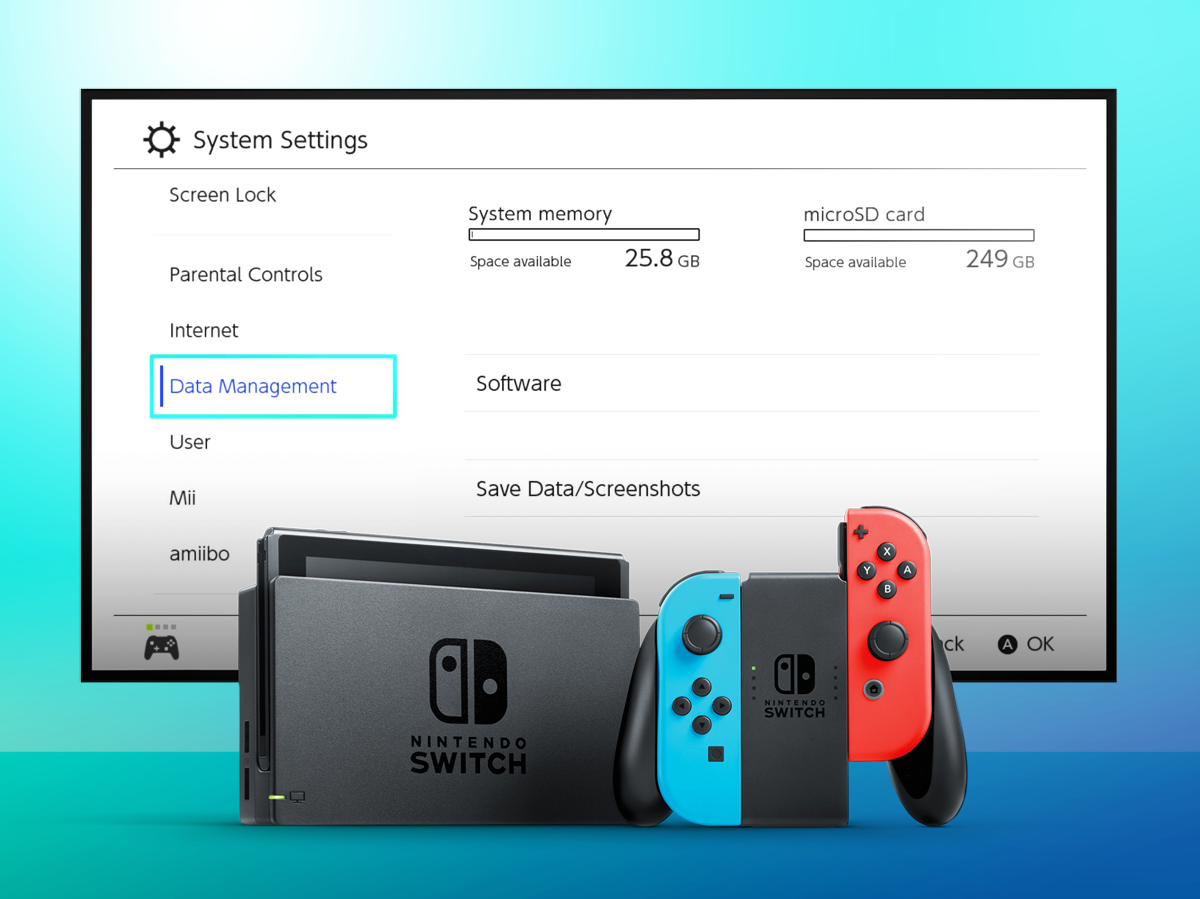
The Switch comes with 32GB of storage as standard (we know, in this day and age…) and after the operating system there’s barely 26GB left for your games and screenshots. Unfortunately, some games will fill your console storage up entirely on their own: we’re looking at you Dragon Quest Heroes 1 & 2.
It’s funny, really, because the Switch can actually accept microSD cards so big they aren’t even actually available to buy yet, but you’ll be wanting to push the 256GB mark if you can. They’re available for a reasonable price, but shop around, and remember the microSD slot is hidden under the kickstand on the back of the console itself.
2) Get your Nintendo account ready
Rather than lose out to someone else for your special username of “EliteGame4xy27b”, get yourself over to this link and register your Nintendo Online Service ID right away.
Beyond having your own unique ID for online interactions – which will become more important when the full-bodied Switch Online service launches in September – you’ll also need it for eShop digital purchases. And you’ll earn gold coins for buying games, too, and can use those for discounts on future purchases. Nice.
3) Take screenshots, create your own memes
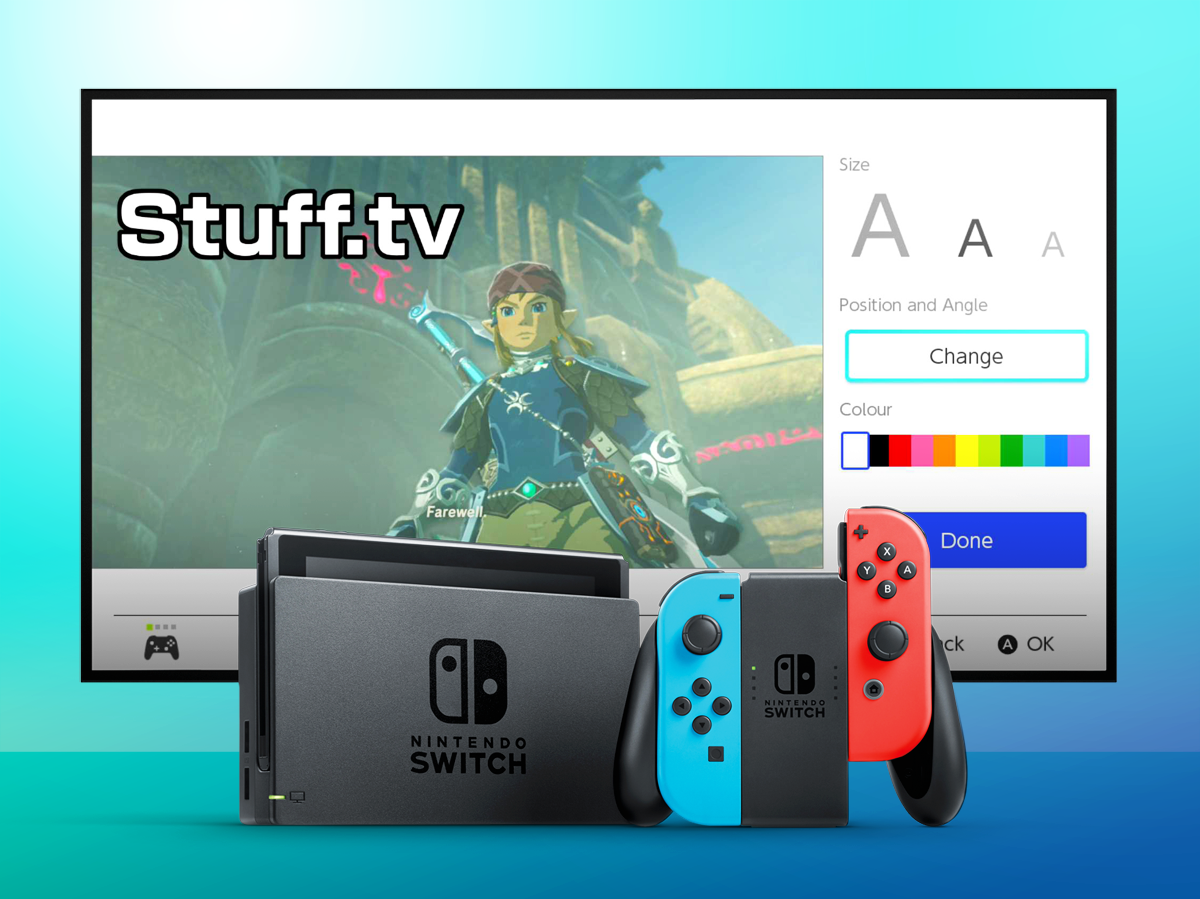
Being a modern console, the Switch allows you to take screenshots with a handy button on the left Joy-Con. It’s actually the fastest at doing this of all the current crop of gaming consoles, and it has something a little bit special, too.
In the Album section on the main menu, you can arrange your screenshots, delete bad ones, and yep, add text to them. Fancy creating the next hit meme directly via your Switch? No worries. You can also post these screenshots to social media, so you really can be the next trending topic.
4) Close games before changing cards
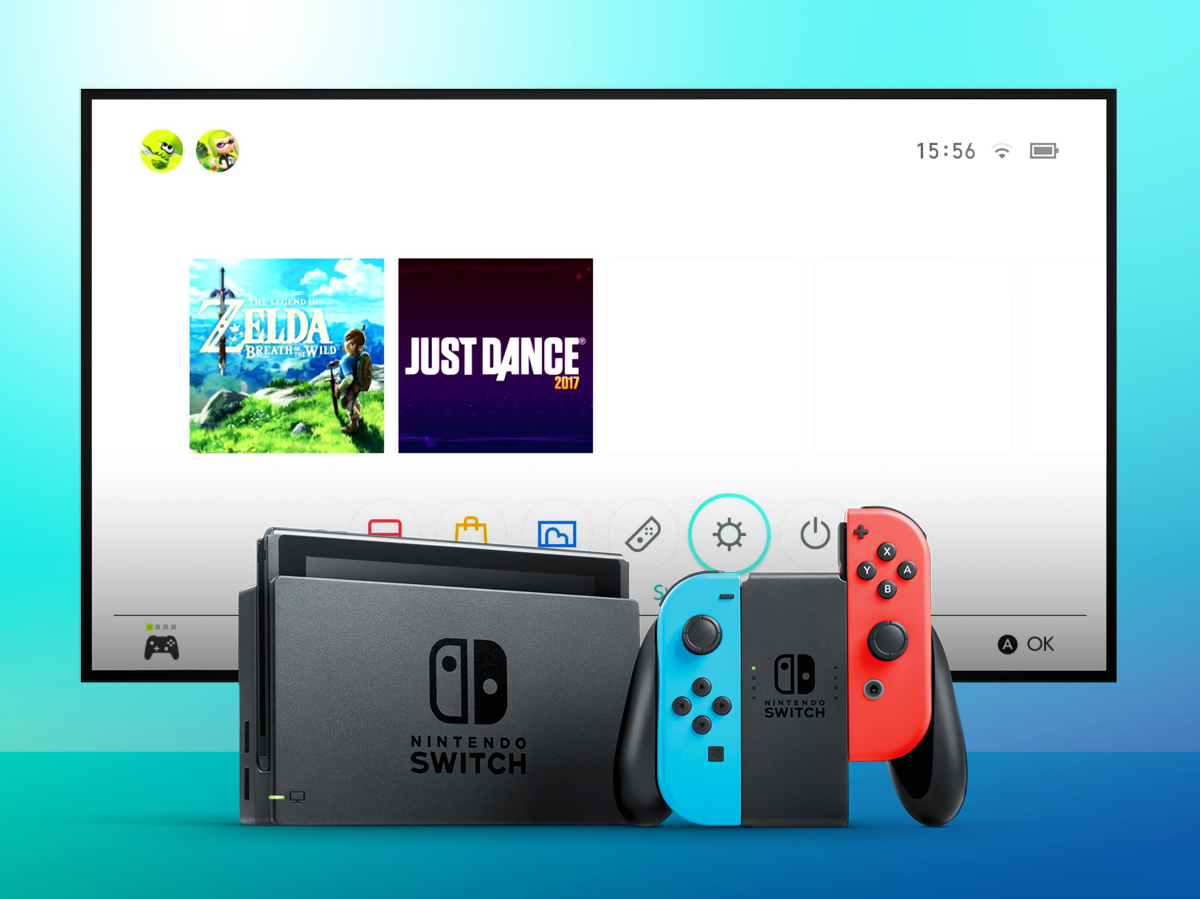
This may seem like a no-brainer, but make sure you close your game down before you take the card out of the back. If you just whip out The Legend of Zelda: Breath of the Wild and put Just Dance 2017 in, then you might lose your progress in Zelda. Imagine how grim that whole scenario would be.
Luckily, it’s super easy to close out your game and dodge the potential for data loss. Just hover over the last-opened game, press X, and agree to close it out. Done. Think before you Switch!
5) Create your own Mii
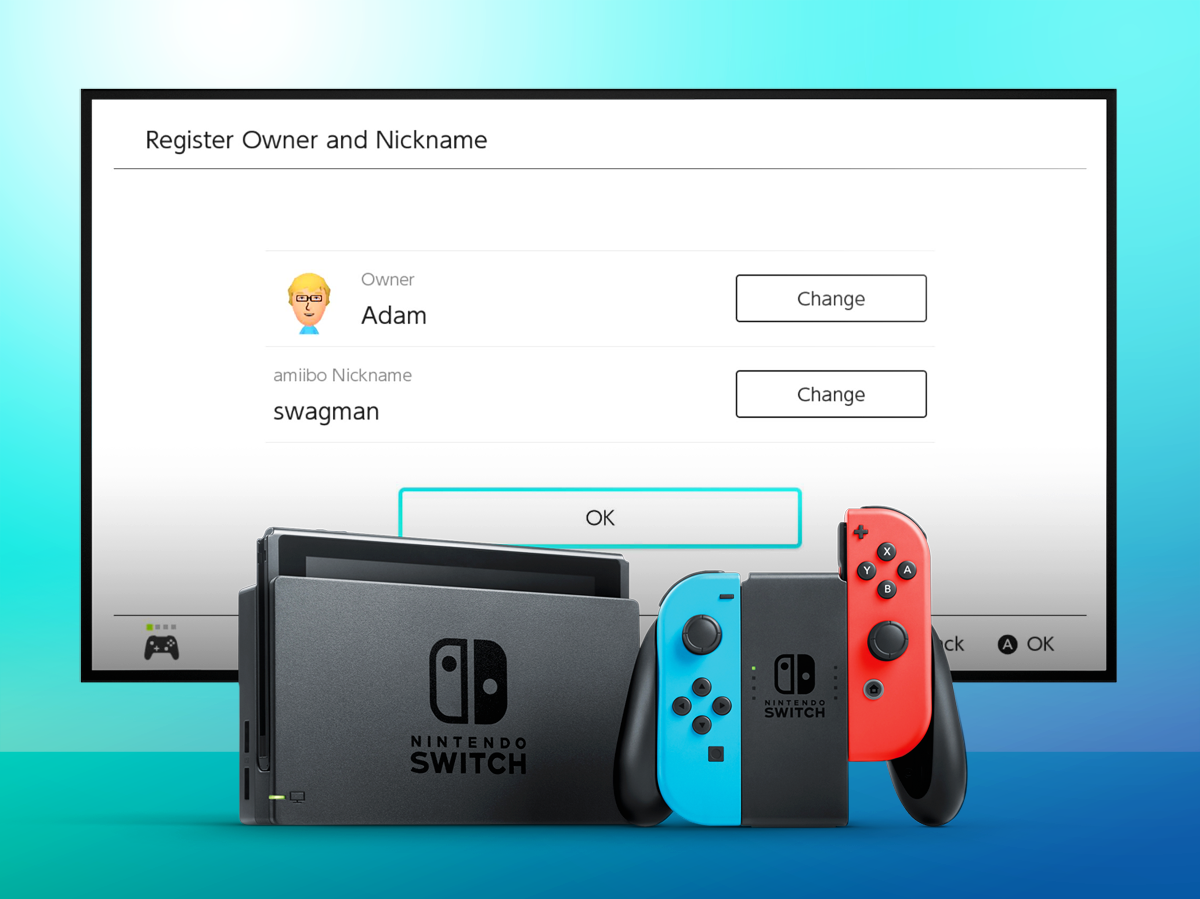
Amazingly, while Nintendo hasn’t completely abandoned the Mii system for Switch, it does seem far less intrinsic to the overall console experience. But don’t let that stop you from creating one. After all, you might want to cruise around Mario Kart 8: Deluxe with your own cartoonish mug staring down rivals as you pass following an epic turtle shell toss.
In System Settings, you can create a new Mii from a likeness, start from scratch, or copy one from an Amiibo. It’s fun, it only takes a few minutes, and you might get a good laugh out of it – especially if mates are around.
6) Add online friends
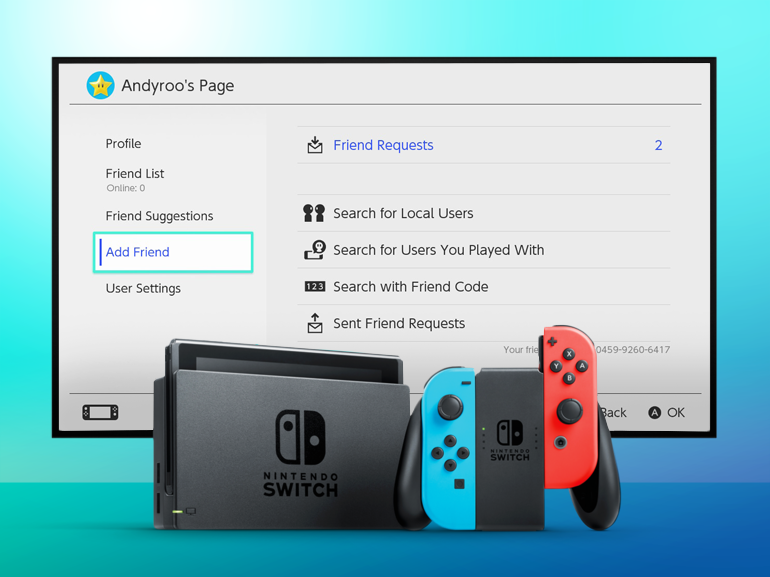
Yes, Nintendo’s obnoxious friend code system remains intact on the Switch, meaning you’ll have to exchange a serial code-like number to link up with pals and play. While that’s true, luckily Nintendo has also added other ways to bring in buddies.
Now you can also easily add friends who you’ve already connected with via Nintendo’s smartphone games or the Wii U console, plus you can plug in your Twitter and Facebook accounts and find friends you know from there. That’s a huge upgrade, and it makes it much easier to own your friends in Mario Kart.
7) Find a lost controller
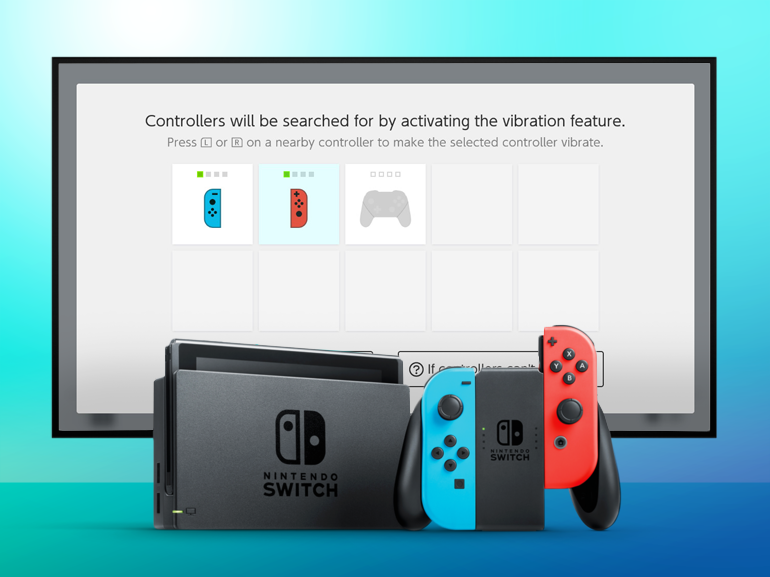
The little left and right controller nubs are kept purposefully small to ensure portability, but it also makes them harder to find should you misplace one somewhere. First off, don’t un-dock them unless you have to. But second, the Switch itself can help.
If your Joy-Con controller is still paired but currently out of sight, you can make it vibrate to help you locate it. Just hit the Controllers menu from the Switch’s main menu, hit “Find Controller,” and then tap a Joy-Con or Pro Controller to make it furiously vibrate. Hopefully that’ll get you back in the game right away.
Intermediate Tips
8) Create multiple profiles on the console
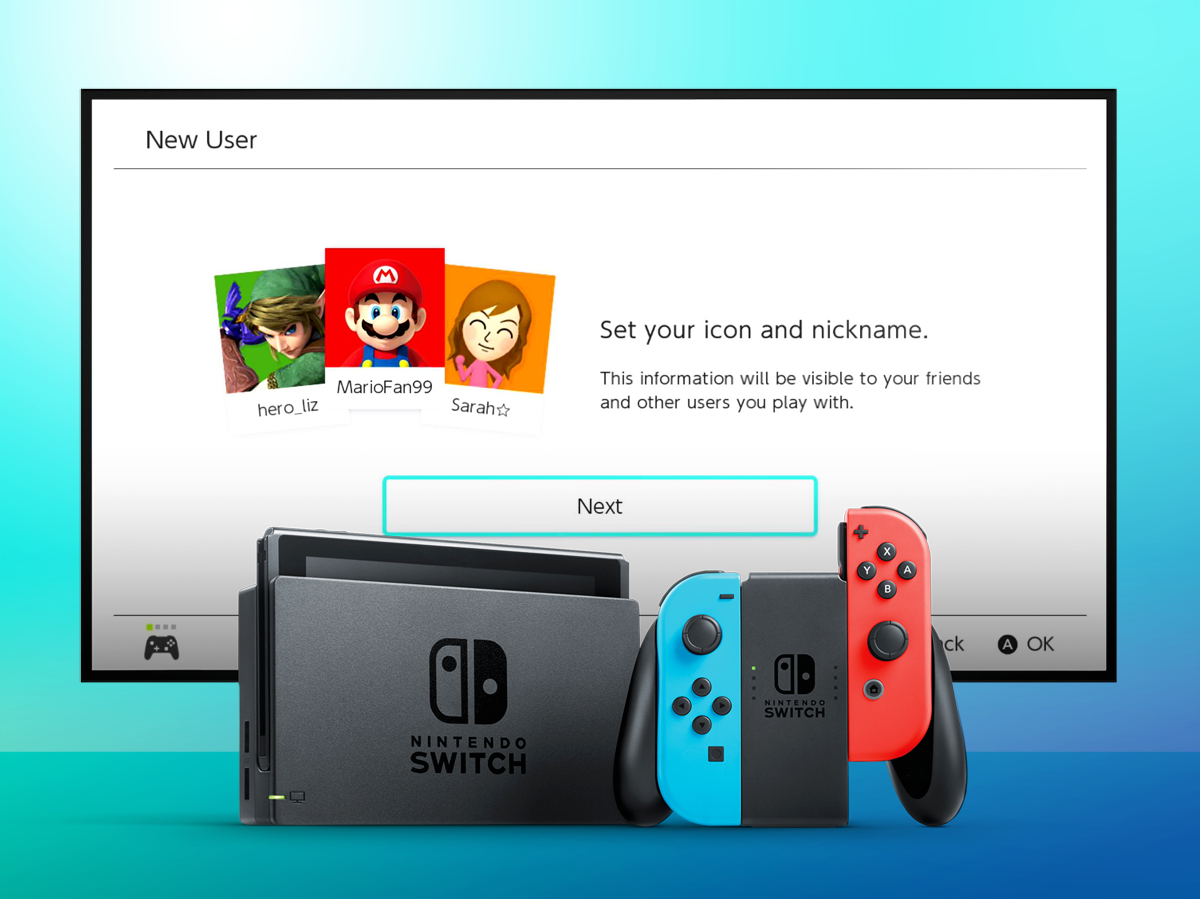
Want to play multiplayer, or have multiple family members itching to use the Switch? No worries: just create a different profile for each user.
Pop over to the System Settings, then Users, and click “Add New User”. You can do this in any mode, but all you’ll have to do is select a player icon (fun picture you think represents the player), a name, and you’re done. You can link the user to a Nintendo ID later on, if you fancy it.
9) Skip the user select screen
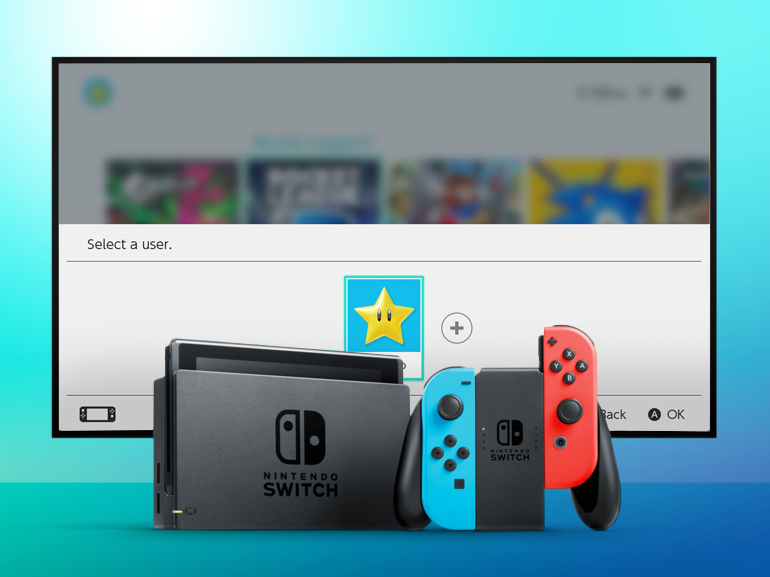
On the other hand, if you’re the only one who is going to use the Switch, then why bother seeing the user selection screen every time you select a game or enter the eShop? It’s unnecessary, and luckily you can disable it.
Just open up the main System Settings menu, head on down to the Users screen, and toggle the “Skip Selection Screen” option. That way, the Switch will default to your main profile most of the time, leaving out that unnecessary hurdle here and there.
10) Tone down the brightness
Holding the “home” button on the right Joy-Con will bring up a few options. From here you can put the console into rest mode, or airplane mode (if you’re playing it undocked), but you can also adjust the brightness on the fly.
Sure, it’s obvious, but given that we’ve achieved nearly three hours of Zelda play on a mid-brightness level, would you be able to squeeze out one extra Shrine if you were playing it with a slightly dimmer screen? Worth a go!
11) Sort out your notifications
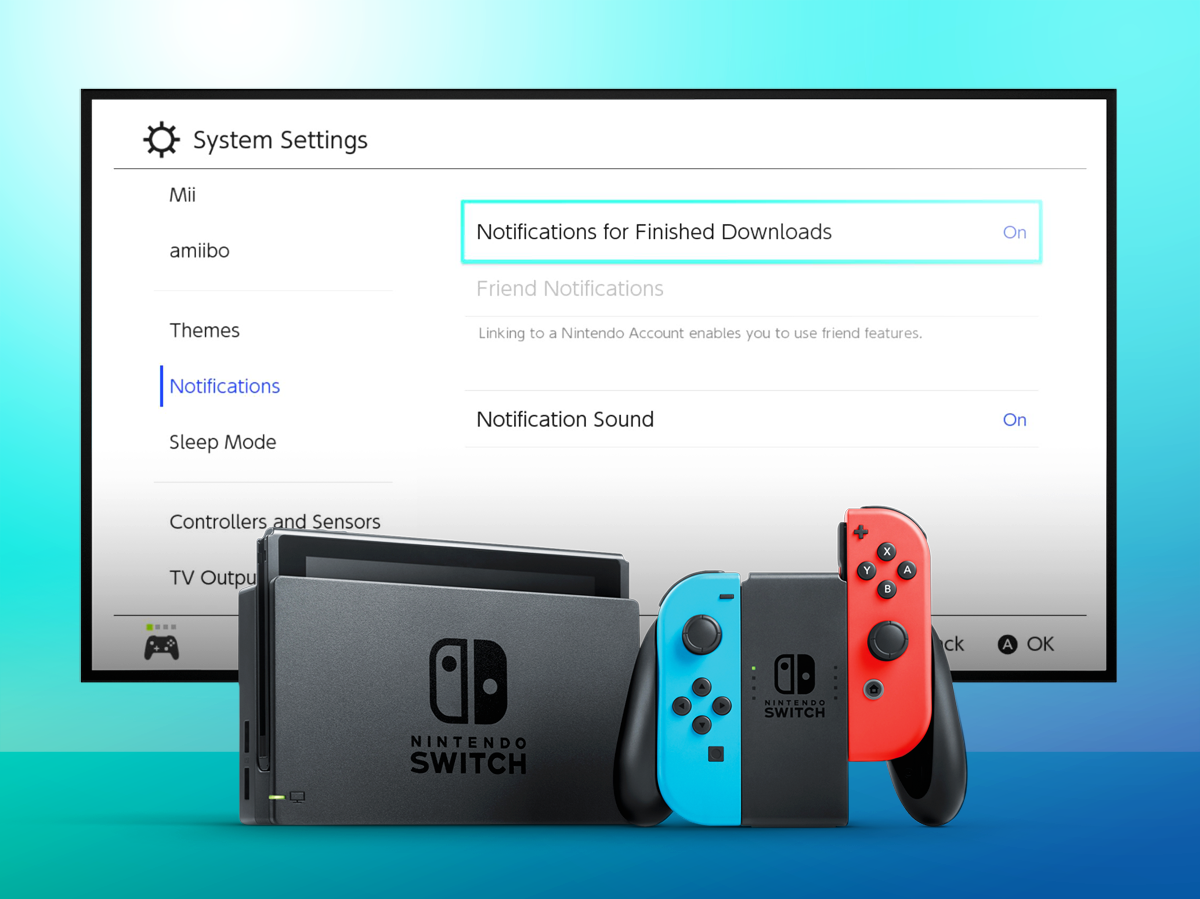
Remember how annoying it was when your Wii U would constantly light up because Nintendo had pushed a new free piece of software you didn’t want? Yes, us too.
Thankfully, the Switch doesn’t do this (yet), but you can still be notified when your game downloads are done with a sound. You can also link to a Nintendo Account so you can get friend-related notifications. Modern social gaming!
12) Light or dark, pick your theme
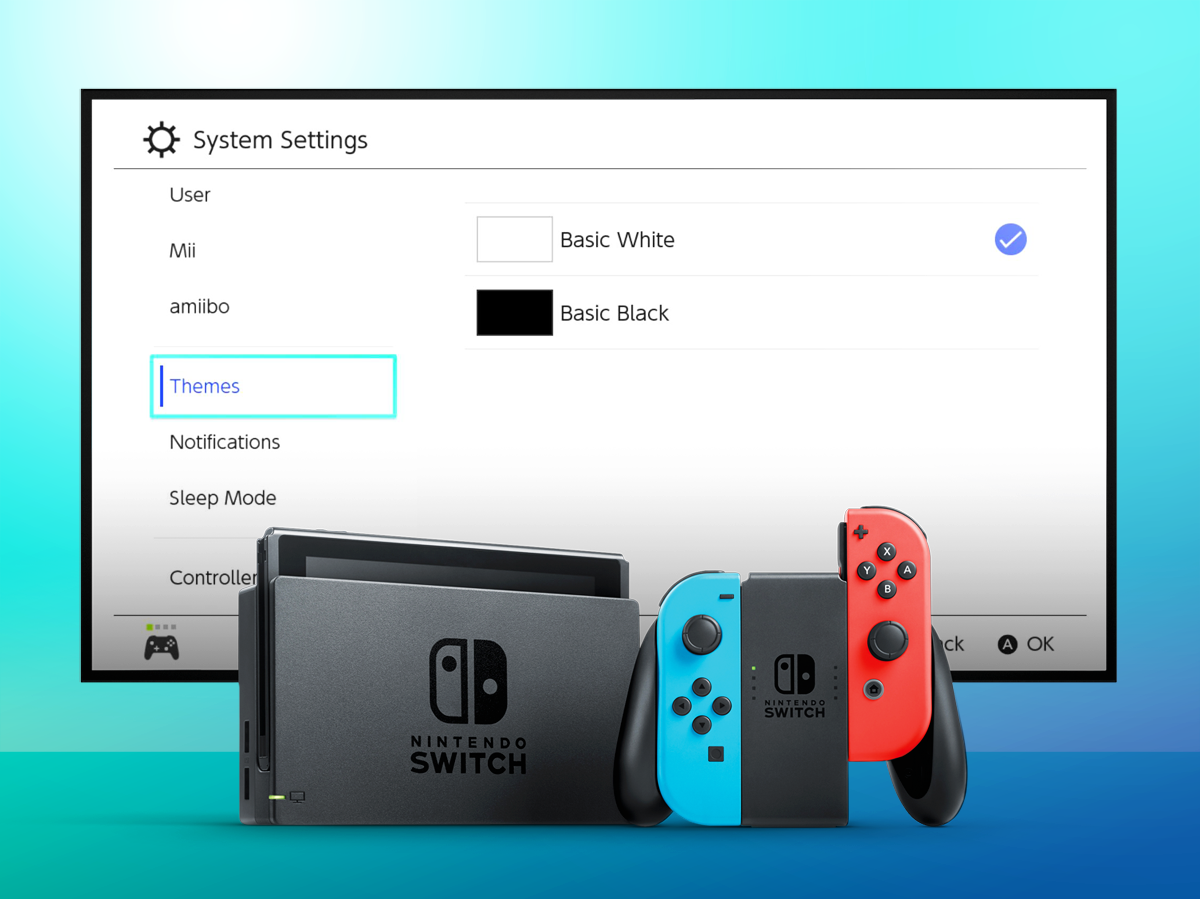
Here’s another incredibly simple tip: the console defaults to the lovely clean white theme that you’ve seen in all our pictures in this article, but there’s also a dark, night-like theme you can choose.
Who knows if this means Nintendo is getting into making themes for the console, but we’d welcome a Splatoon theme, because, well, Splatoon is great. And so colourful too!
Also Read › The 30 most anticipated games of 2018
13) Capture and share video
Still screenshots are one thing, but some moments just can’t be conveyed without video proof. Luckily, the Switch now also has the ability to capture clips: you’ll use the very same button for screens, but if you hold it down for a moment, the Switch will go ahead and save the previous 30 seconds of action.
From the Album menu, you can view those 30-second clips and trim them on the front or back however you please. And if you want to send them out into the world, you can do so via Twitter or Facebook. Not every game supports video recording, but a few dozen do – including Zelda, Super Mario Odyssey, and more.
14) Uninstall your unused games
Even if you have a microSD card, if you’re buying and playing a lot of Switch games, then you’re likely to run out of storage space at some point – especially if you’re downloading big games rather than buying physical cartridges.
Why wait ’til you’re out of space to start making tough decisions? Every once in a while, hit up Data Management in the settings and go to Manage Software. From there, you’ll see a list of all of your local data (for games, updates, save files, etc.) sorted by game – and if there’s anything you don’t plan to play again, why not delete the game data? You can always reinstall from the eShop or cartridge later.
Advanced tips
15) Enable parental controls
You might want to pour all of your free time into playing the Switch, but if you’ve got kids, then chances are good that they’ll also want to play through your library. And if they’re young, then you might want to keep an eye on what they’re actually playing. Luckily, Nintendo makes that super easy to do.
You’ll enable parental controls within the Switch’s settings menu, but what’s handy is that they’re actually controlled by an iOS and Android app. From there, you can limit the amount of time played daily, block higher-rated games (but whitelist some if you choose), and see what and how much has been played.
16) Use voice chat
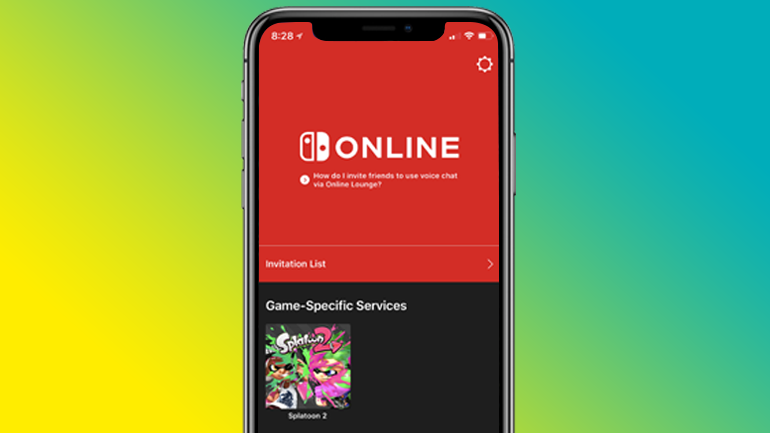
Nintendo hasn’t typically had the most advanced online play systems, but at least the Switch brings voice chat into the mix. Well, it’s just with Splatoon 2 right now – but that’s a really great online game!
Nintendo’s solution here is to use an iOS and Android app, which lets you link up with pals to chat while you’re playing. You can also use certain headsets if you want to mix game and chat audio. It’s not the most elegant approach, but if you want to squad up with your splat buddies, then this is the way for now.
Also Read › The 10 best games in the world right now
17) Check out this little Easter Egg
Did you know that there’s a UI Easter Egg when in handheld mode?
Well, unlocking the console from rest mode requires you to hit the same button three times. Most people will hammer the A button, desperately trying to get back into Breath of the Wild quicker, but if you experiment with your choice of buttons, you’ll hear a different sound for each tap.
We don’t want to spoil it for you, but try clicking the left stick in, or tapping the shoulder triggers three times.
18) Get a second dock
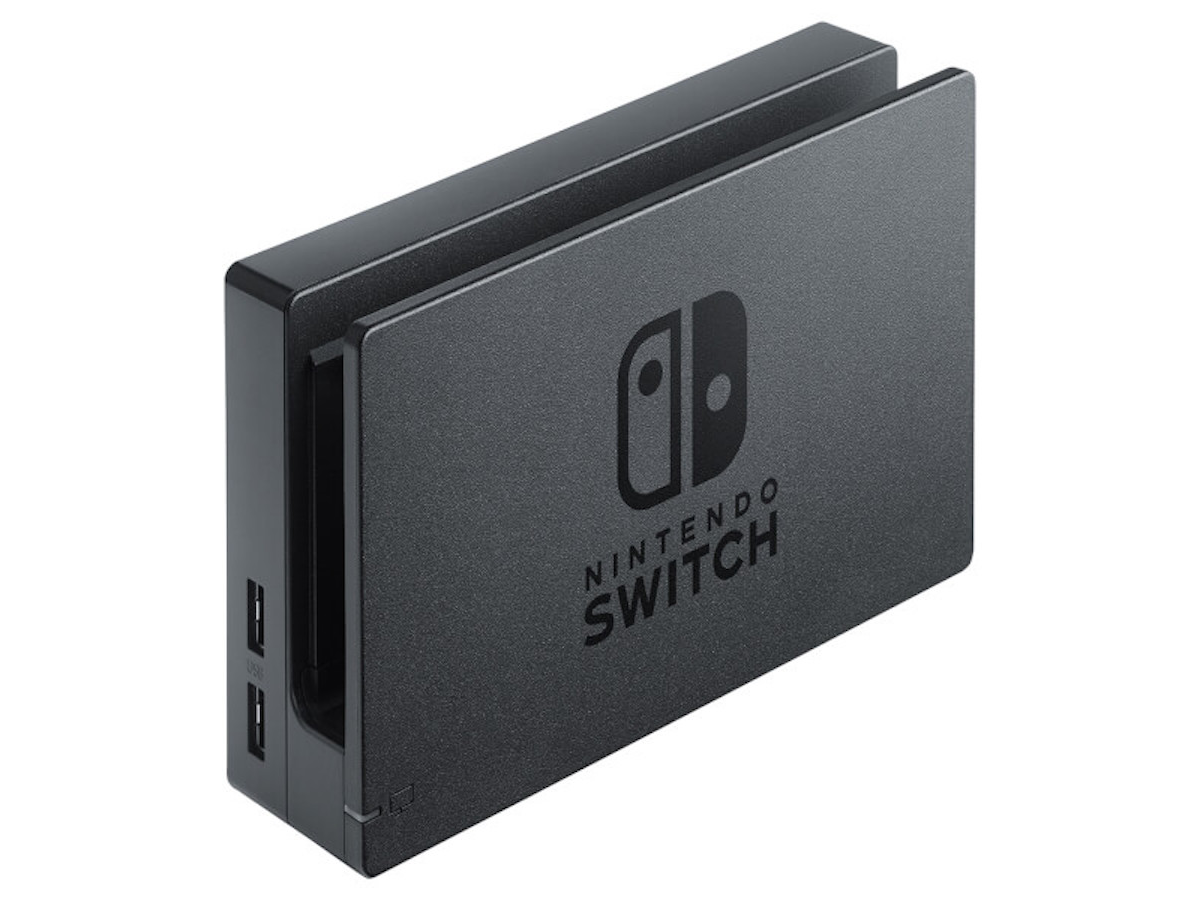
For some, this tip might be obvious – but for others, it could be eye-opening. The Switch comes with a TV dock to let you charge the system and display it on your big-screen, but if you game often in multiple rooms or multiple locations, you might consider buying an extra dock for another TV.
That way, you can play Switch games in their TV glory without having to disconnect the dock and haul it around between spots. Sure, £80 is a lot to spend on such a seemingly simple accessory, but the Switch is all about convenience – and it might be worth the investment if you’re a heavy user.
19) Grab a big extra battery
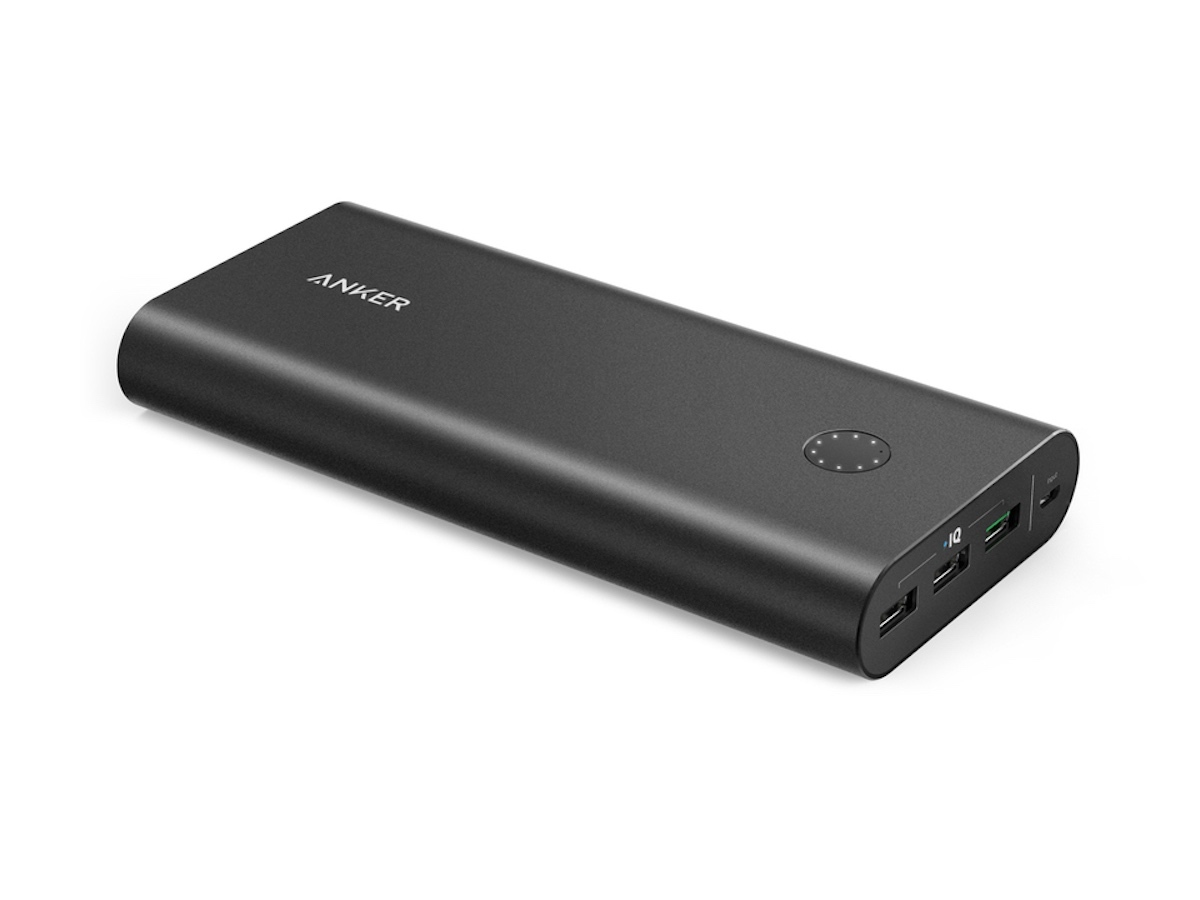
The Switch takes on-the-go gaming to a whole new level, but that 3-5 hour battery pack won’t last you during long-haul flights or other lengthy jaunts without a guaranteed place to charge up. Not sure if you’ll have a power outlet? If so, then you might want an extra battery pack.
Anker’s PowerCore+ 26800 is a popular one, as the 26,800mAh pack can provide upwards of 20 extra hours of play – but it’s £90 and pretty heavy too. Don’t need that much extra power? The Anker PowerCore Speed 10000 has about one-third of the capacity and is more likely to give you 6-8 hours of extra time, but it’s smaller and much cheaper at £28 too.
20) Hard reset a crashed system
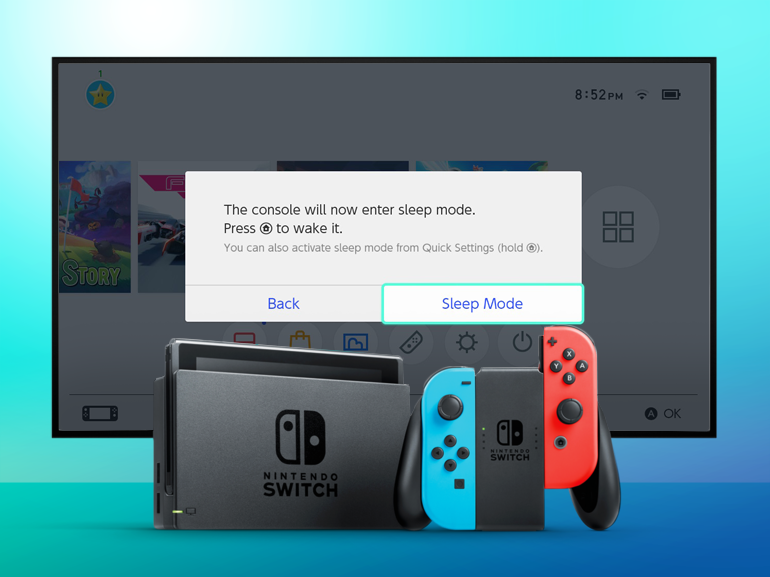
Console games are typically pretty well polished, and that’s definitely true with Nintendo’s own efforts. But every once in a while, even a well-built game can crash your system. Can’t seem to get back to the menu or power down normally? Here’s a solution.
See that power button on the top? Hold it down for about 10 seconds. After that, the system will power down entirely, and then you can tap the power button again to bring it back to life. It’s bound to happen at some point, so don’t freak out – your Switch should be perfectly fine.
21) Buy international eShop games
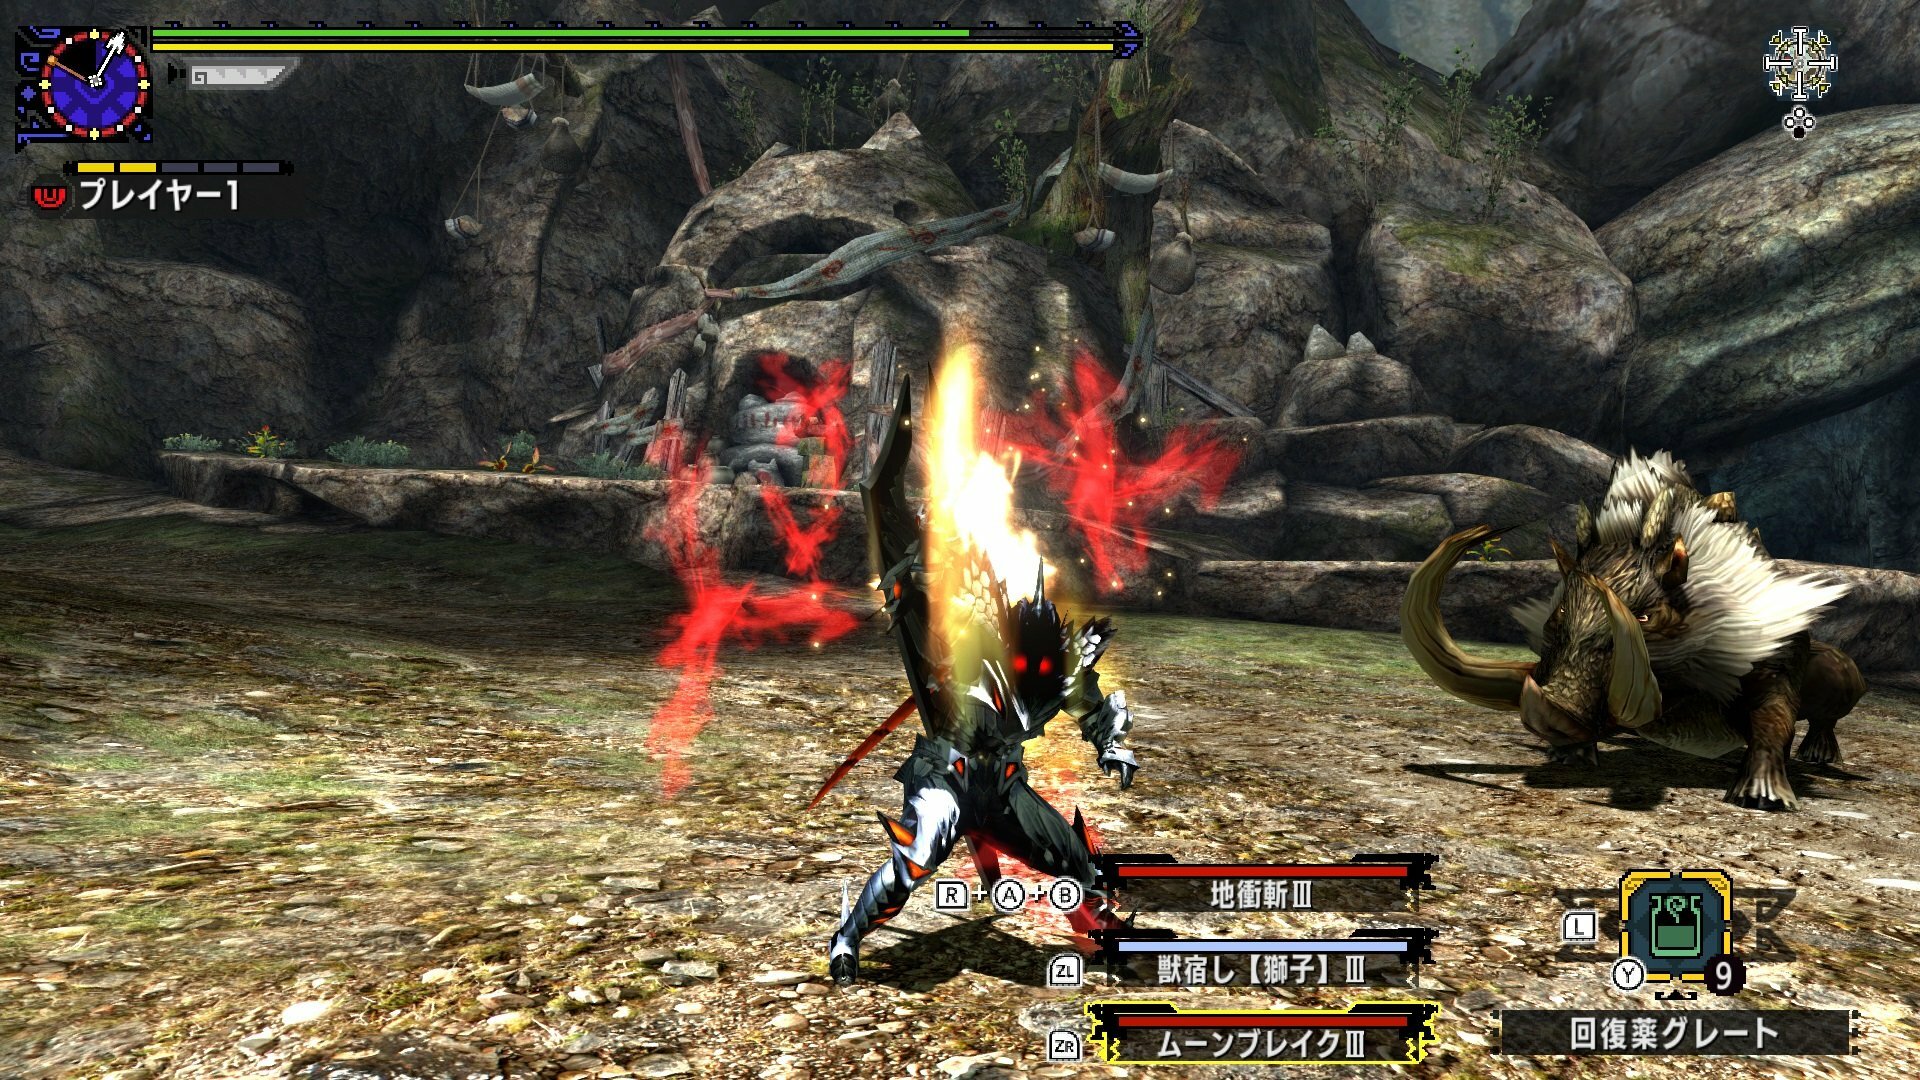
This is only for super-advanced users, not to mention super-savvy gamers. If you’re looking to buy a digital game that isn’t available from the European eShop, it’s possible to make an account for a different international eShop – like Japan or North America – and buy it from there.
It’s not an easy process, but it is possible. Eurogamer has a detailed walkthrough, which guides you through setting up an alternate account, paying for games, and using them on your Switch. Granted, the Japanese eShop – and most Japanese games (like Monster Hunter XX, seen here) – will not be in English, so be aware of what you’re getting into.
Physical game cartridges are also region-free, so if there’s a bigger game you want from Japan or elsewhere, you might be better off just ordering the cart from that region’s Amazon site or an import gaming shop and save yourself the multi-account hassle.
 Andrew Hayward
Freelance Writer
Andrew Hayward
Freelance Writer