11 best tips and tricks for HTC U12+
If you've just bought the HTC U12+, our pick of clever user hacks will help make you a pro
11 best tips and tricks for HTC U12+
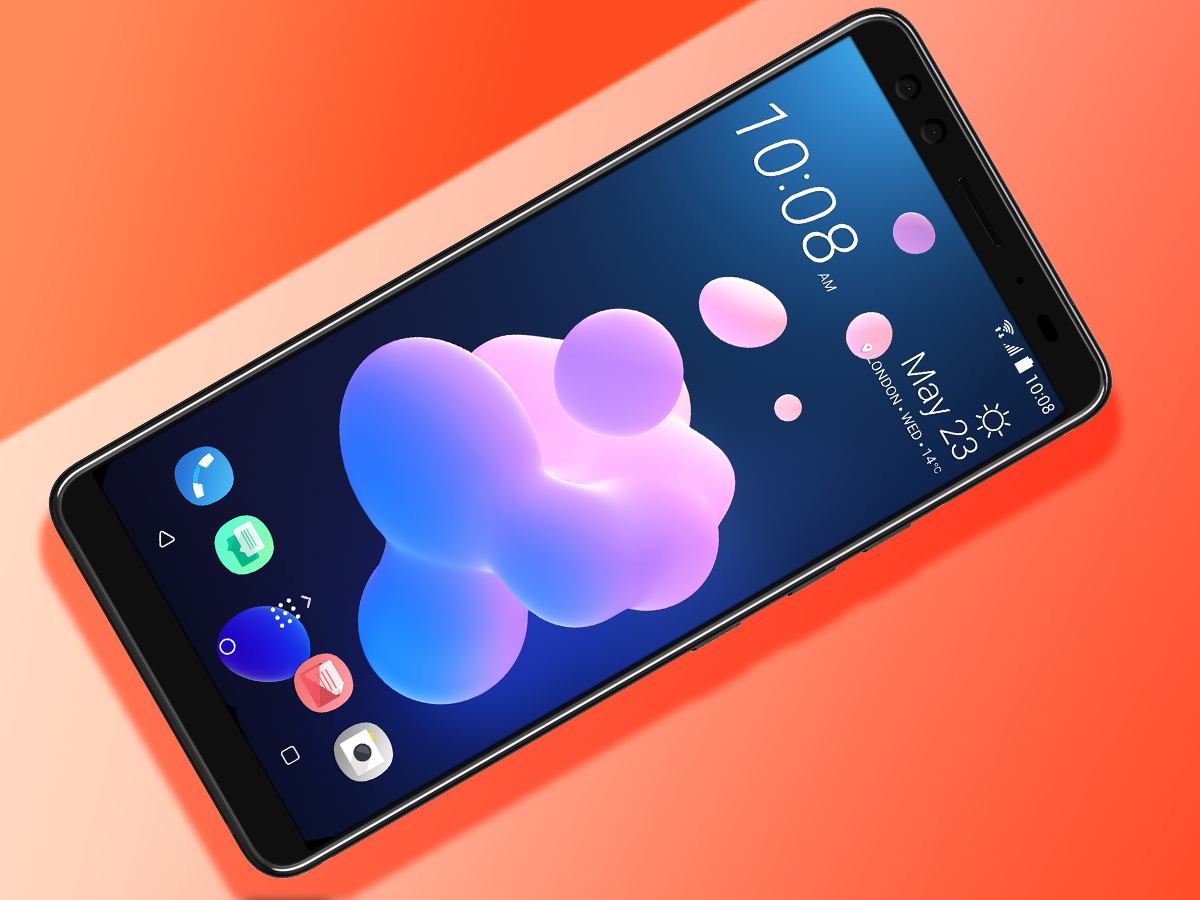
The HTC U12+ is so packed with features there’s a good chance you’d be ready for your upgrade by the time you discovered them all. To get you started, we’ve pulled together 11 great things you can do with an HTC U12+ – most of which are not available in its competitors. Read these and you’ll be an HTC U12+ master in no time.
1) Tell BlinkFeed what you like… or get rid of it completely
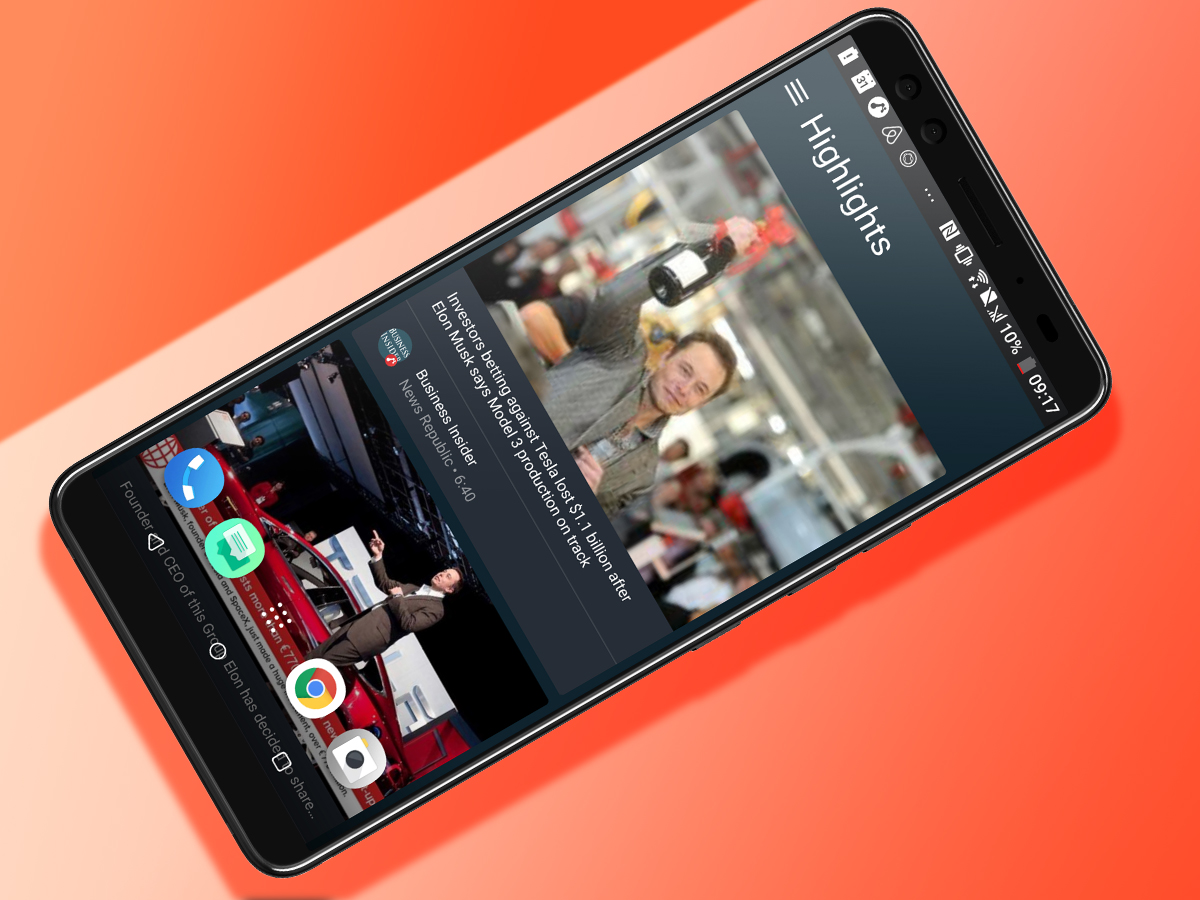
BlinkFeed is the special news feed home screen that sits to the left of your main one. Press the three-line icon at its top left, then the little “plus” button and you can choose what kind of news goes in there, otherwise you’ll end up with a feed that resembles the Mail Online. Still hate BlinkFeed? Just use a pinch gesture on a home screen, then long-press the BlinkFeed preview image up top and drag it over to the “remove” bin. BlinkFeed purged.
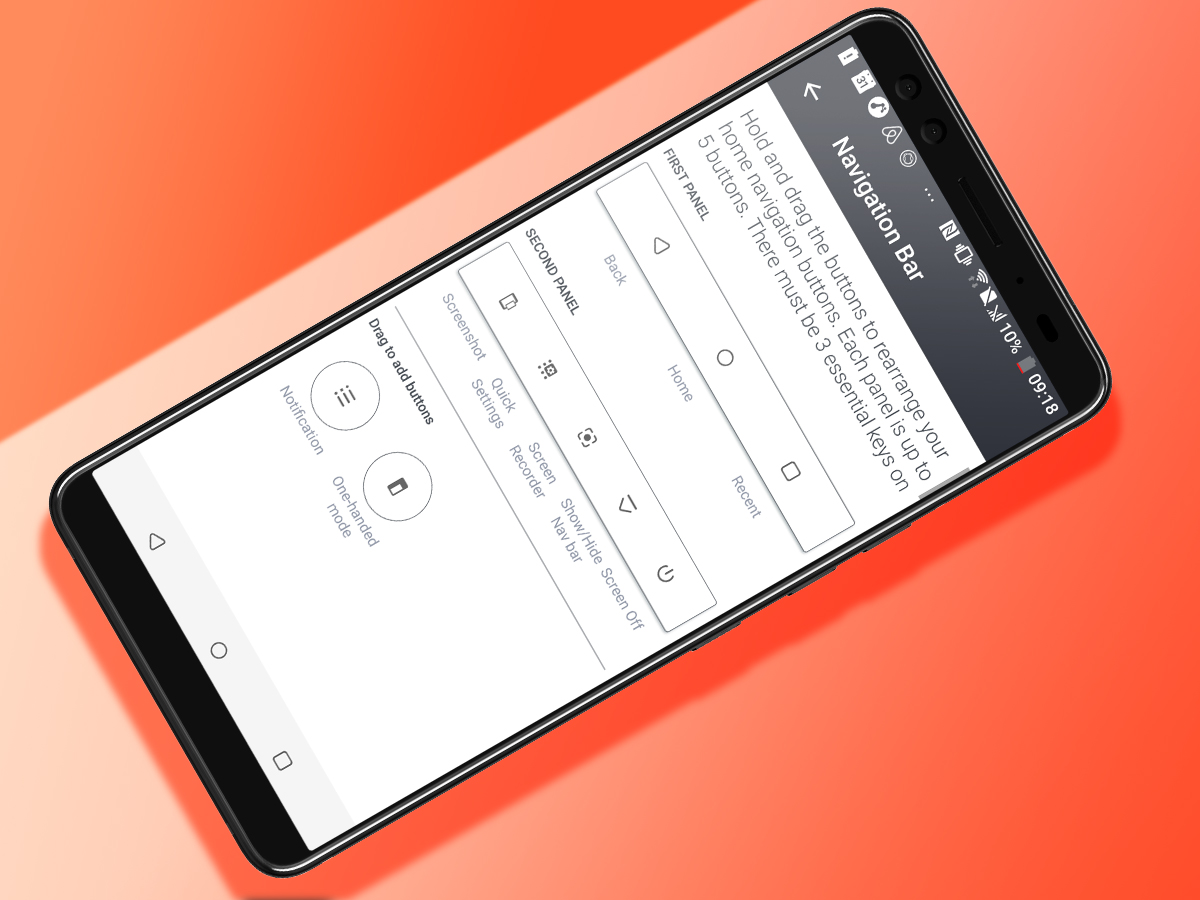
2) Switch up the nav bar
Swipe the U12+’s screen right to left and you’ll see a whole new row of buttons. There are ones to power off the phone, start recording what’s on-screen, take a screenshot and hide the nav bar altogether. You can choose what goes into each of these bars too. How? Long-press on an empty part of a home screen and then tap ‘Change Navigation Bar’. This page lets you drag and drop functions onto both of the nav bar displays. It’s an instant Android phone pro mode.
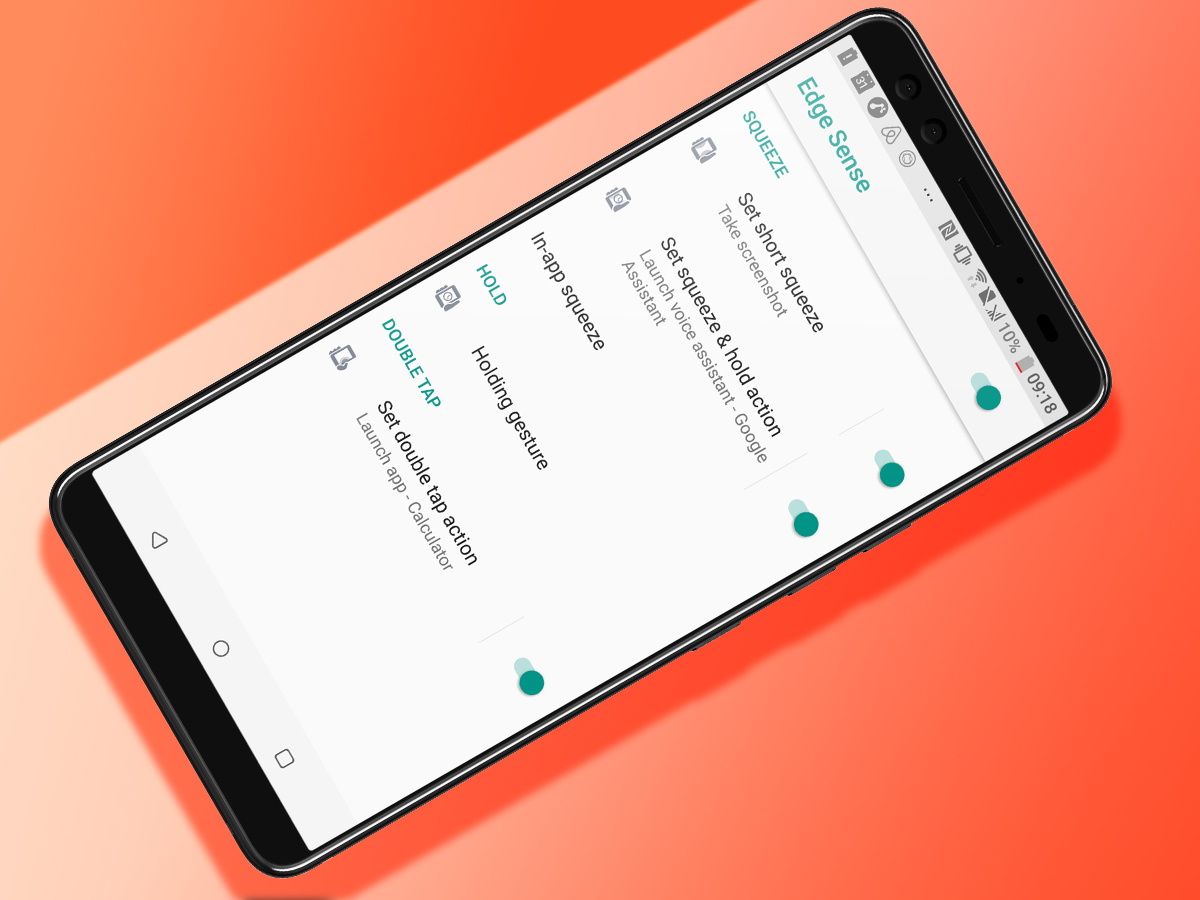
3) Customise Edge Sense
Depending on how you squeeze the edges of the U12+ it’ll do different things. A single squish opens the camera, a long one brings up Google Assistant and a double tap fires-up one-handed mode. However, you can customise how it works in Settings > Edge Sense. Our favourite is the one that stops the screen auto-rotating when you’re holding it. No more pesky screen flipping when you read Facebook in bed.
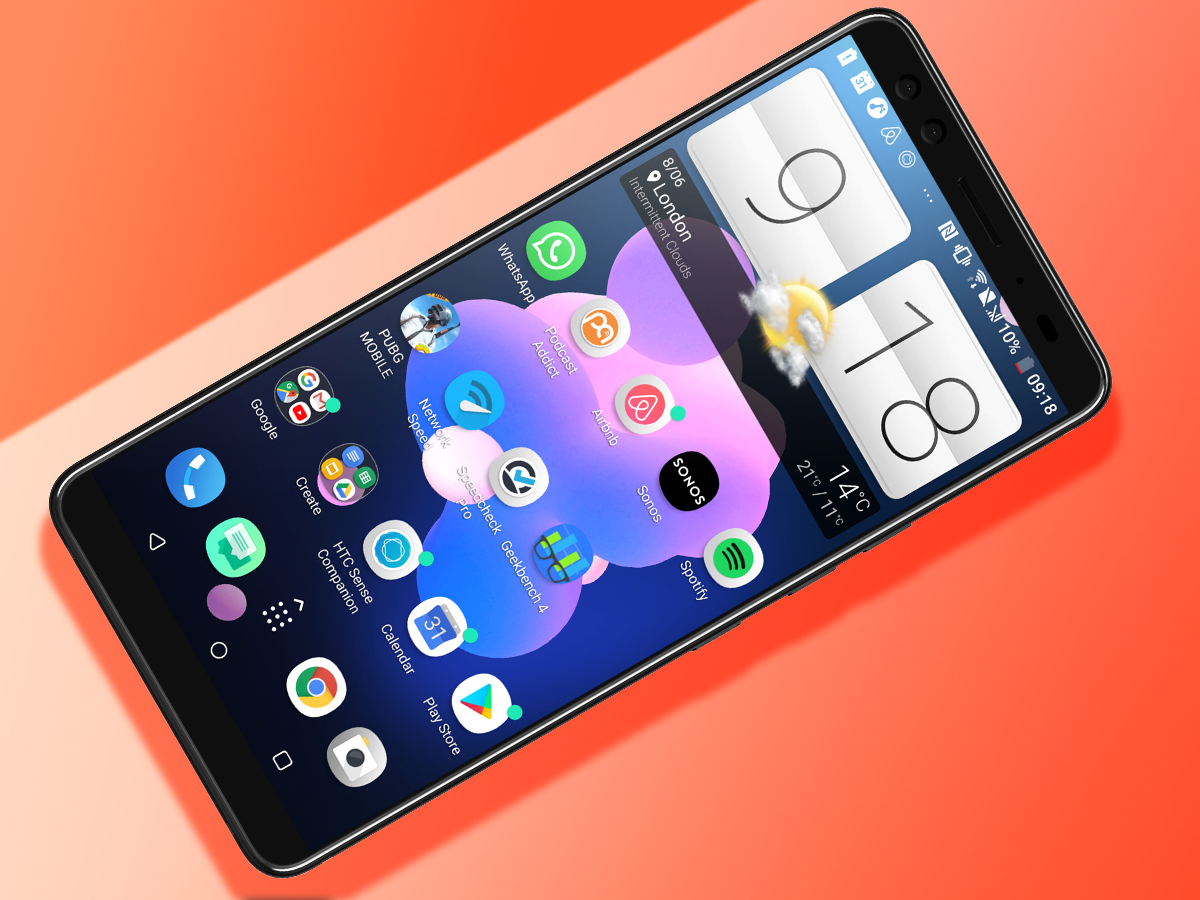
4) Go old school with an HTC clock
You used to be able to recognise an HTC phone from 30 paces because of its trademark clock widget. Want to bring it back? Long-press on an empty part of the homescreen and tap the Add Apps and Widgets button in the pop-up menu that appears. Flick down and you’ll find the HTC Flip Clock widget that used to sit front and centre on every classic HTC phone. It’s a 2010 timewarp.
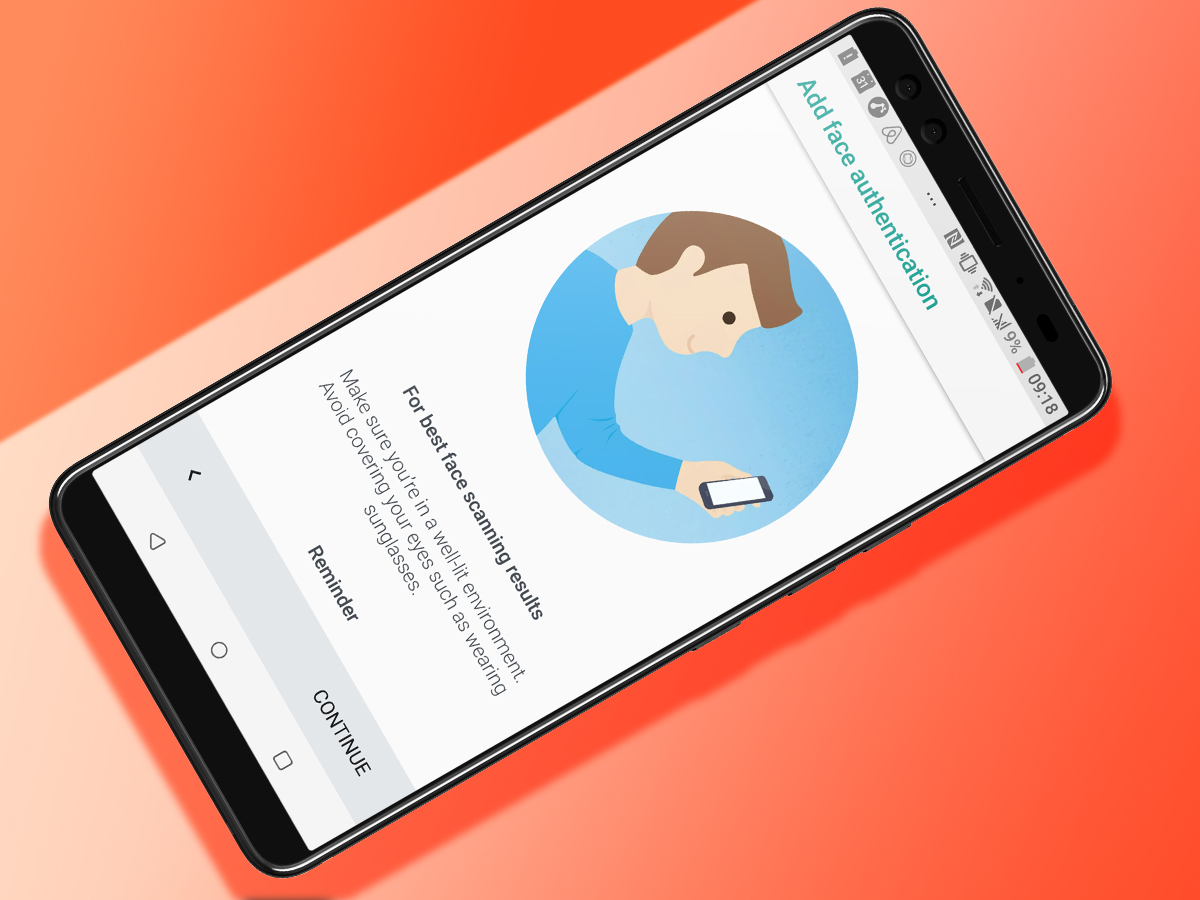
5) Set up face unlock
To teach your HTC U12+ what you look like, head to Settings > Face Unlock. You’ll have to setup a backup PIN or password to use it but after this it only takes a couple of seconds. Our pro tip is to make sure the Low Light Recognition in the Face Unlock menu is turned on. This uses the screen to light-up your face a bit more in poor lighting, making the whole feature work much better indoors.
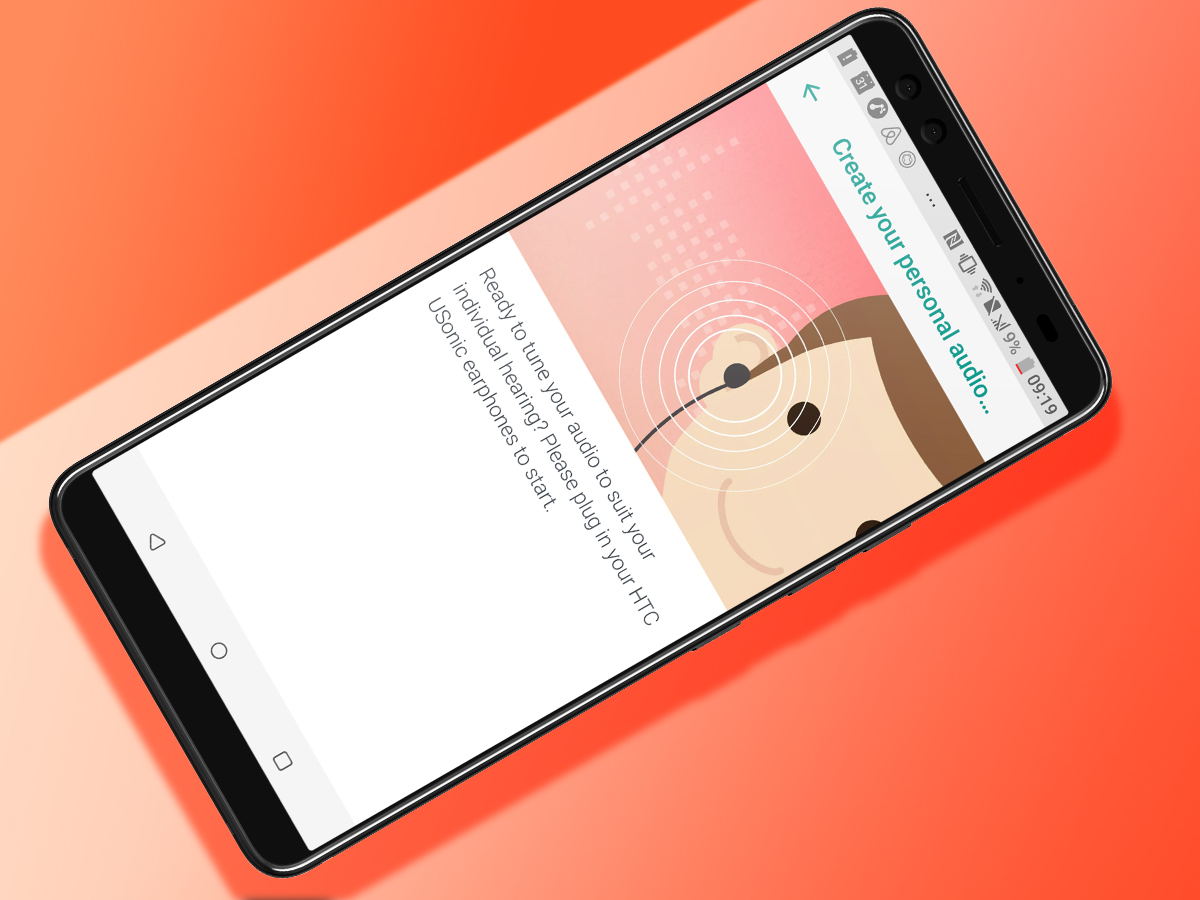
6) Tweak the earphone EQ for your hearing
The U12+ might not have a headphone port but HTC’s bundled USB-C earphones can scan your ears, making a custom EQ profile to suit your hearing. Unlike some of these bespoke EQ modes, there’s no audiologist-style hearing test to put yourself through either. It just takes a few seconds, scanning how your ear holes respond to a sound wave played through the drivers. You’ll find this feature in Settings > HTC USonic with Active Noise Cancellation.
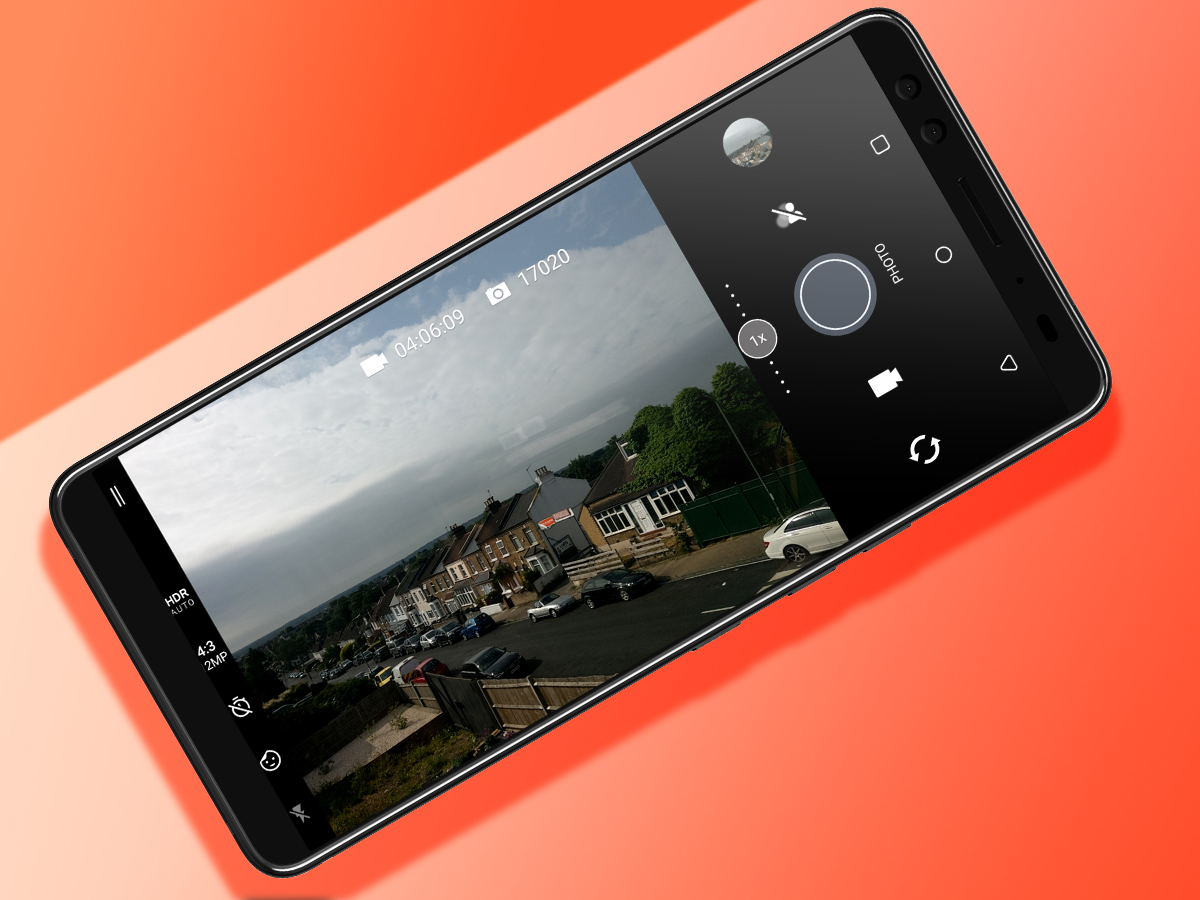
7) Test the camera’s limits
The HTC U12+ has a fantastic camera – but make sure you put it through its paces. You can’t miss the x1/x2 button next to the shutter button, which activates the U12+’s optical zoom, while its Auto HDR mode is great for shooting sunsets. Want to go even further? Use the Pro mode. This captures a RAW file as well as a JPEG. Open up a RAW file in Photoshop on your laptop or a RAW phone editor app and you can bring out even more shadow and highlight detail in your photos.
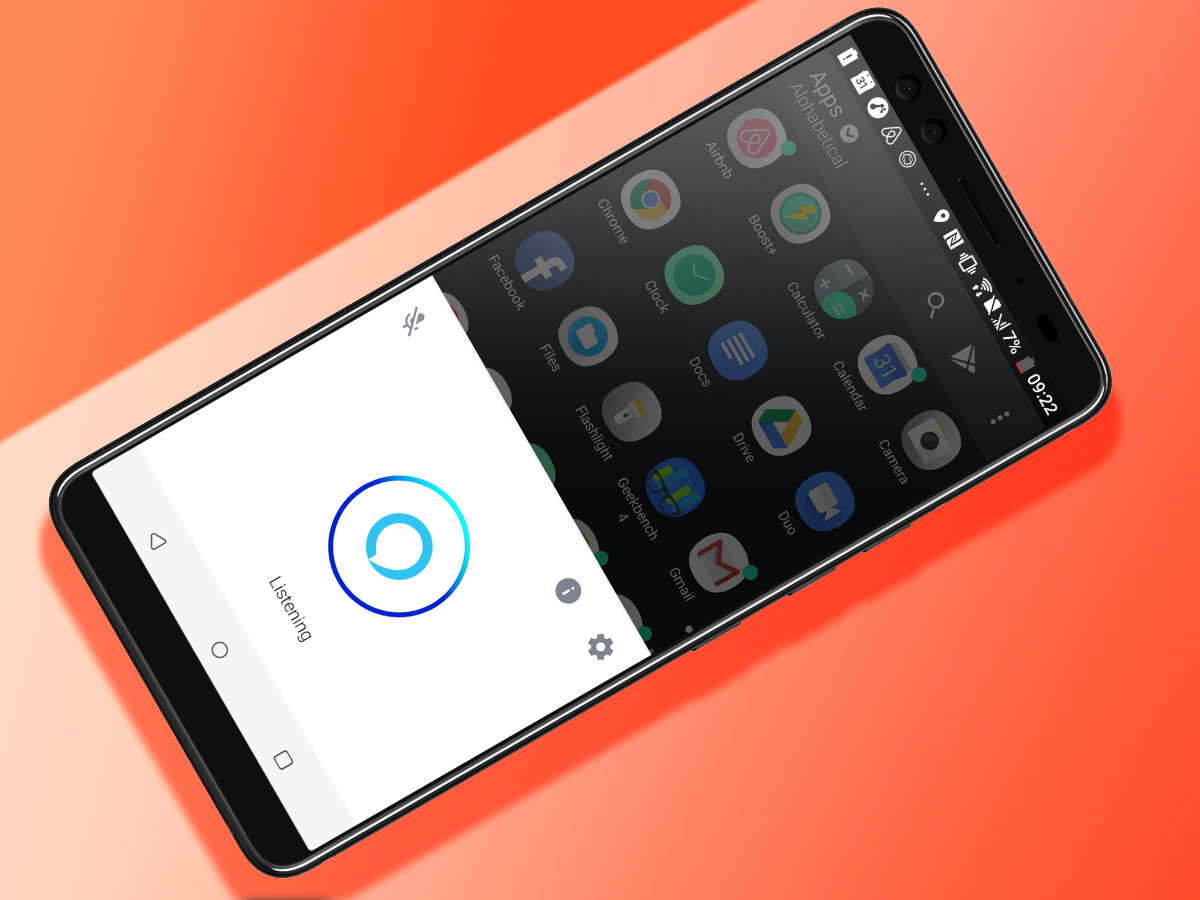
8) Try out HTC Alexa
The U12+ comes with a dedicated HTC Alexa app that lets you talk to it just like you might an Amazon Echo. Sure, using a smart speaker is more fun but you don’t have to pay any extra to get involved here. To make HTC Alexa even more useful, you can set it to fire-up when you squeeze the phone’s sides. This option is found in Settings > Edge Sense.
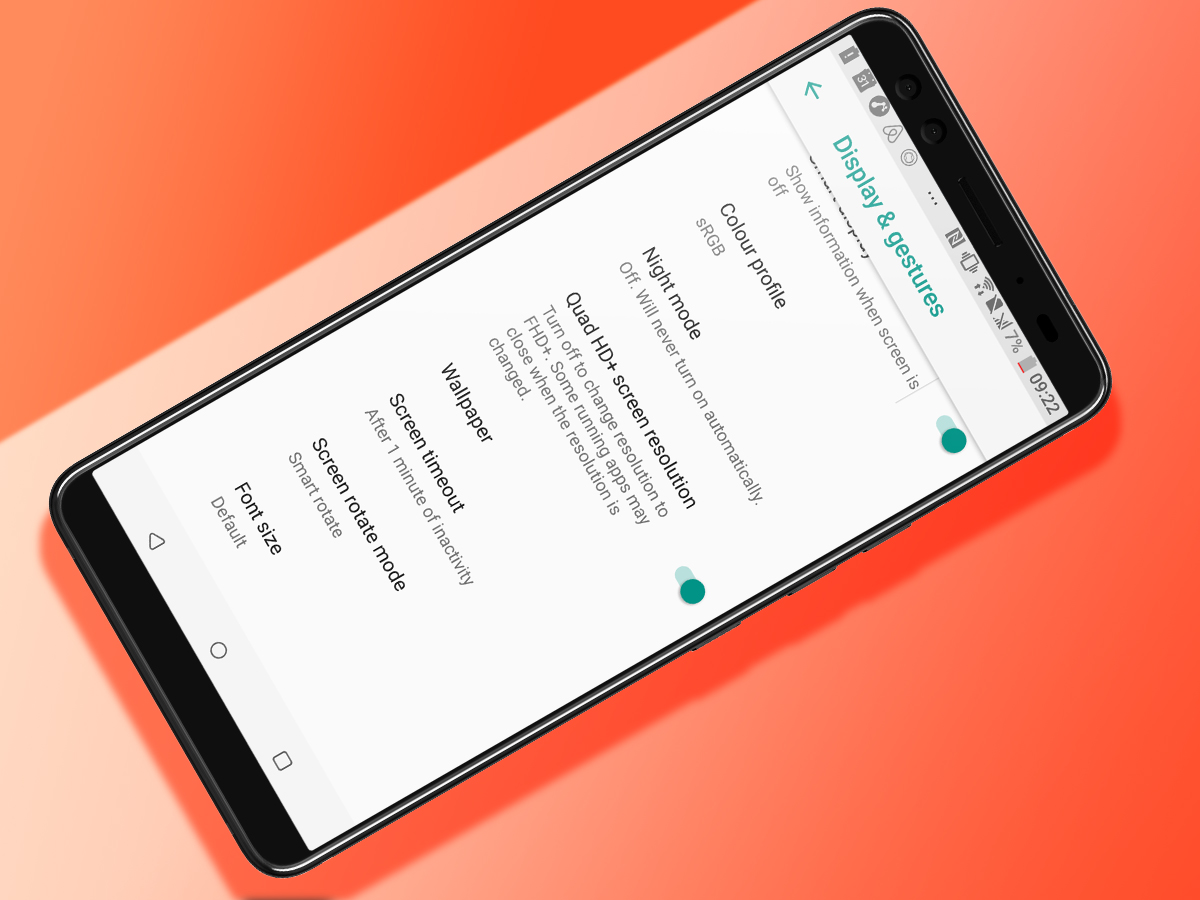
9) Lower the resolution for better battery life
The U12+’s battery life isn’t brilliant. But there is a partial solution. In Settings > Display & Gestures you’ll find an option to lower the screen resolution from QHD+ to Full HD+ instead, thus limiting the legwork the processor has to do and reducing the strain a bit. What’s more, there’s no a huge difference in how sharp the screen looks, so it won’t feel like too much of a sacrifice.
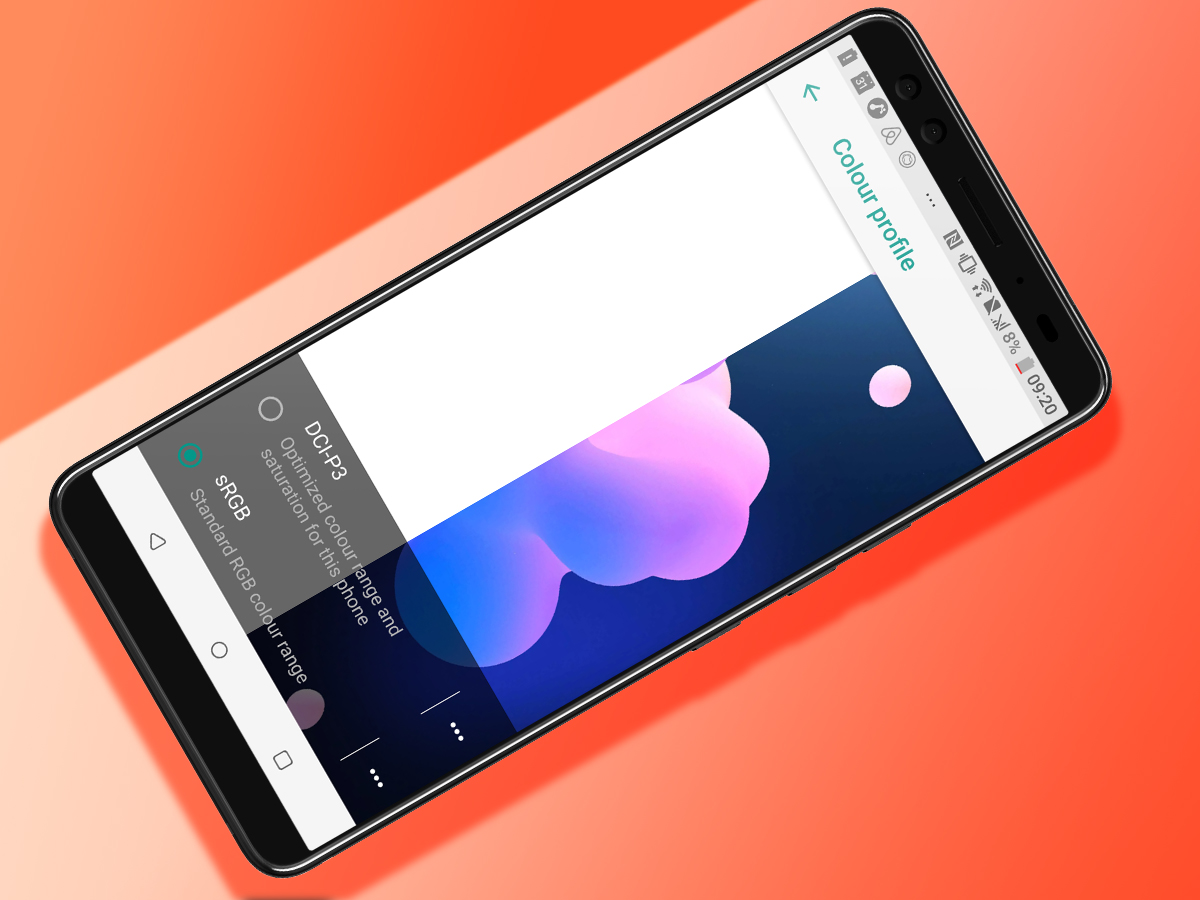
10) Make the display suit your eyeballs
But it’s not just the resolution you can change. You can switch between DCI-P3 and sRGB colour modes, and fiddle with the colour temperature to alter how warm or cool it looks. You’ll find these in the Advanced section of Settings > Display. sRGB is the colour standard monitors and printers used to be judged by. It’s there for the more natural, chilled-out look. DCI-P3 is a cinema standard, and really gives the HTC U12+’s screen colour a workout, with extra vivid tones.
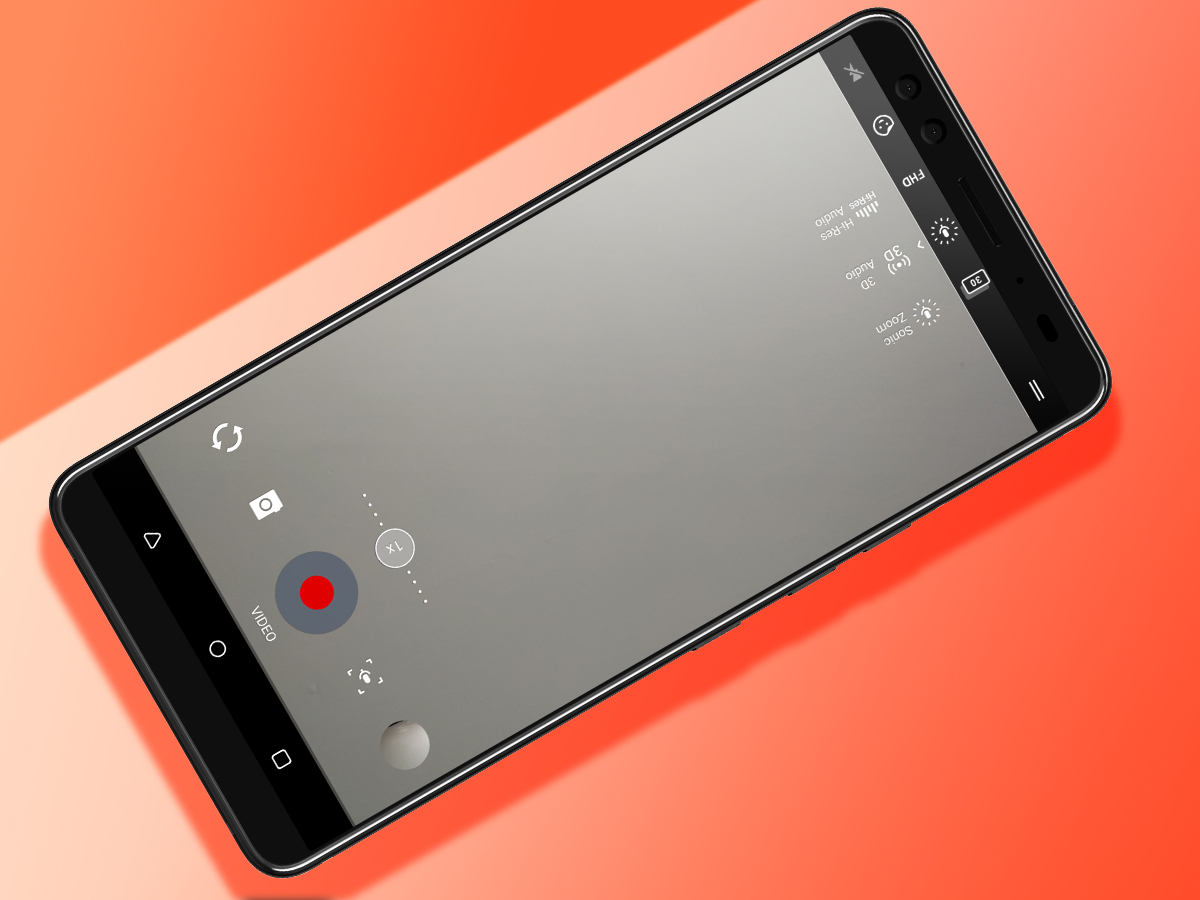
11) Get creative with video sound
The U12+ has four microphones that allow you to choose from three audio modes when you shoot video. You’ll see them in the left bar of the camera app. Hi-res is neat, but it’s the least interesting of the lot. 3D Audio records in surround sound, although you’ll need headphones or some decent speakers to hear the effect, while Sonic Zoom focuses the microphone on your subject, so whatever it picks up will be louder than everything else. Just be careful not to block any of the mics.

