The first 12 things you should do with your iPhone 8 or iPhone 8 Plus
Apart from taking it out of the box, obviously
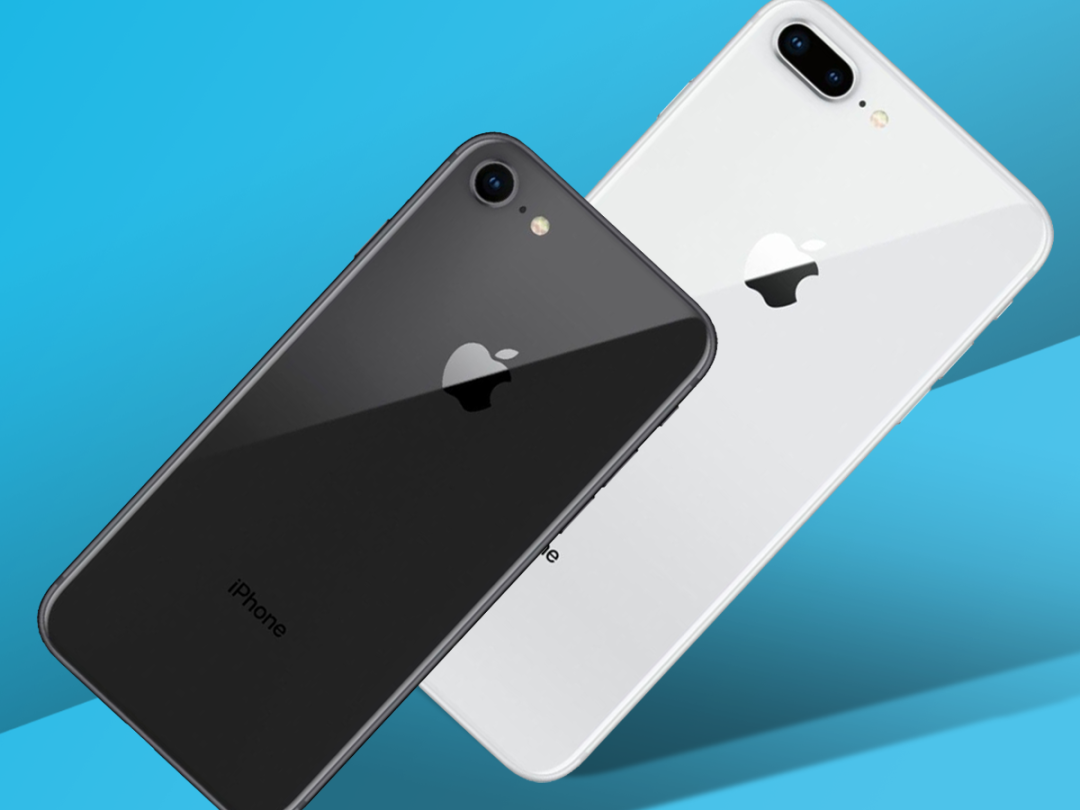
The iPhone 8 Plus and iPhone 8 are Apple’s swankiest iPhones yet, and along with iOS 11 make for a serious chunk of power in your palm.
However, some of the really good stuff isn’t always easy to find – especially if you’re coming from an older version of iOS or (shudder) an Android phone.
Here’s our guide, then, to a dozen things you really need to do, when getting your shiny new Apple pride and joy up and running.
1. Set up Touch ID
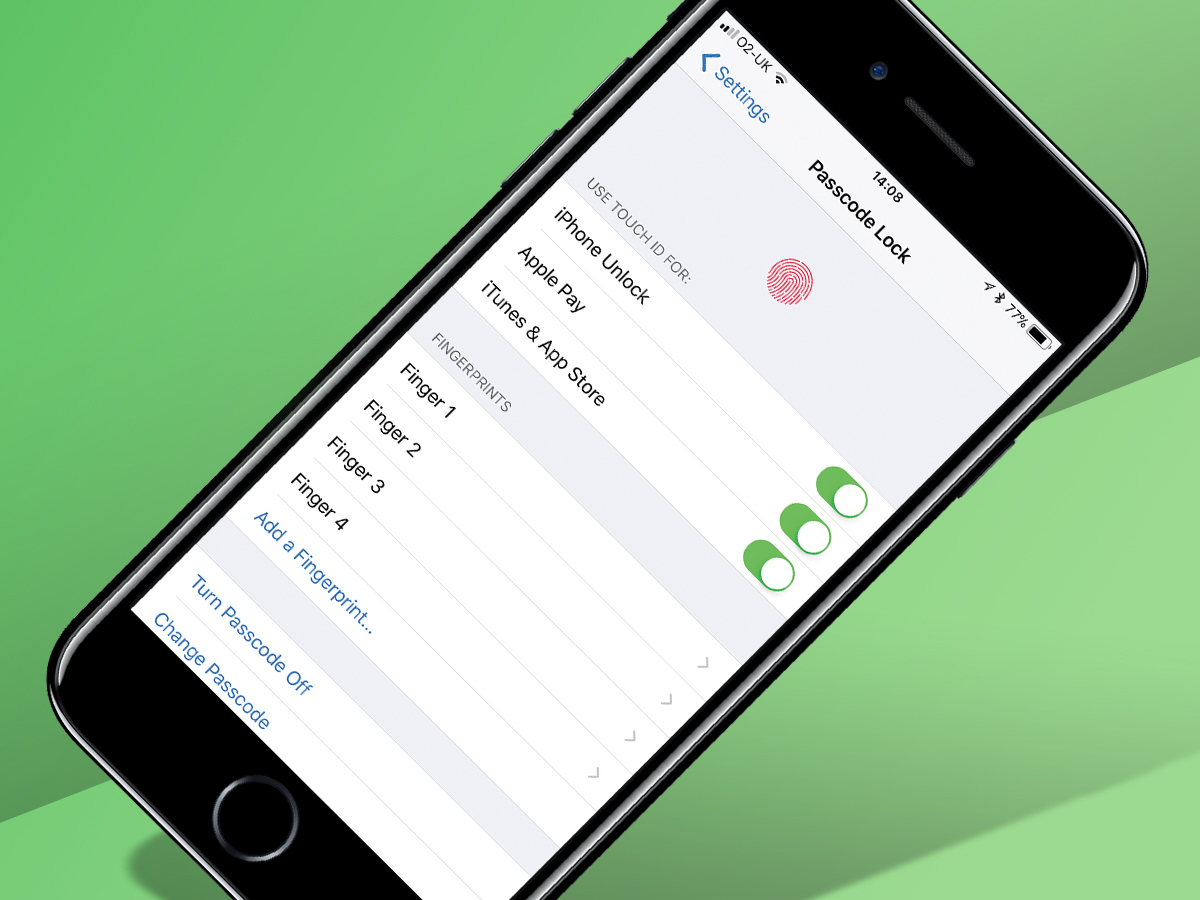
“Wait”, you might say, “I’ve already done this”. And perhaps you did set up a thumb with Touch ID when working your way through Apple’s welcome wizard. But, really, you want to have both thumbs and a couple of forefingers scanned. This will let you fire off Touch ID using either hand, or without twisting your wrist when your iPhone’s face-up on a table.
In Settings, head to Touch ID & Passcode, enter your passcode, tap Add a Fingerprint, and get mashing that Home button with different digits.
2. Start using Siri and search
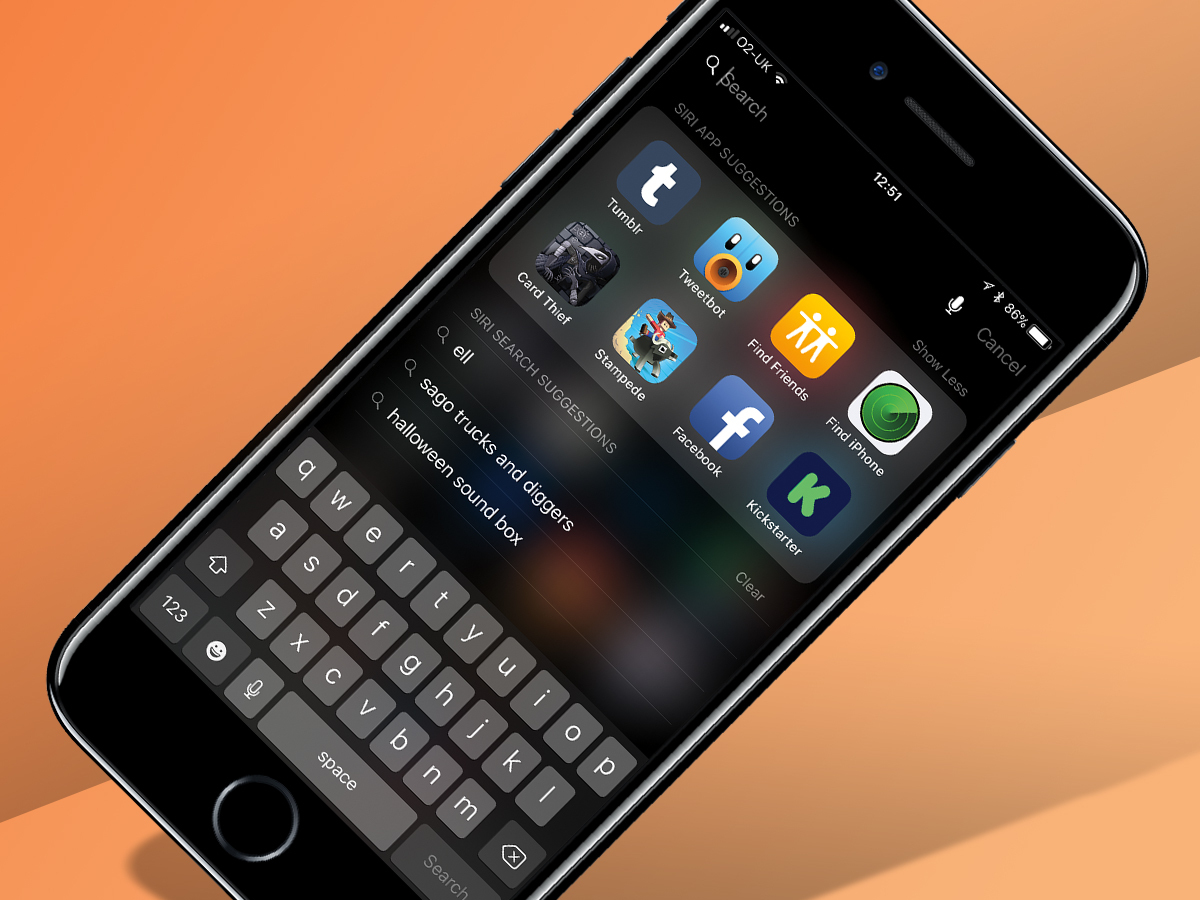
Whether you hold the Home button and ask Siri stuff, yell “Hey, Siri!” at an annoyingly loud volume, or drag down a Home screen to access Search, do these things often. Apart from the shouty bit.
The reason is iOS 11 learns from your habits. The more you use Siri and Search, the better they get. Handily, you can also correct Siri now, by editing its interpretation of what you say, when it mistakes “What’s the weather tomorrow?” for “I want to buy gorgonzola”.
3. Use Find my iPhone
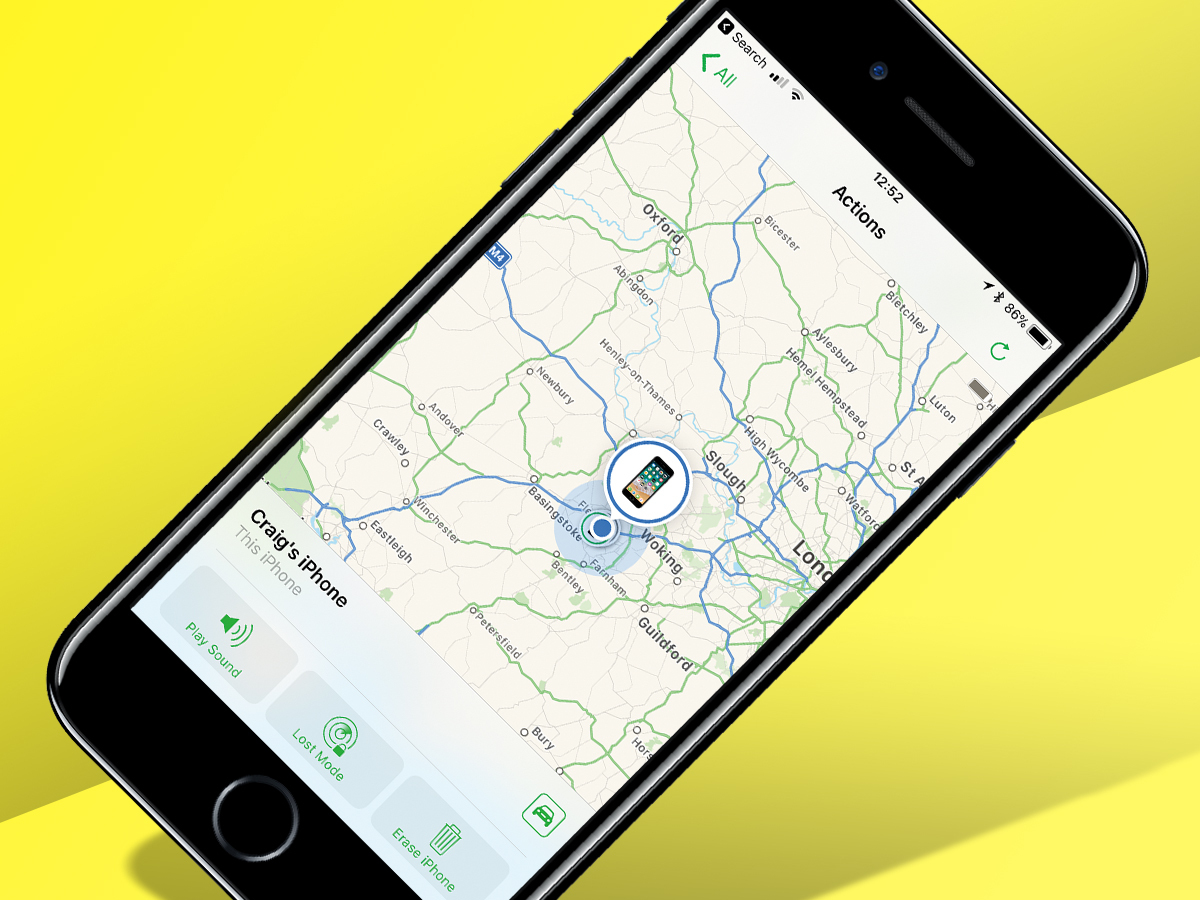
In the Settings app, tap on your name and then iCloud. Tap Find My iPhone and then ensure Find My iPhone and Send Last Location are both turned on.
The dedicated Find my iPhone app (labelled Find iPhone) comes preinstalled on your iPhone. Sign in using your Apple ID and you’ll see your iPhone on a map. Tap Actions and you get options, including Play Sound (if your iPhone is ‘lost’ nearby), Lost Mode (which enables you to set up an SOS on the lock screen), and Erase iPhone (for when all hope is lost along with your iPhone).
4. Install some apps and games
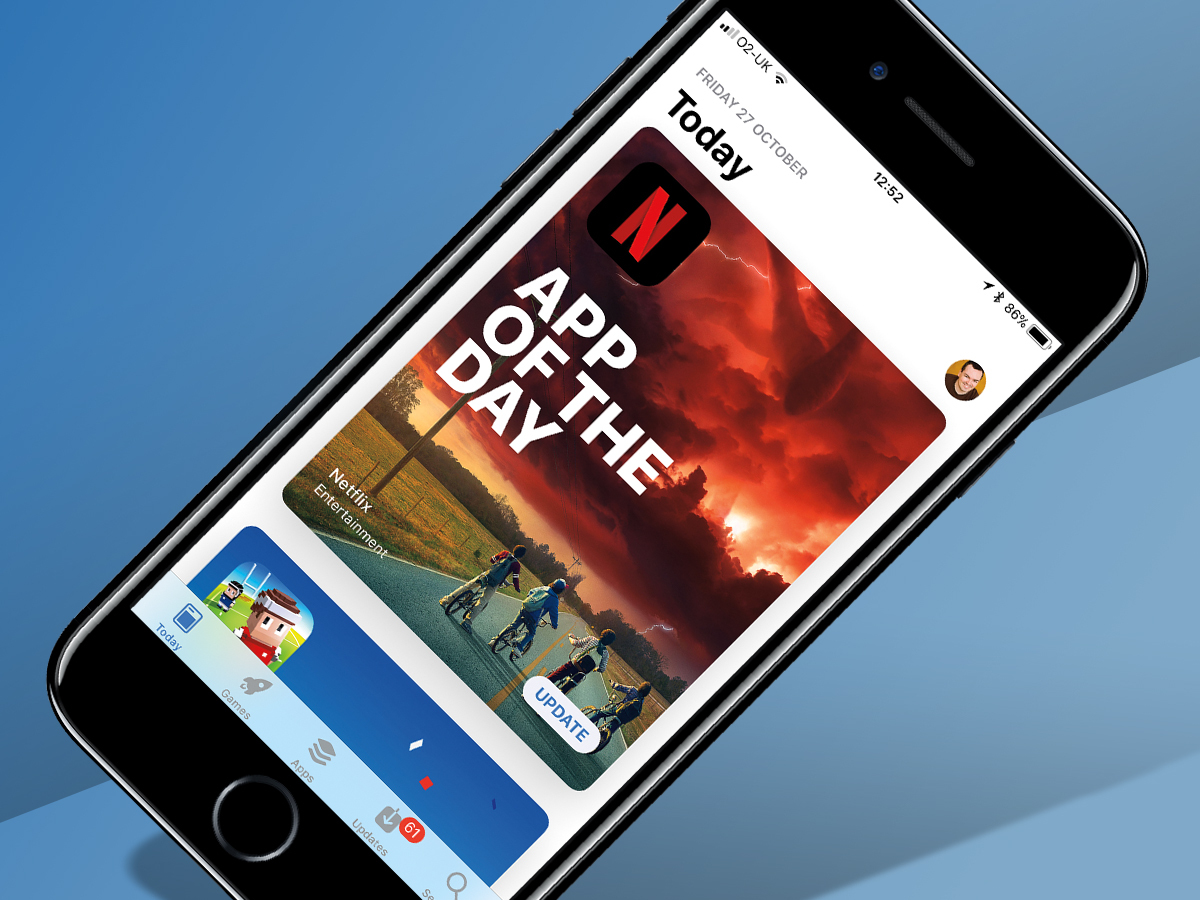
The biggest benefit of going for an iPhone over an Android device is arguably the richer app and games ecosystem. So grab yourself some apps.
The App Store itself will help you sift through the 1.5 million available, but first check out Stuff’s lists of the best iPhone games, best free iPhone games, and best free iPhone apps.
5. Use the Dock
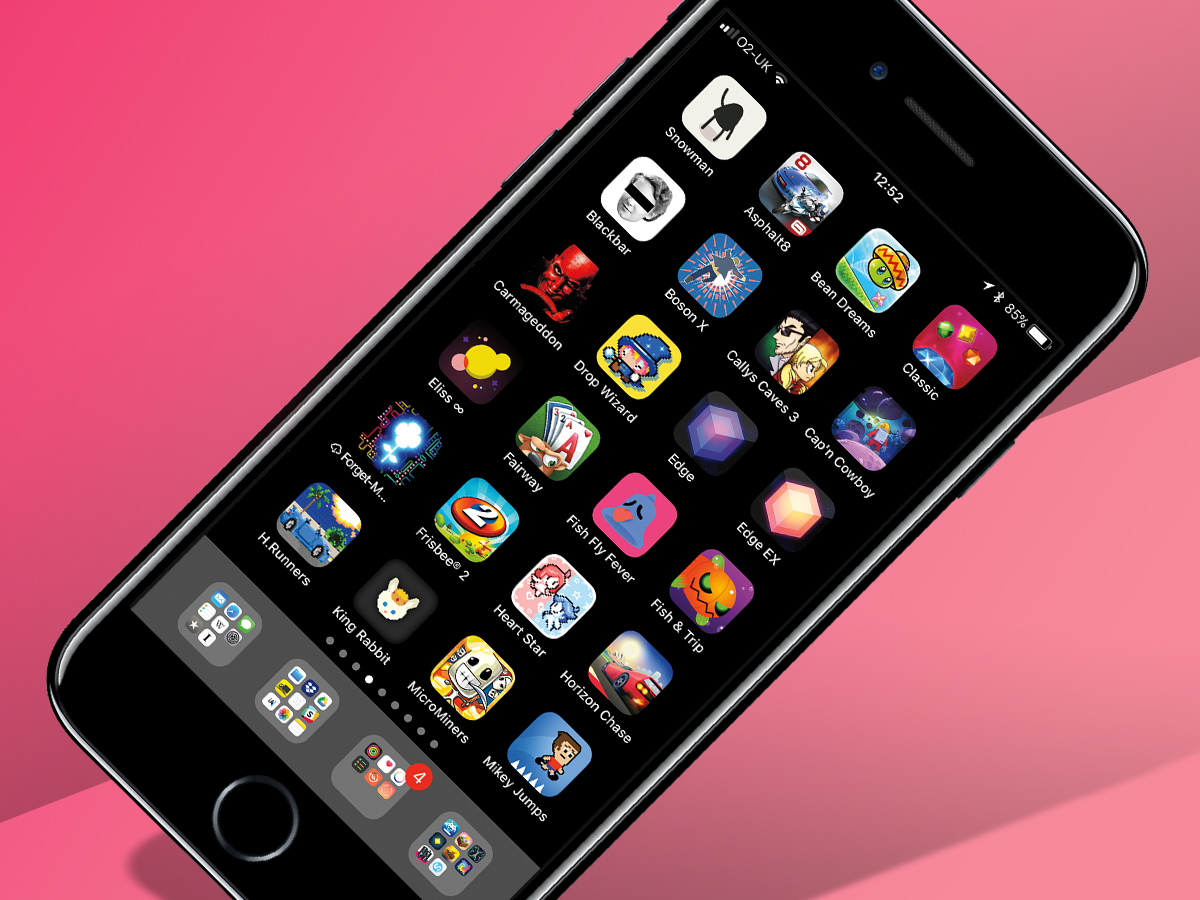
Apple starts off your iPhone experience by plonking some of its apps in the Dock. You might disagree with what’s included – in which case, make some changes.
Tap-hold an icon to make them all jiggle. Then tap-hold an icon and drag it from the Dock. Want to take others with it? Tap them before you dump your selection on a Home screen.
Now put whatever you fancy in the Dock – including folders, if you want fast access to loads of apps, rather than just four.
6. Connect apps to Files
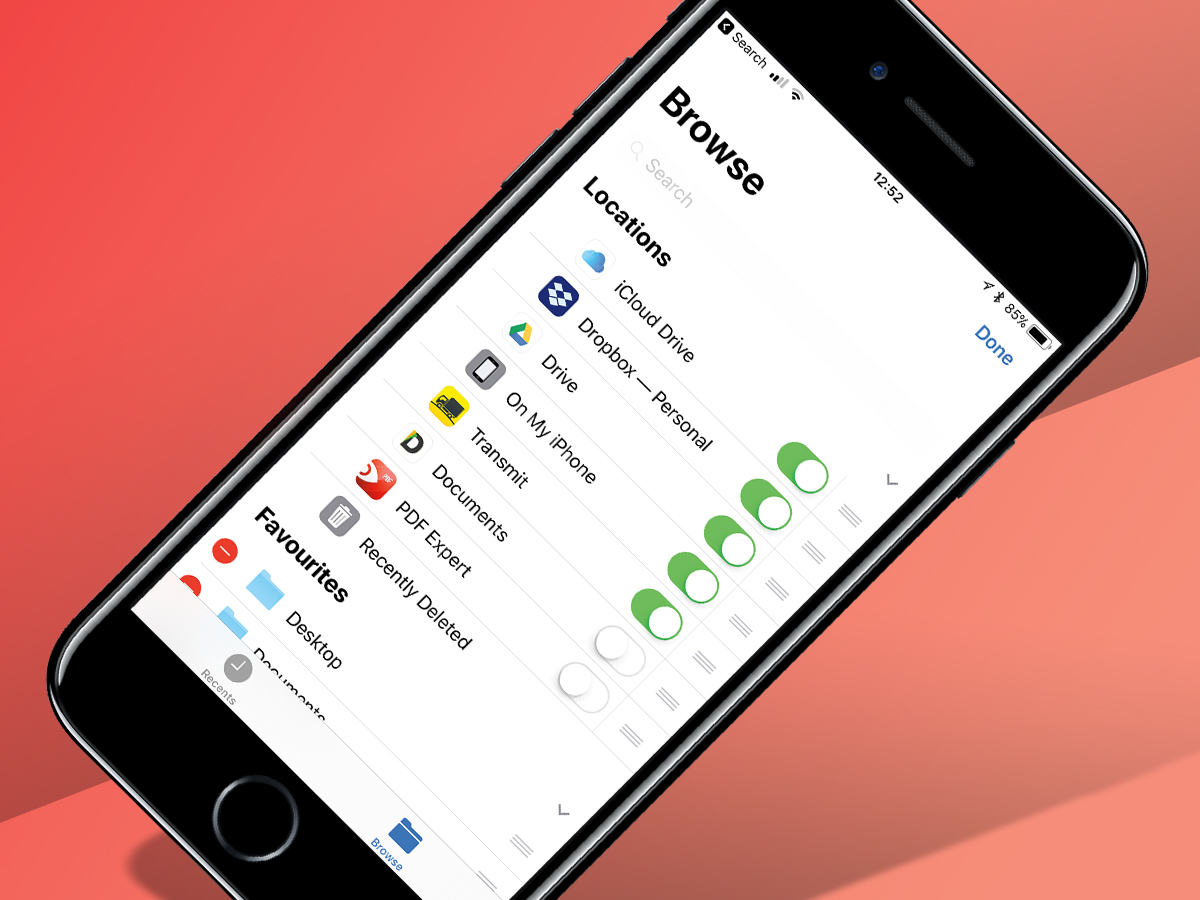
Open up the Files app. It’ll show the files stored in iCloud Drive. If you’ve connected Macs to this service and shared their Desktop and Documents folders, they will appear here.
Now tap Locations and tap Edit. If you’ve other cloud services installed, they’ll show up here, on an equal footing with iCloud Drive. Got an iPhone 8 Plus? Whack it in landscape for two-pane Files goodness.
7. Manage your widgets
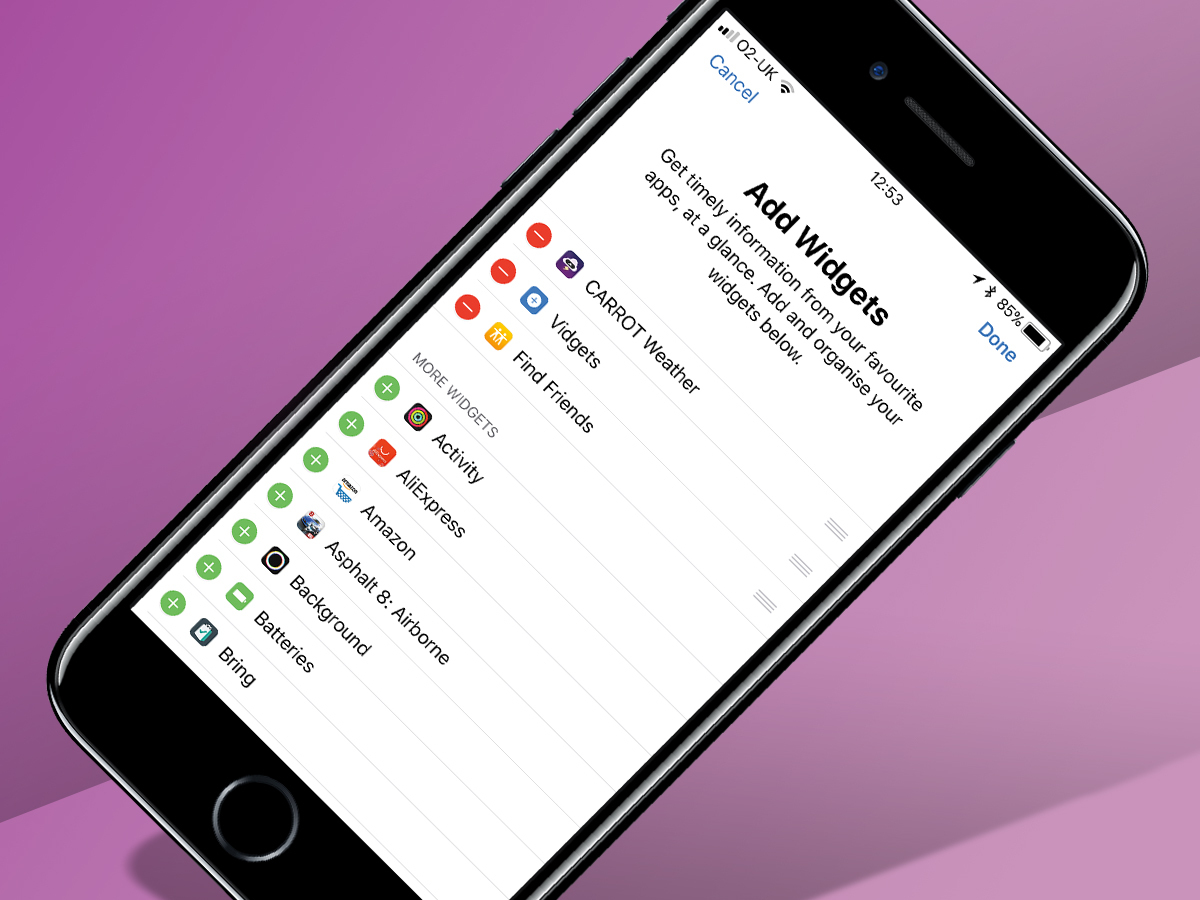
Swipe right on your lock screen, or drag down from the top of a Home screen and swipe right – there are your iOS widgets. Many apps include a widget, and they can be really handy to quickly access information, and track what’s going on with your iPhone.
Scroll down, tap Edit and you can choose which widgets to add (+) or remove (–). Use the drag handles to reorder them.
8. Edit Control Centre
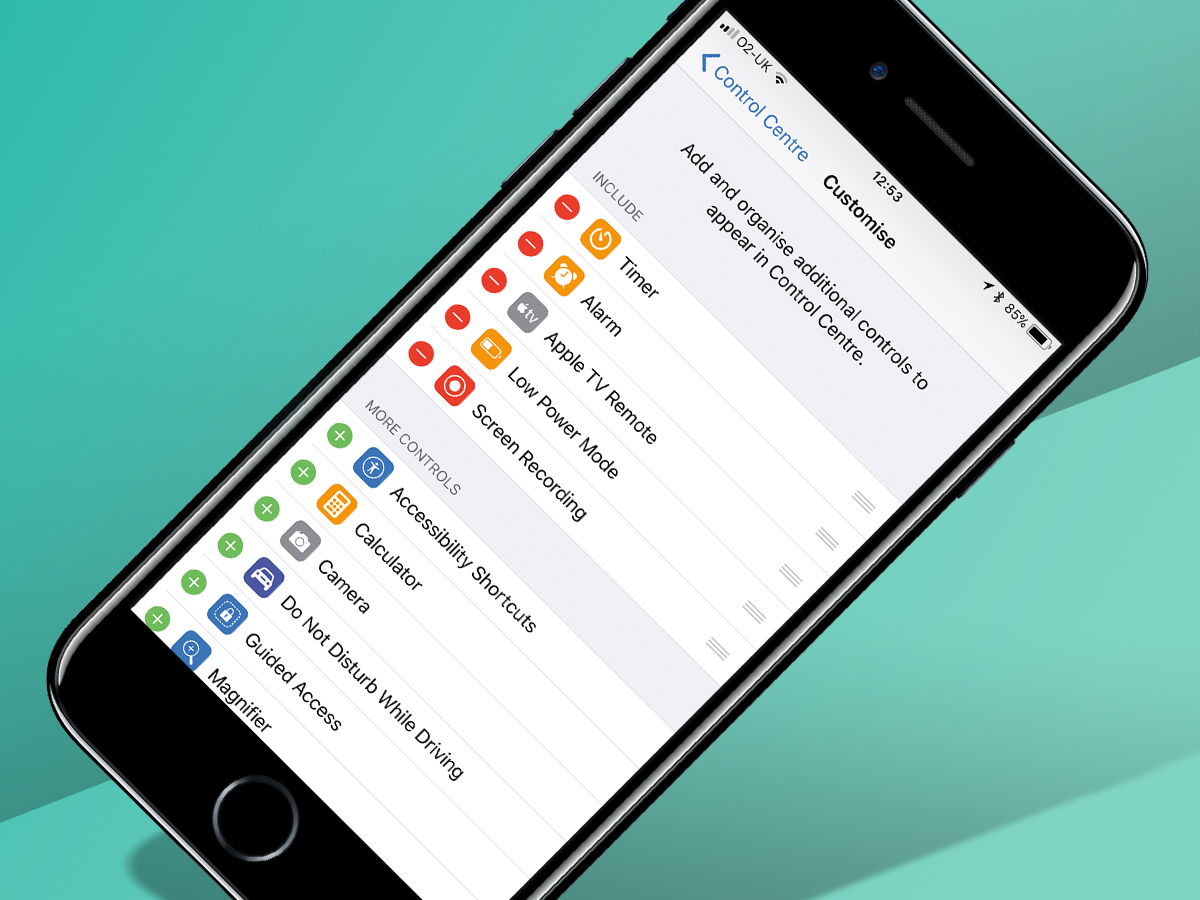
Swipe upwards from the bottom of your iPhone’s display and you’ll see Control Centre – a collection of buttons designed to provide a quick way to perform actions like activating Airplane Mode, firing up AirPlay, and turning on the rotation lock (that you’ll invariably forget about – and later wonder why apps aren’t working properly).
Some of the buttons can now be customised. In Settings, go to Control Centre > Customise Controls. Again, use the + and – buttons and the drag handles to adjust your selection.
9. Create a Medical ID
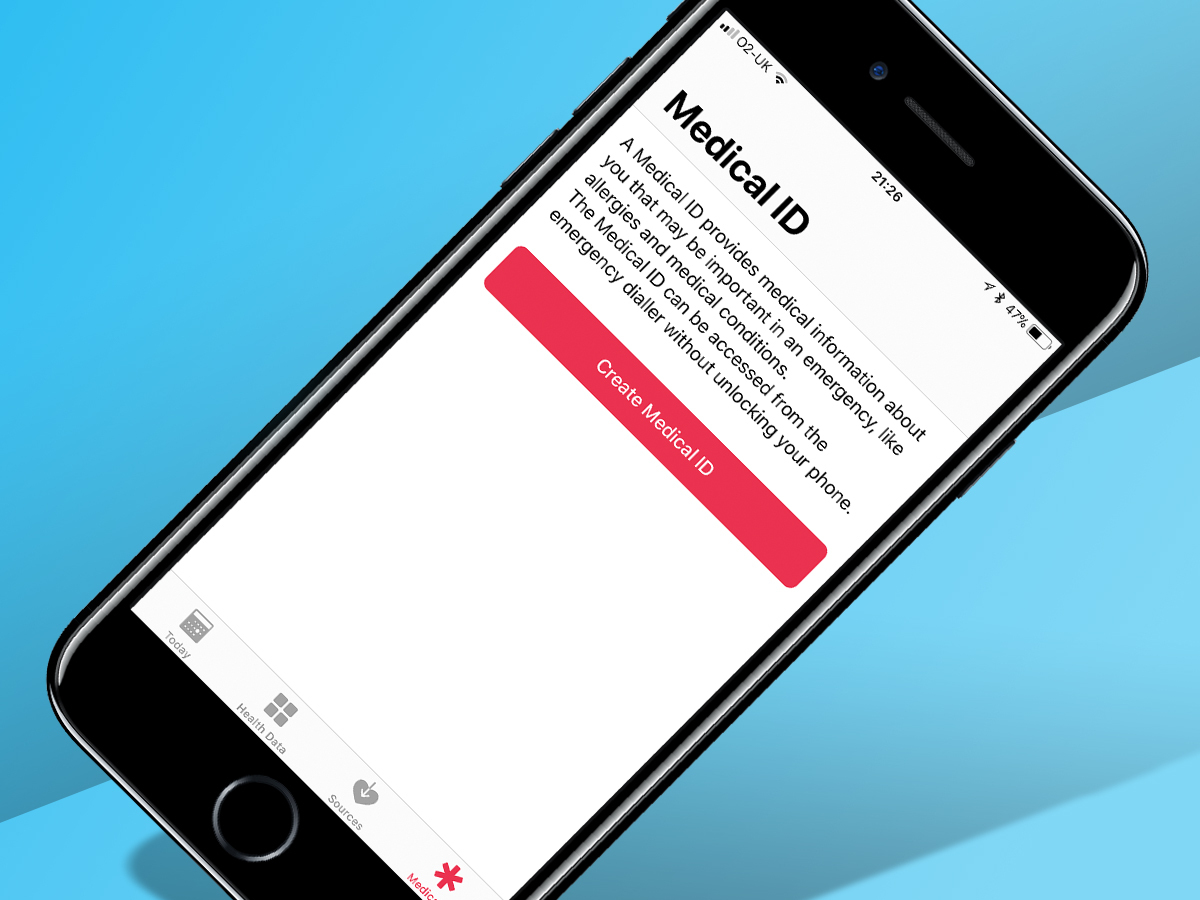
Each iPhone can have a unique Medical ID, designed to enable others to help you should disaster strike. In the Health app, tap Medical ID, and then Create Medical ID. Add relevant conditions, notes and details (allergies; blood type; organ donor details), and emergency contacts.
Other users will be able to access these details from your iPhone by pressing the Home button, tapping Emergency, and tapping Medical ID. Hopefully, they’ll never have to – but better safe than sorry.
10. Activate Do Not Disturb
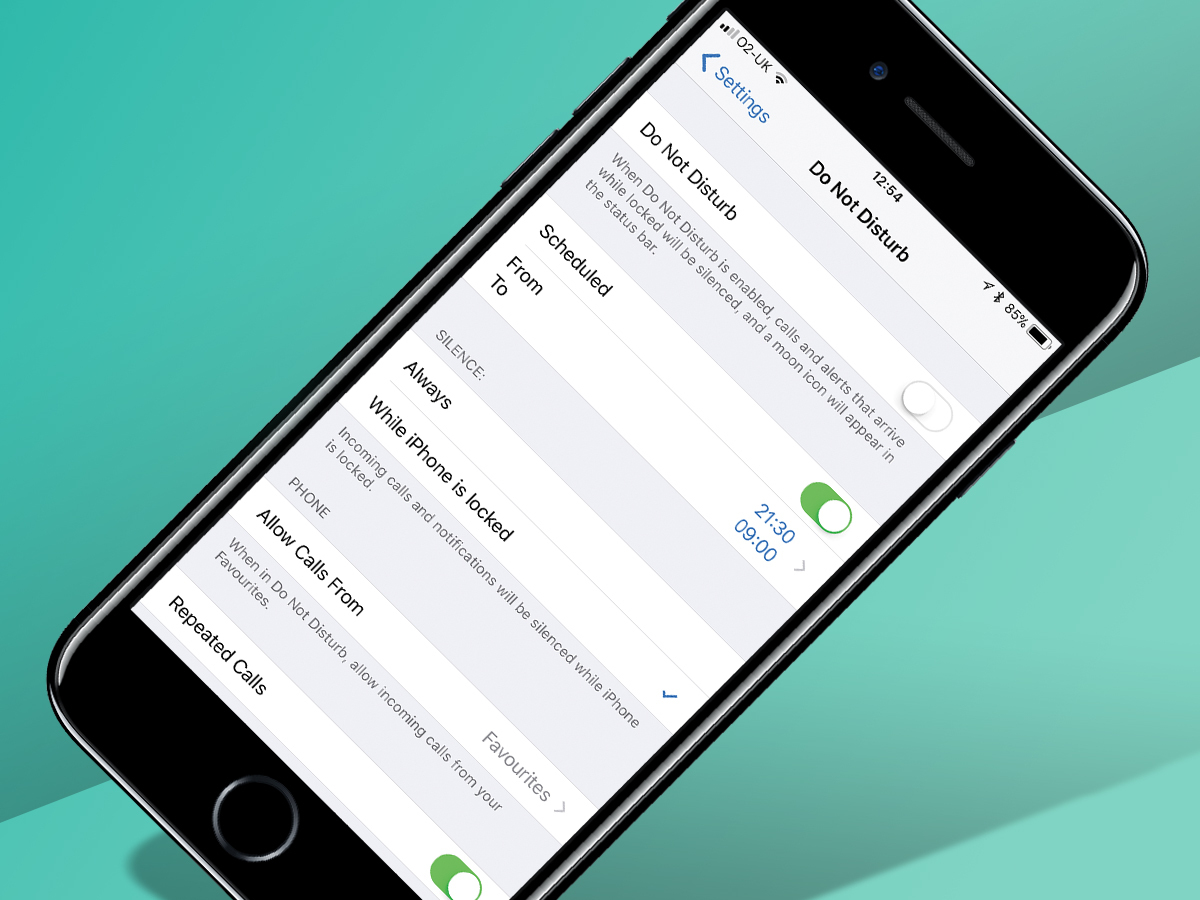
In Settings, tap Do Not Disturb. If you value your sanity turn the feature on, and define a schedule for quiet hours. During these times, your iPhone will belt up while it’s locked. Peace at last!
But what about those people you never want to block? Define some favourites in the Contacts app, and choose that category from Allow Calls From.
As of iOS 11, there’s also Do Not Disturb While Driving. It’s an admirable but flawed feature, even being triggered for one Stuff writer when she was in a lift. (No, she wasn’t driving in it at the time.) However, you can add a button to Control Centre, enabling you to manually toggle the feature, even when you’re in a lift, if you’re feeling odd.
11. Delve into Accessibility
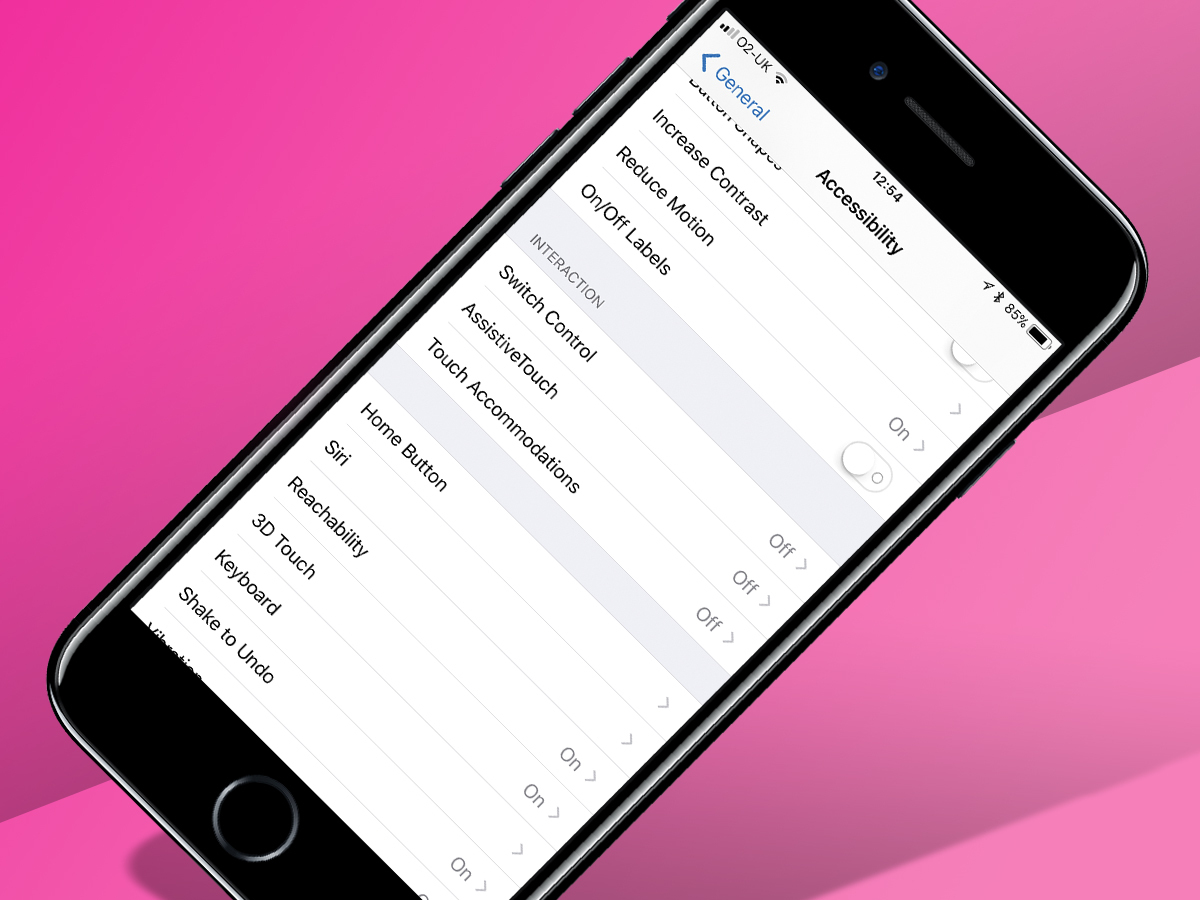
Still in Settings, go to General > Accessibility. In theory, this is a place for users with additional vision, hearing, and motor needs. In reality, it’s also a grab-bag of settings goodness that can benefit every iPhone user.
You can adjust 3D Touch, Shake to Undo and have the LED flash when alerts occur. Within Vision, you can make text bolder and larger, and still dizzying animations. And lurking in Display Accommodations is the Auto-Brightness switch Apple would rather you didn’t know still existed.
12. Start backing up
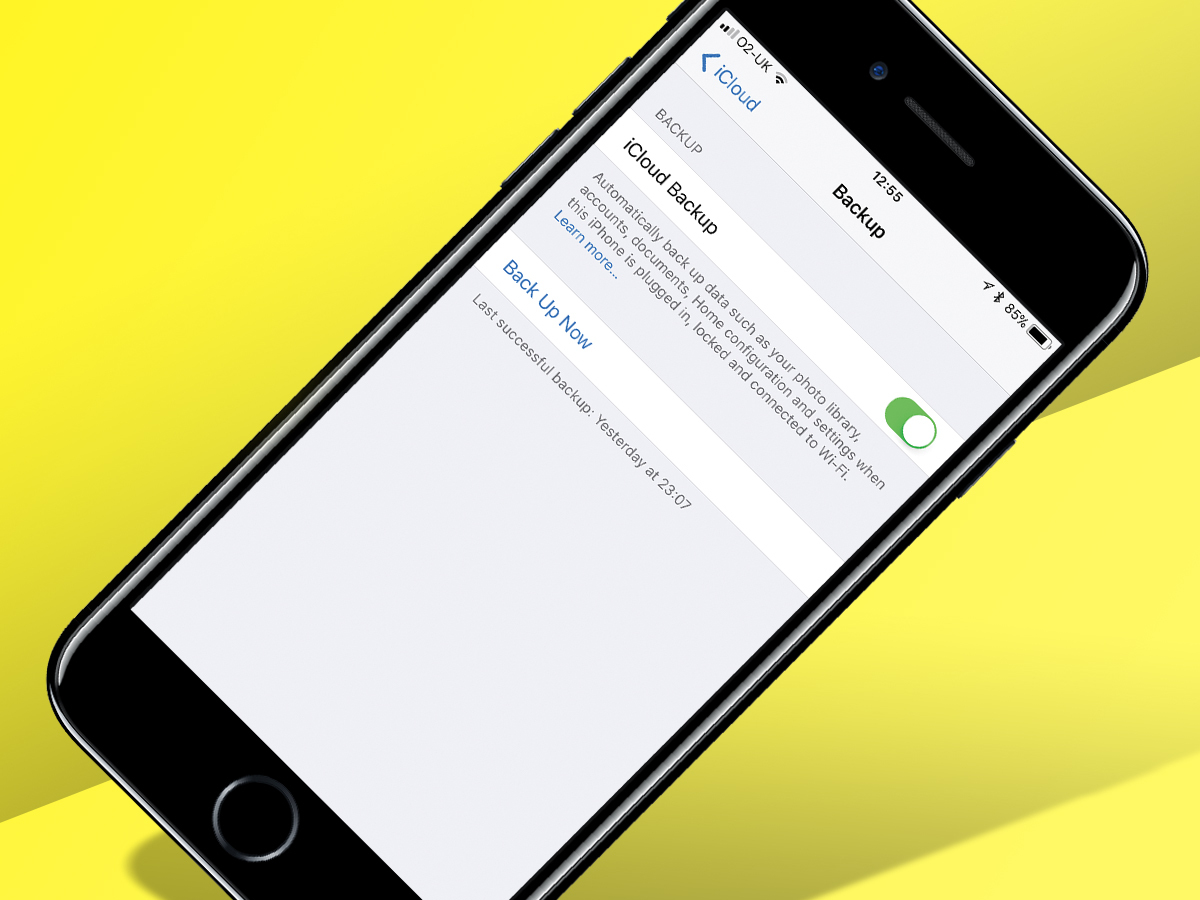
Tap your name in Settings, and then iCloud. Tap iCloud Backup, and then turn the thing on. When your iPhone’s plugged in, locked, and connected to Wi-Fi, it’ll now back up. Back in iCloud, go to Manage Storage > Backup and select your device if you fancy pruning specific content from the back-up.
If you’re lacking space on iCloud (and you probably will be almost instantly, given that Apple only provides a miserly 5GB for free), buy some more. You might not want to, having splashed out the best part of a grand on your phone in the first place – but you’ll be happy you did if you ever lose your iPhone and later want to restore your data to a replacement.
Where to buy
READ MORE › The 10 best accessories for the Apple iPhone 8


