Configure your new MacBook Pro with this quick guide
So you just got a… MacBook Pro Lucky thing. But where do you start? We've got some suggestions...
JUST GETTING STARTED
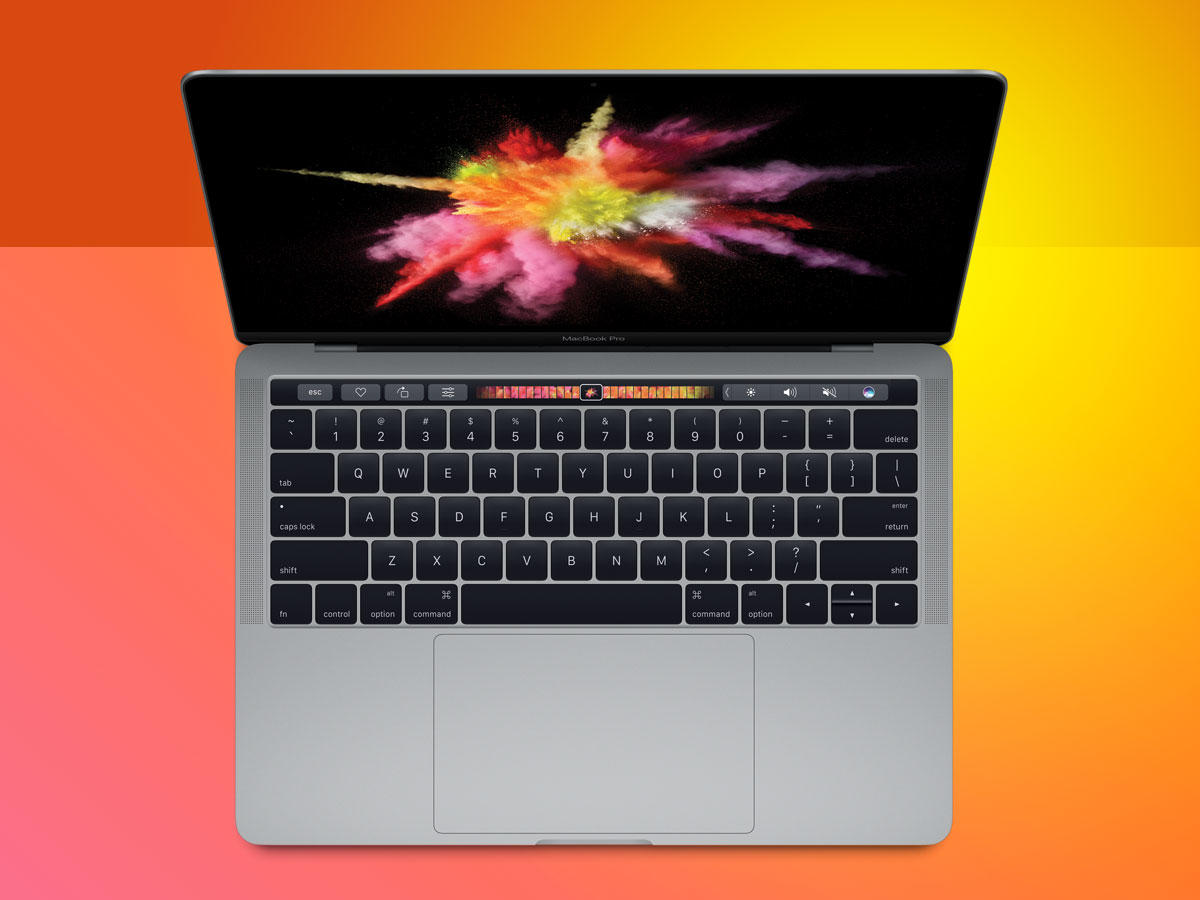
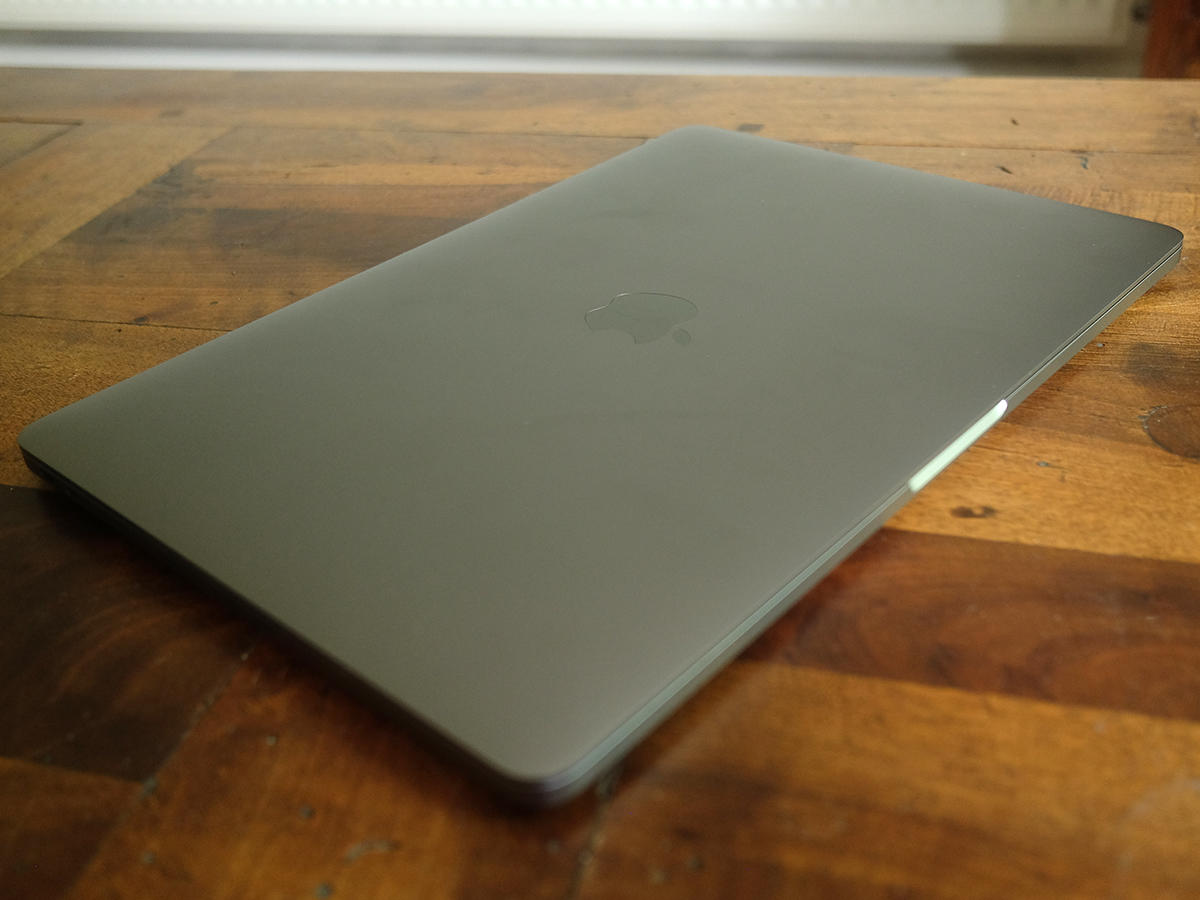
That’s quite the tasty Apple treat you’ve just unboxed. Bet you’ll be wondering what to do with it. No? Why not? Oh, you’re too busy stroking its smooth aluminium lines. Well, that makes sense. When you’ve finished, though, you should probably have a plan for how to get going with it. But first things first, you should figure out how best to configure it. Here are some tips to help you do just that.
NAIL THE SETUP
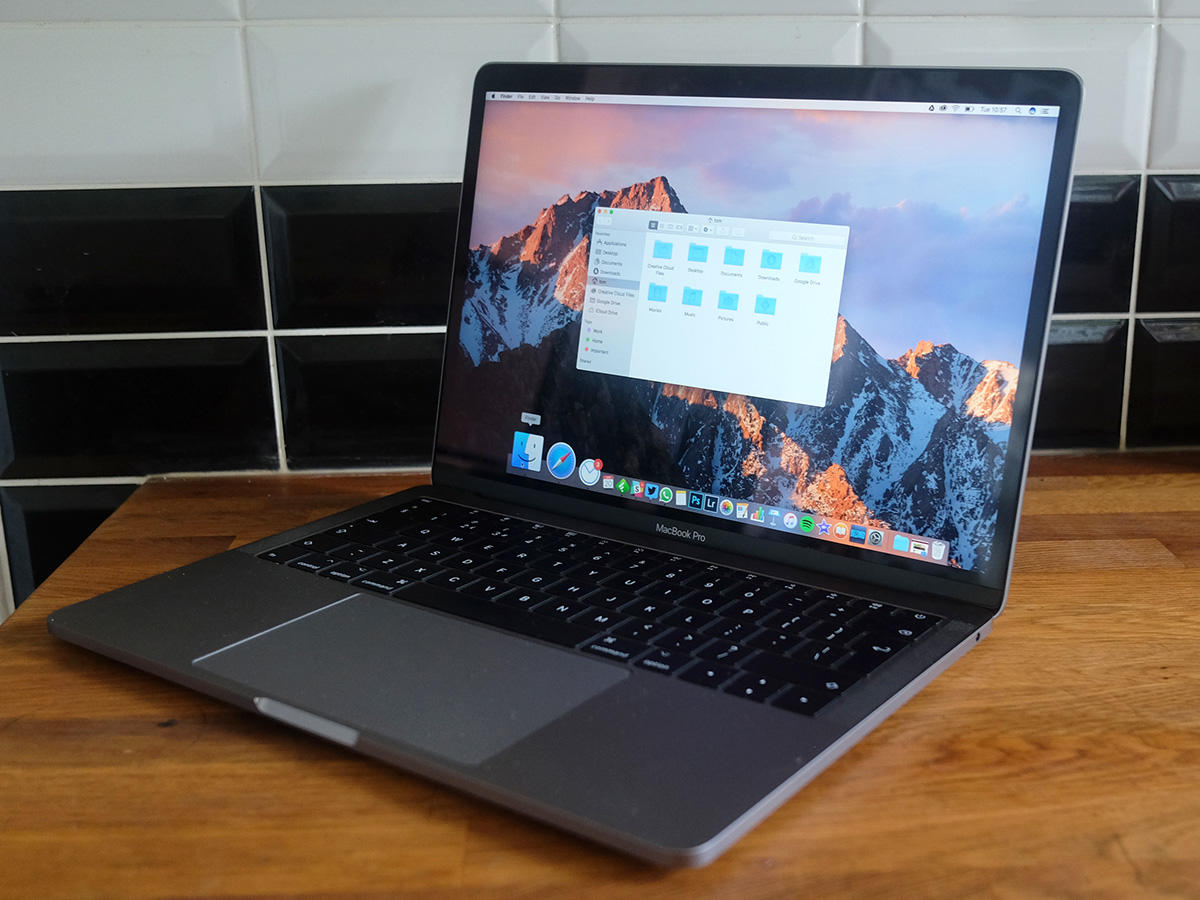
Out of the box, flip the lid, hit that power button. Vwoam. That sweet sound. Boot it up and you’ll begin going through the painless setup process. Your first big decision will be whether to use the Migration Assistant to more your files from your previous Mac or PC. It’s a very simple process, but it can take a while. It’s also quite nice to start with a new, fresh, uncluttered machine, so you might want to resist porting your files and programs in this way and move or install them manually instead. Your choice. You can always say no to Migration Assistant at this point and access it later – you’ll find it under “Utilities” in the Launchpad.
UPDATE AND UPGRADE
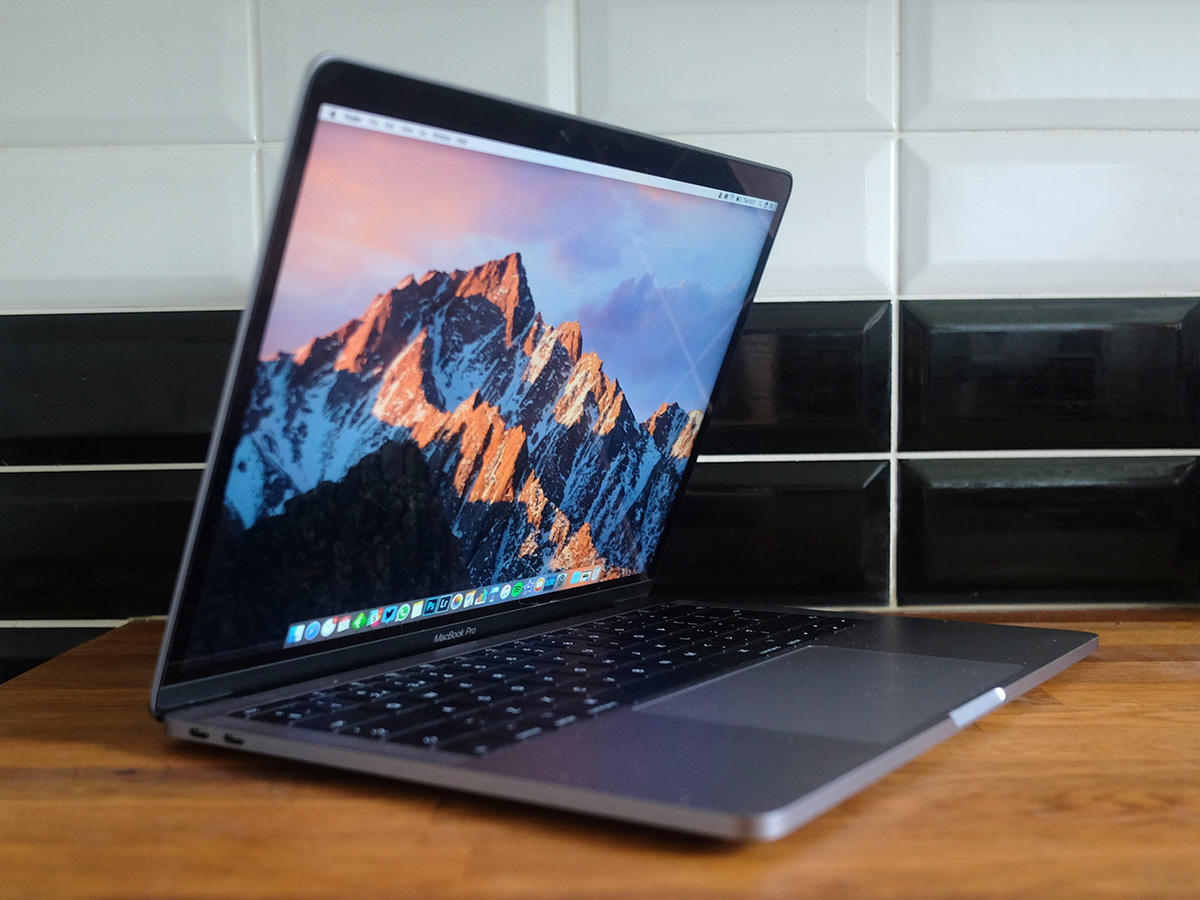
Once you’ve gone through the step-by-step process you’ll reach the main desktop, at which point it’s a good idea to make sure you’re running macOS Sierra – Apple’s latest Mac software iteration. If it’s one of the newest MacBook models, it will have. If not, you’ll want to head directly into the App Store to do the free update. Just click on the App Store icon, tap Updates on the top panel, then hit the Free Upgrade button on the big macOS Sierra banner. The update will take a little while, but it’ll be worth it.
VISIT THE CLOUD
With all your files now filling your flipper’s hard drive, it’s worth knowing that they’re safe. You’ll have been asked on setup to enter an Apple ID so there’s every chance you’ll already be signed in to iCloud. If you don’t have an iPhone, you might not have considered upgrading your iCloud storage space – but, with seamless integration into the desktop Mac experience, it’s a smart move (and relatively inexpensive) to give yourself some more breathing room. You’ll find the options in System Preferences > iCloud > Manage > Change Storage Plan.
GET PHYSICAL
It’s always smart to go physical, too – and Time Machine’s the place to do this. It’s macOS’s in-built backup software and, whether you almost permanetly attach an external hard drive or periodically plug one in, it’s a good idea to configure this early on. Besides keeping copies of your important files and settings, it’ll also keep versions of your files over time – so if all goes wrong, you’ll be able to delve back to a precise moment. It lives in the System Preferences, too.
I BELIEVE IN TOUCH
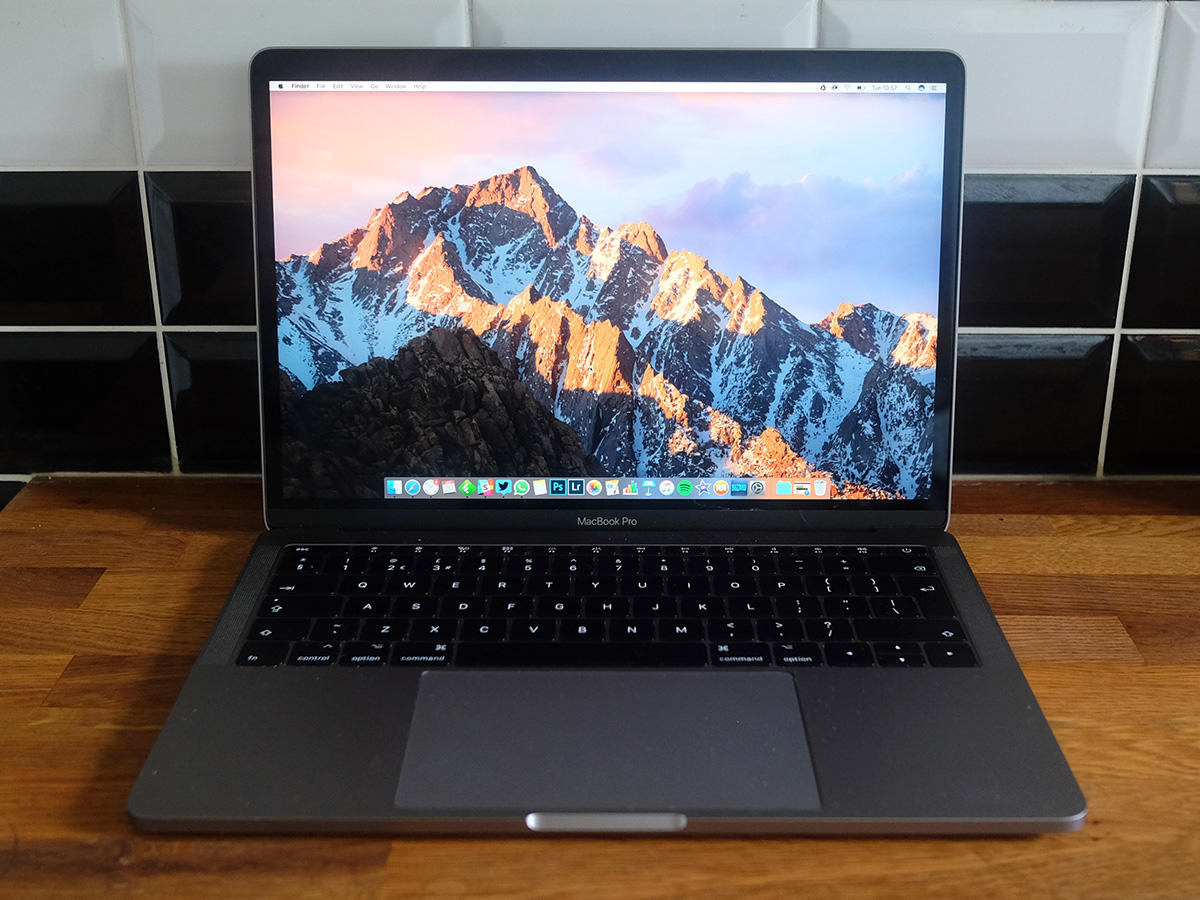
Finally, if you’re lucky enough to have been gifted the newest Touch Bar-equipped Pro, you’ll want to get that set up just as you want it. Besides default support for the likes of Safari and Photos, the Touch Bar also plays nice with several apps, including Pixelmator and Skype. To configure it your way, simply select “View” from the toolbar, then “Customise Touch Bar”. Simple.


