How to master… Instagram
All the tips and tricks you need to transform yourself from casual snapper to Instapro
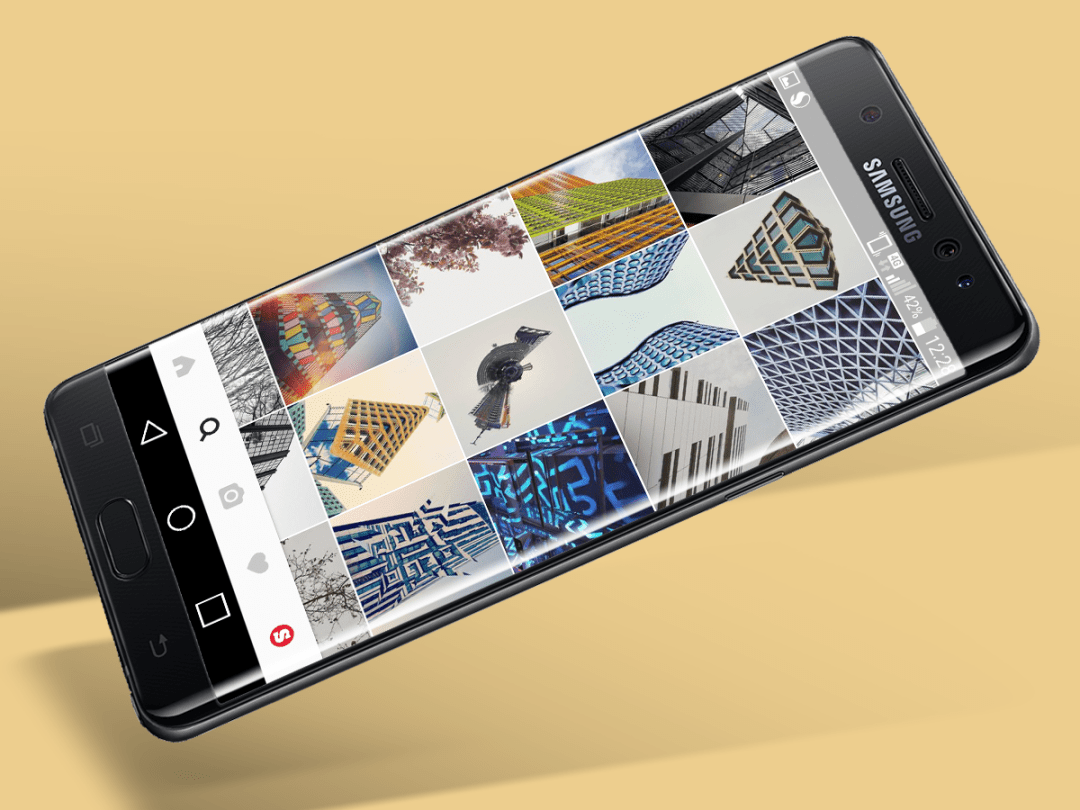
Instagram can be pretty hit and miss.
On one hand, you’ve got the likes of National Geographic and NASA blowing our collective minds with incredible shots of Earth and the incredible wonders of the universe.
And then we’ve got Dave, whose gallery is filled with blurry shots of his latest culinary experiments and uninspired shots of a ‘spoons beer garden.
You are, of course, welcome to snap whatever pics you like on Instagram – but you’ve already got Facebook and Twitter for that.
If you want to take your Instagram game to the next level, then we’ve got the ultimate crash course for you right here.
Basically, don’t be like Dave.
The Basics – know your tools
Frame your shots
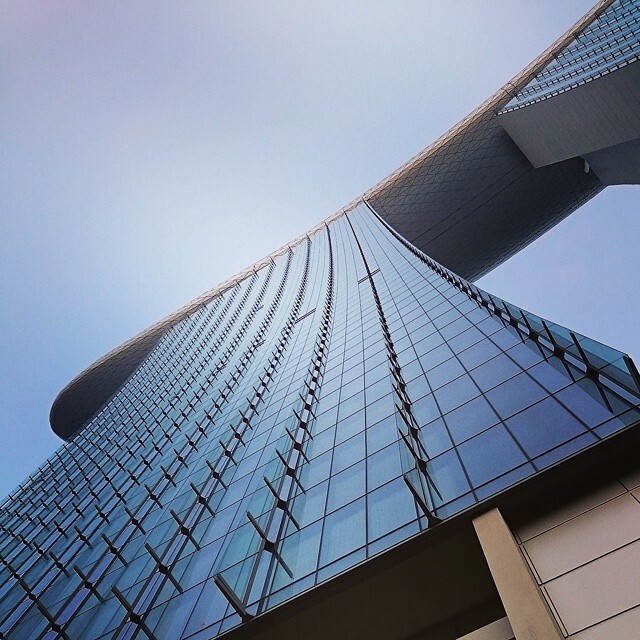
No matter what your subject is, nailing the framing is massively important, and it can easily make the difference between an average shot and an amazing one.
If you’re taking shots of an impressive building or tourist attraction for example, do your best to capture it from an unusual angle – preferably without a mob of tourists filling up the shot and make everything look cluttered and messy. Bloody tourists.
Like it or not, food pics are of course, a massive part of Instagram, but they can look perfectly presentable too, as long as they’re framed properly.
Shots from directly above are your safest bet, as long as everything’s arranged nice and neatly on the table beforehand. You’ll get odd looks if you start recalibrating cutlery at a restaurant mind – and rightly so.
Lastly, square shots aren’t always the best option, especially if you’re taking pictures of things like skyscrapers and trees. Your best bet for these sort of subjects is to take them with your regular smartphone camera app, then select to upload them in Instagram.
Tap the button with the two arrows in the bottom left corner of the photo, and it’ll swap to aspect ratios up to 4:5. You can also buy additional lenses from all sorts of different manufacturers who let you capture more with wide angle lenses, letting you cram more into each shot. We’ve used Aukey’s offering with success in the past, and it’s small enough to chuck in your bag without any hassle.
Use the right filter
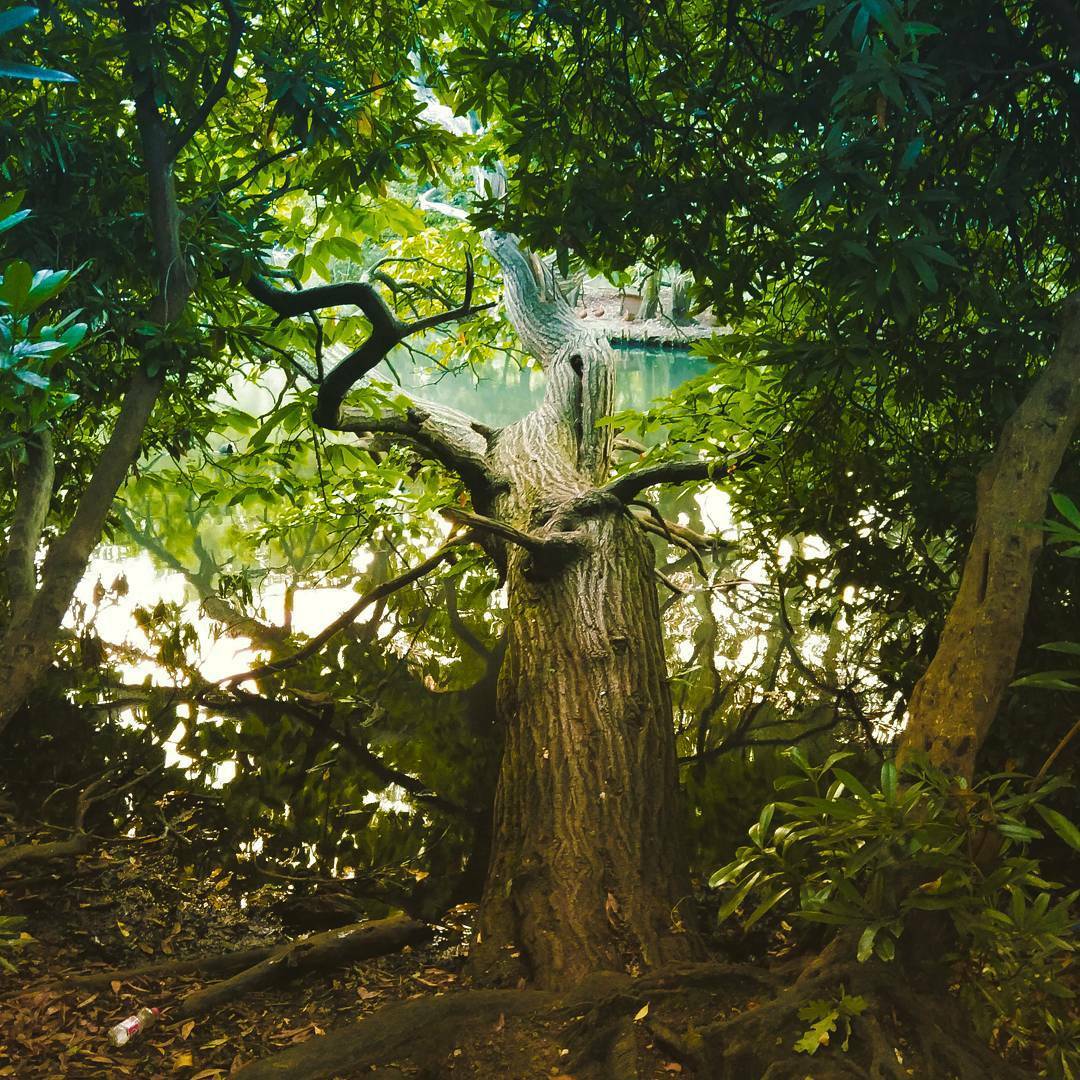
For a long time, Instagram was seen by naysayers as an app which ruined perfectly adequate photos with unnecessary filters, but they can genuinely improve your snaps, as long as you use them properly.
Picking the right one helps massively, for a start. It’s well worth taking the time to go through each one to see how they affect your chosen photo.
After a while, you’ll get a feel for which ones work best for certain styles of photos. Perpetua, for example, has a blue/green tint, which lends itself rather well to shots of trees, giving them an otherworldly, mystical look.
You can also change the intensity of each filter by tapping it twice, and adjusting the slider bar accordingly. Sometimes a hint is all you need to make a picture pop.
If you find yourself using certain filters more often, you can easily rearrange them as you see fit. Just scroll to the end of the filter list, hit manage, and tweak away.
Pro tip: Take a picture of a white wall or sheet of paper, then apply all the different filters to it. This is a great way to see exactly what each one does to your photos.
Hook up your contacts
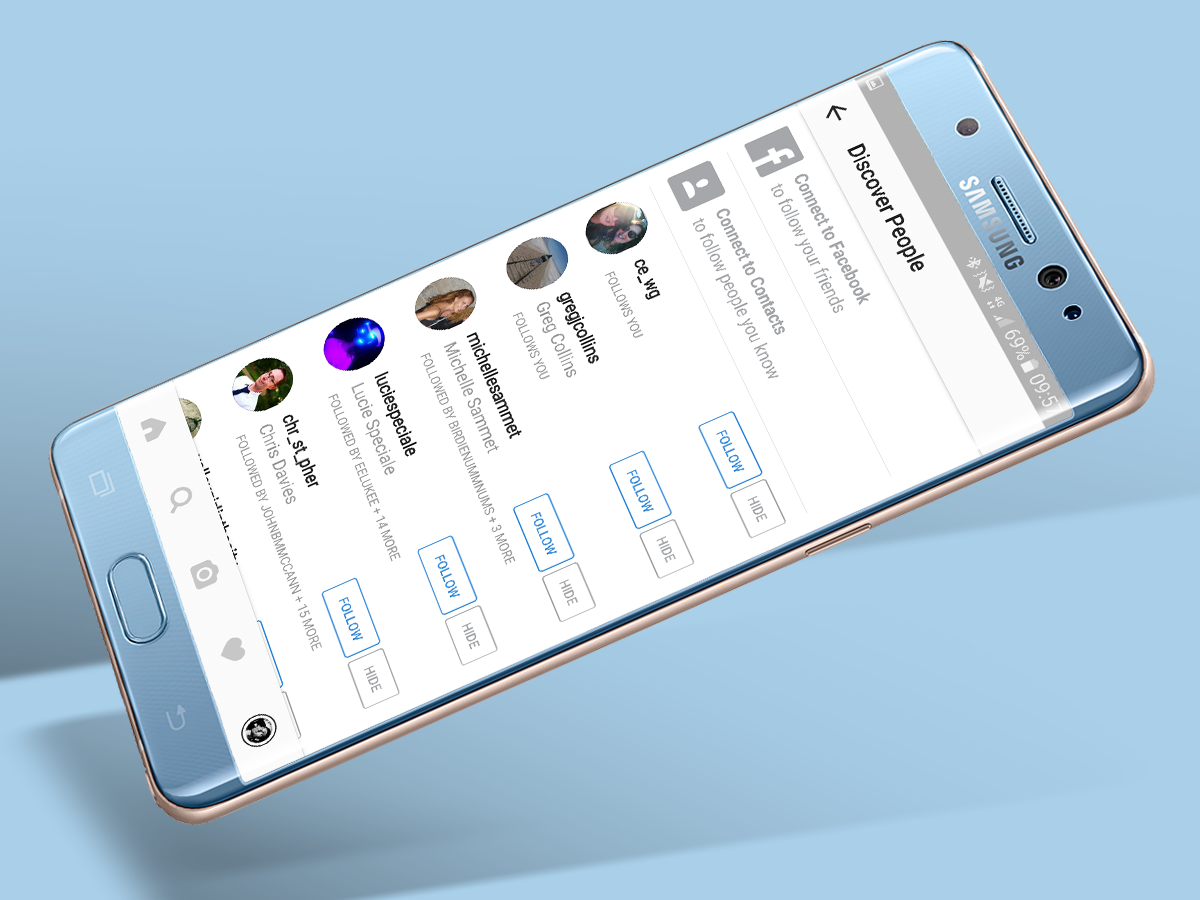
If you haven’t hooked up your contacts and Facebook account to Instagram, it’s well worth doing if you want to increase your followers, have more people viewing your snaps and, well, generally being more social and stuff.
Just hit the Discover People button (person icon with a + next to) it on your profile page, and you’ll be given the option to link your various accounts.
You don’t have to accept every single person into your loving arms of course – especially not Eric from year three, who stole your Charizard and ripped it up out of spite – but if you’re new to the Instagram game then this is the quickest, easiest way to gain exposure and see what your friends are up to.
If you want more than just pictures of people drinking at festivals and squashed homemade muffins though, then hit the search button, where you’ll be treated to a list of photos Instagram thinks you’ll be interested in, based on who you follow and what you’ve liked in the past.
It’s not amazing though – according to our feed it reckons we’re interested in people taking duck face selfies, which we can categorically state is absolutely untrue.
Direct Line
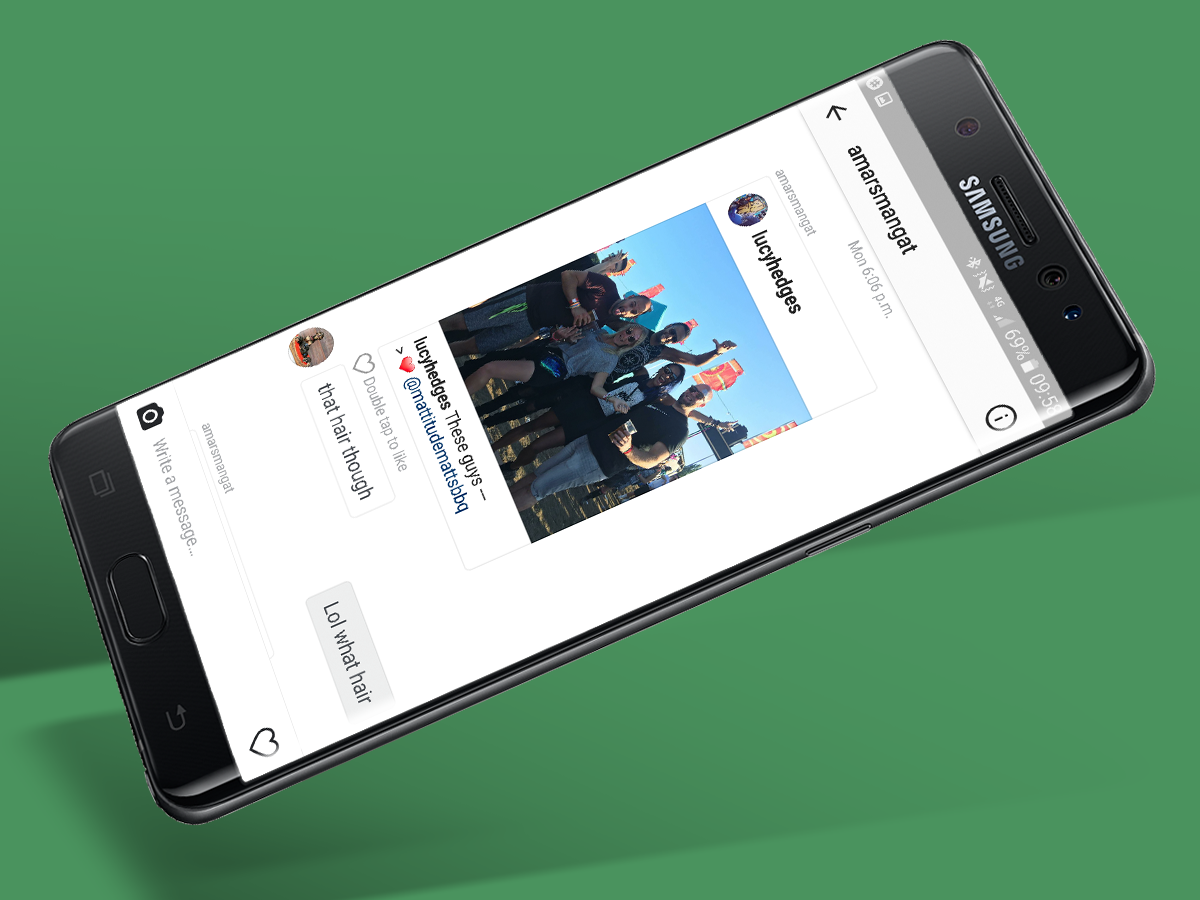
Sometimes you’re going to want to share some private bants with your mates that you don’t want the whole Instaworld to see.
So next time you see something you only want to share with one person, you can send it to them as a direct message. Just tap the very top right icon from the main Instagram feed screen, choose who you want to message, and you’re all set.
You can also use it to just chat to people, but there’s not much point when everyone and their grandmother is already nattering away on WhatsApp.
Location Location Location
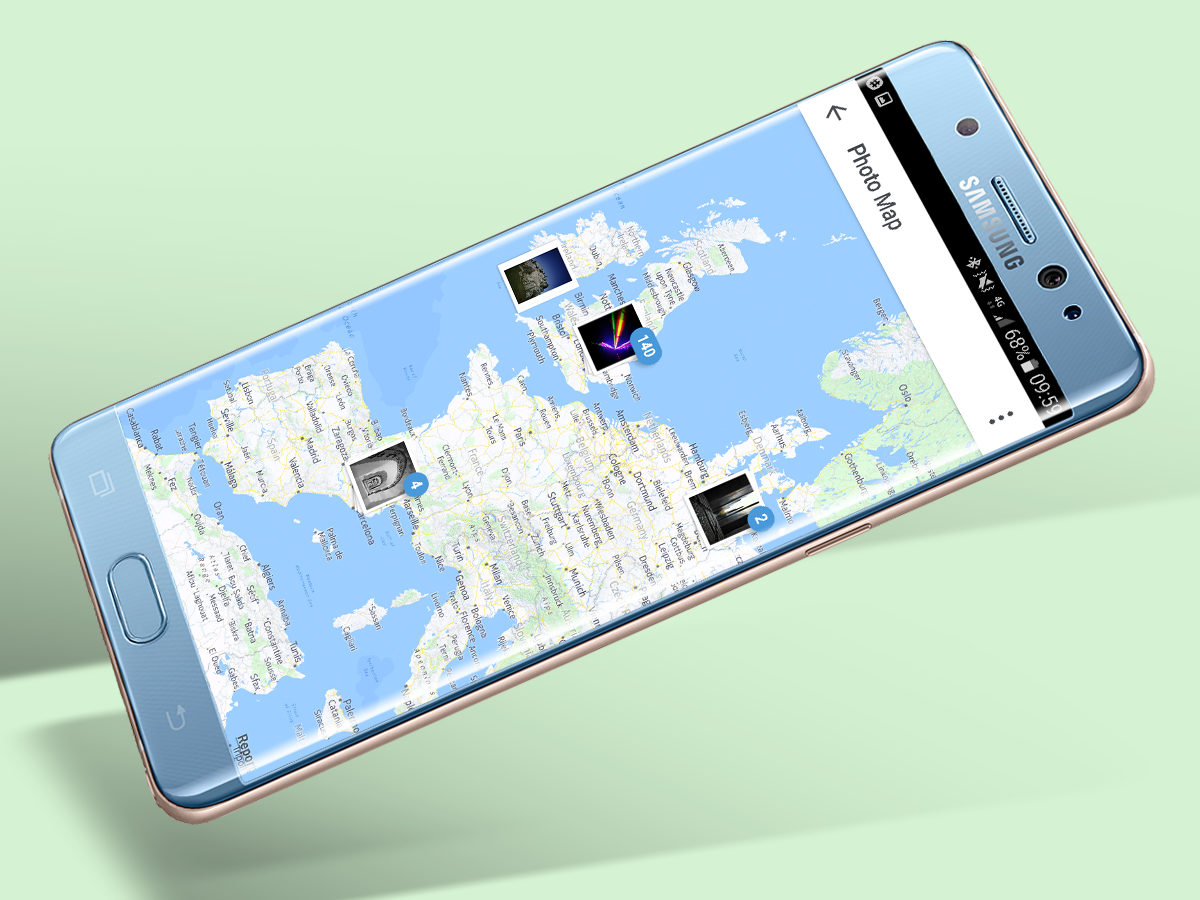
If you’re an avid traveller, you’re definitely going to want to spend the extra few seconds to turn on your location and tag where you’ve taken your photo, just prior to sharing it.
Over time, you’ll build up a nice world map covered with pins of all of your photos, which can be accessed by clicking on the location pin icon on your profile (third from the left, just above your photo feed).
You don’t have to do this of course, but it’s a nice way to sift through your photos to see where you’ve been, and it’ll also allow other people to find your photos, if they’re looking at the public photo feed for the same locations.
Intermediate – Insta-tweaks
Highs and lows

Once you’ve got the basics of filters down, you can start digging down into Instagram’s editing tools a little further.
Experimenting with the Shadows and Highlights settings, for example, can make a very noticeable difference in some of your photos.
If you’ve shot a building against a grey or pale blue sky, you can crank up the highlights until the sky becomes pure white. If you’re using a black and white filter like Inkwell, you can then increase the shadows until you’re left with a striking black and white silhouette.
This is an extreme example though, slight tweaks in both shadows, highlights, contrast and overall brightness, can increase or decrease details in your pictures until you’re happy with the final outcome.
Higher contrast makes things stand out more, but sometimes increasing both the shadows and highlights looks good too, giving a clean, flatter minimalist effect.
Again, it’s all about messing around with things until you get a feel for them – you’ll be twiddling and tapping away at your settings like DJ EZ at the decks in no time.
Fix up look sharp
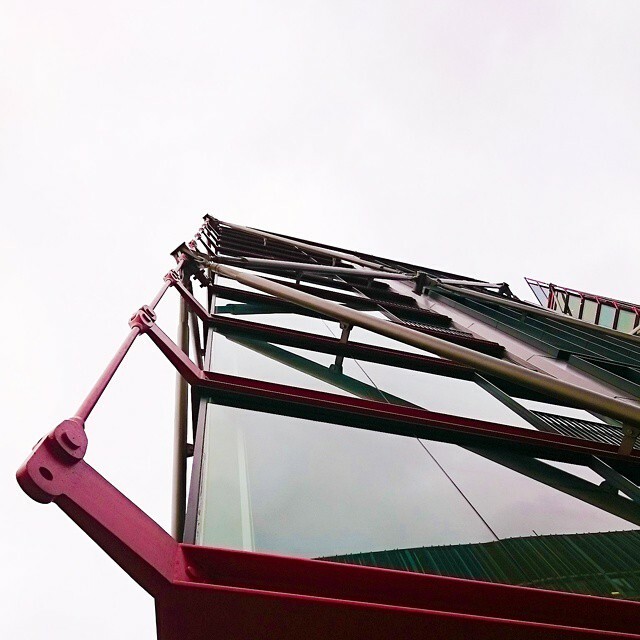
Sometimes, no matter how hard you line up a shot, if you don’t have a tripod and a lot of patience, you’re just not going to get the perfectly symmetrical dead-straight shot you were after. That’s okay – you’re only human.
Luckily, Instagram has a built in Adjust tool which lets you rotate your snaps – and even adjust the horizontal and vertical tilt – making minor adjustments until you’re happy with the final results.
You can also use the rotate tool to mess around with interesting angles, if you wanted to try something a little different.
Fade, pop, and force perspective

Adjusting the light and dark areas of your shots aren’t the only options Instagram gives you. Scroll along the Edit section’s tools, and you’ll find a few more toys to play with.
Vignette darkens the edges of photos, and when used sparingly, can draw focus into the middle.
Tilt shift takes this to a whole other level, by letting you blur everything outside of the focus zone. It’s best saved for scenes in which a subject is clearly in the foreground, creating a DSLR-like blurred background (bokeh) effect.
The Fade tool does exactly that – it washes the picture out which, when used sparingly, can give it a modern, flatter feel.
Finally, the colour tool lets you overlay colours over both light and dark areas, resulting in some interesting print-like effects.
Intermediate – Stories
Share your life
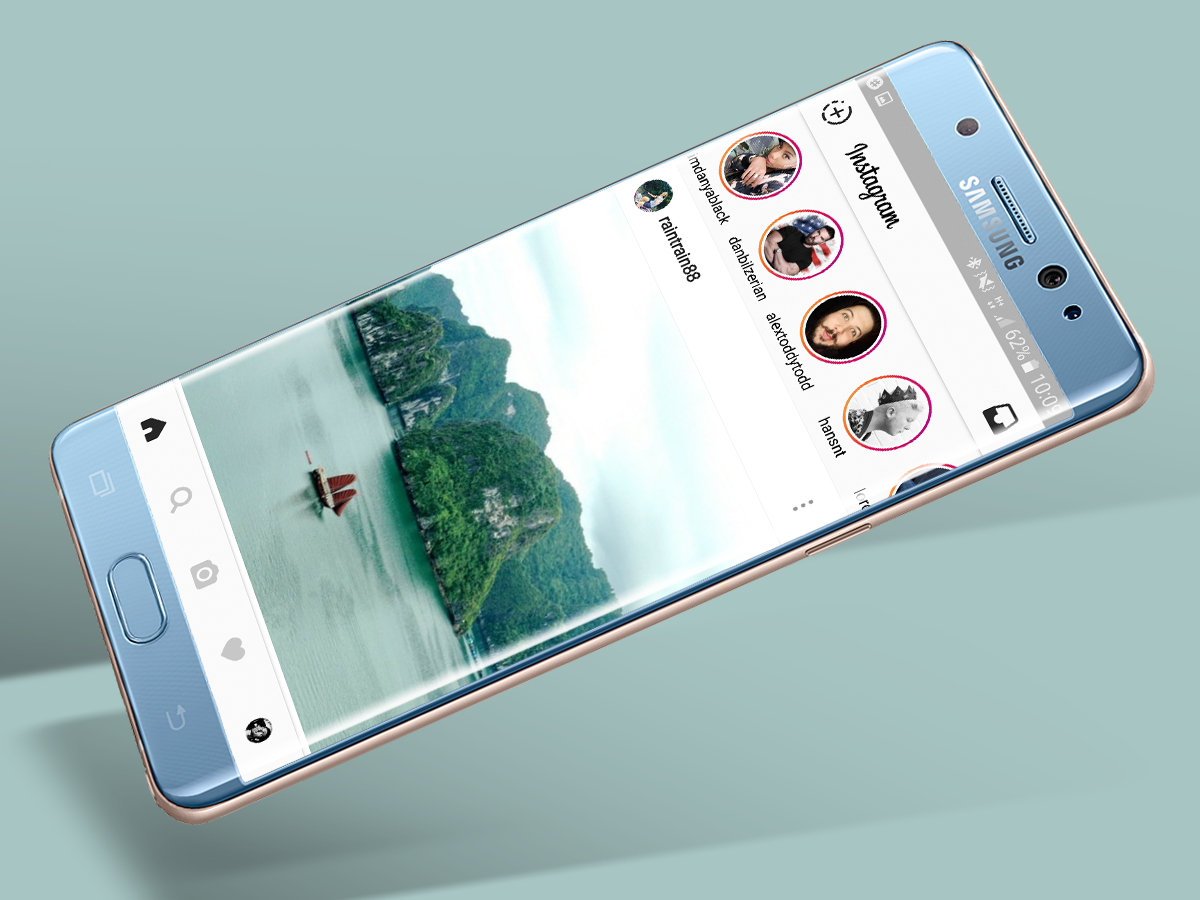
Instagram has Snapchatted itself by introducing Instagram stories. It’s essentially a carbon copy of Snapchat, albeit one without the location-based filters and faceswaps.
On the main Instagram page, tap the + icon in the top left, and you can shoot a video or snap a photo. You can add to your personal Stories feed throughout the day, and other people can see your timeline by clicking your icon at the Stories feed at the top, or on your profile picture.
Anything you post in Instagram Stories will be gone after 24 hours too, so it’s a nice way to share some less serious content without cluttering up your profile.
Spice up your life
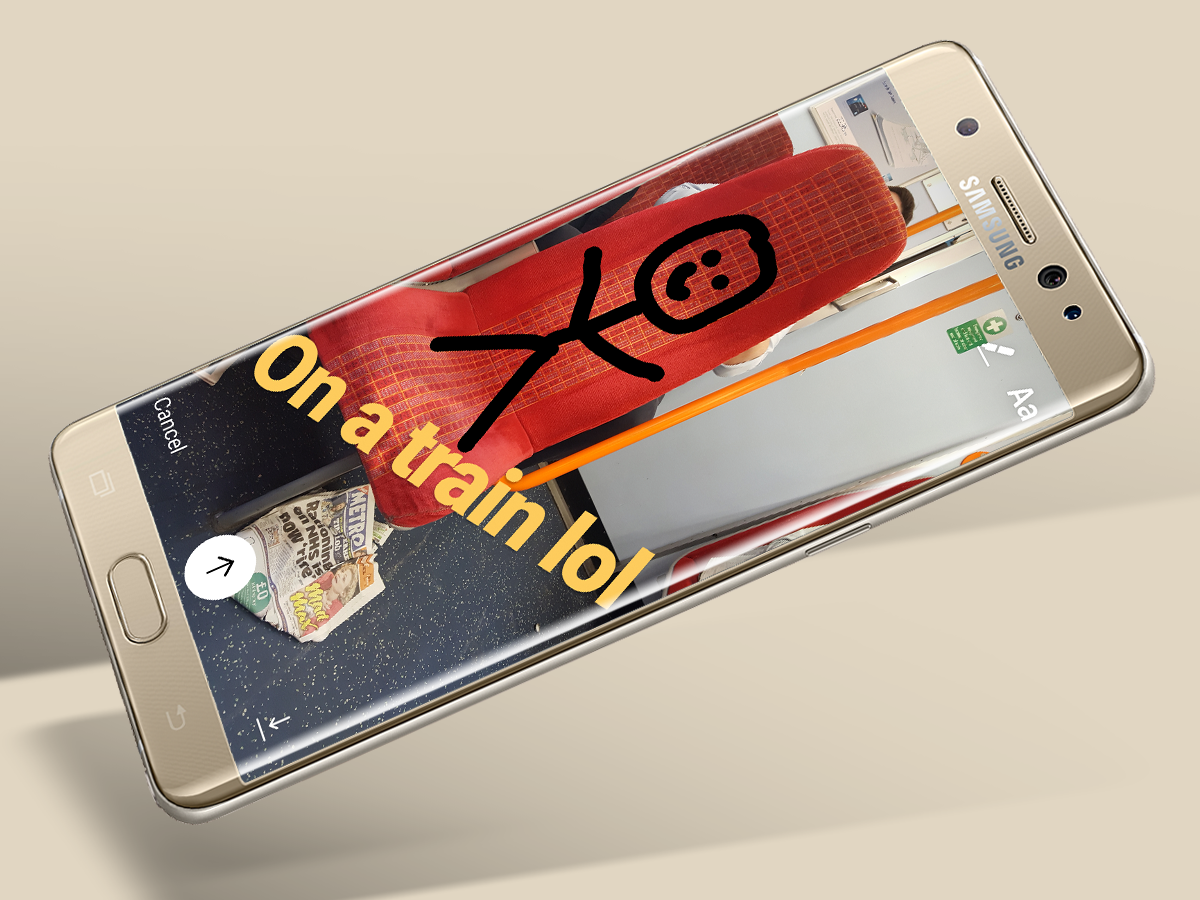
Like Snapchat, Instagram Stories lets you jazz up your photos and videos with text, various effects, drawings and filters.
You don’t have to use any of them of course – in fact, it’s easy to go annoyingly overboard with them – but they can be useful for adding some more personality to your #ladsontour night out.
Snap a photo of Gazza being a right ledge, draw a moustache on him, and let the bants flow forth.
Share sensibly
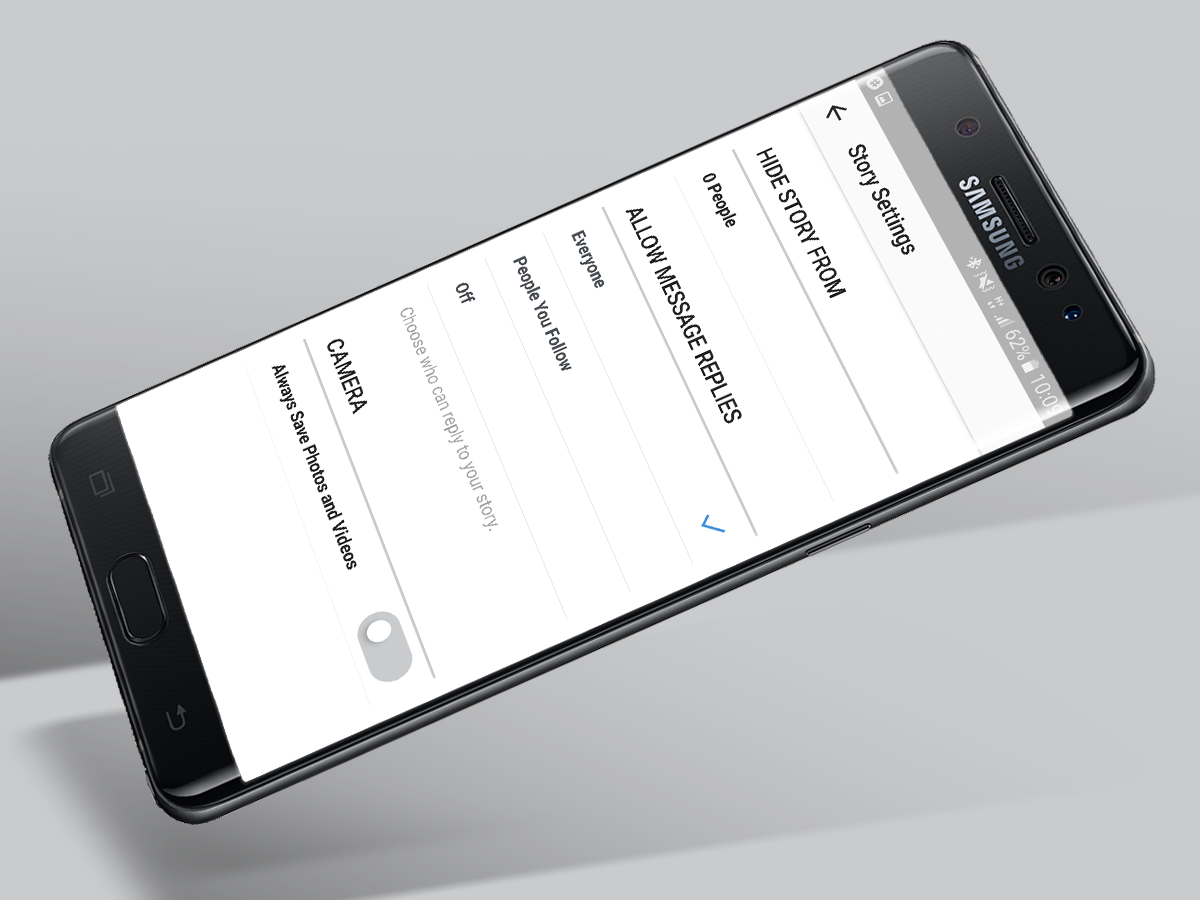
Sometimes, you might not want your boss to see you downing a pint of prosecco while you’re covered in paint at RaveFest. It’s understandable – we’re certainly not going to judge you. Though they might.
Thankfully you can take matters into your own hands. Before you snap a pic or video in the Stories screen, hit the top left icon, and select who you want to hide your antics from. You can also tweak who can reply to your posts too.
Work and play
Let’s be honest – if your profile is littered with shots of half-eaten toast and blurry shots of half-empty cider bottles in a pub garden, people will be put off by your feed pretty quickly.
Well, we’re possibly being a little too snobbish and you’re welcome to disagree, but if you’re keen on raising your profile as a photographer on Instagram, you should keep the personal stuff for Facebook.
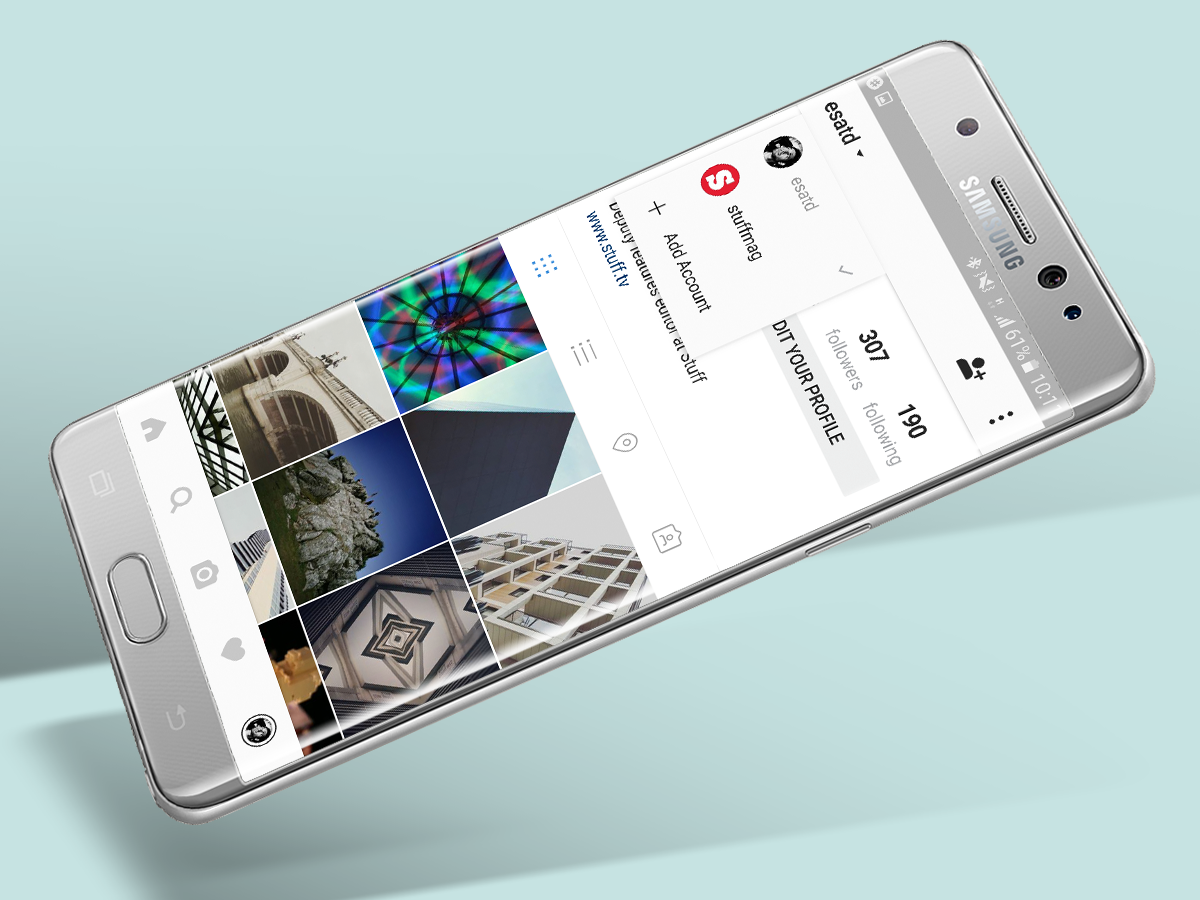
Of course, there’s nothing stopping you from having multiple Instagram accounts to keep things separated, and switching between your two accounts is as easy as clicking your name on your profile page, and swapping to your other account (which you can add on the Settings page).
Expert – Next-level editing apps
Instagram Layout (£free, iOS and Android)
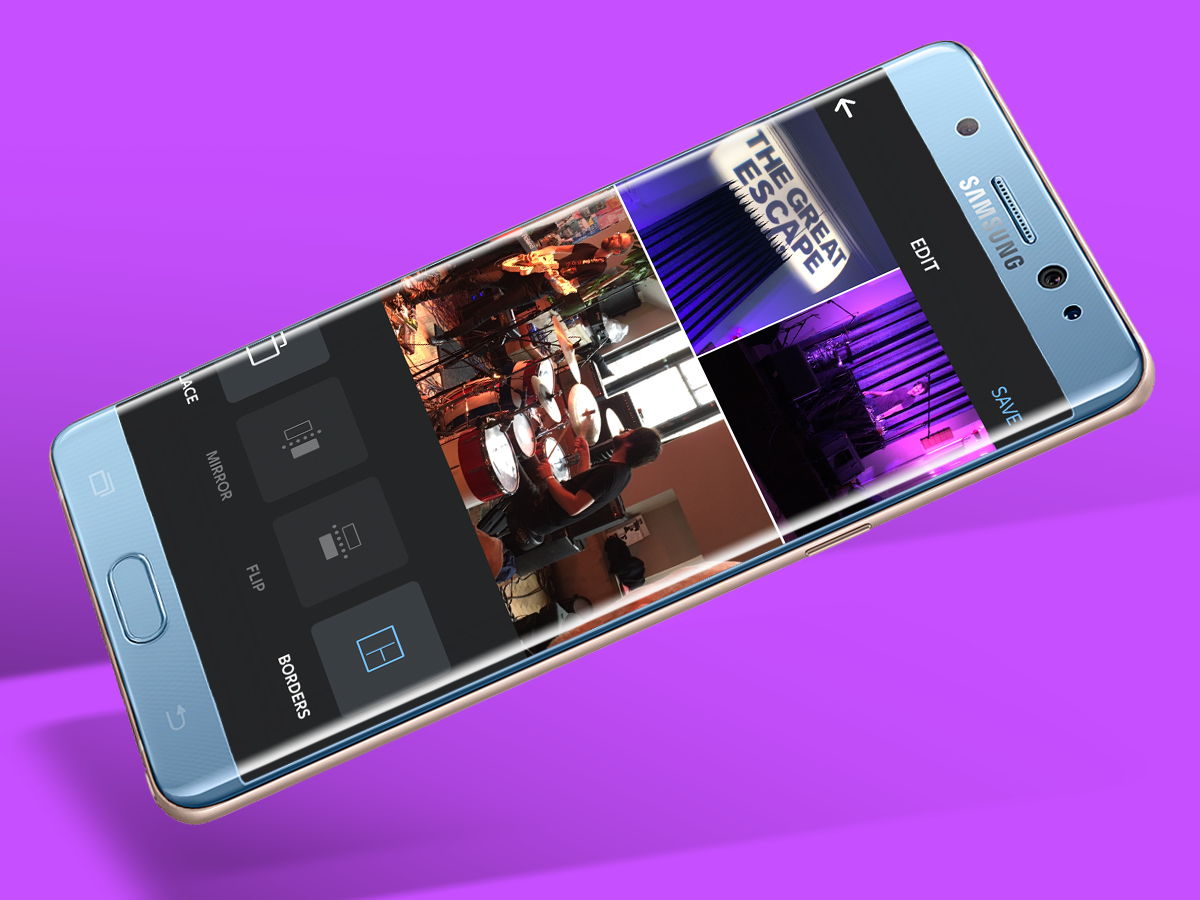
Instagram Layout is a quick and easy way to combine up to four photos into one poster-worthy shot. Just choose your snaps (ones that have some kind of narrative link combine best) and select one of the many layout options.
SKWRT (from £1.19, iOS and Android)
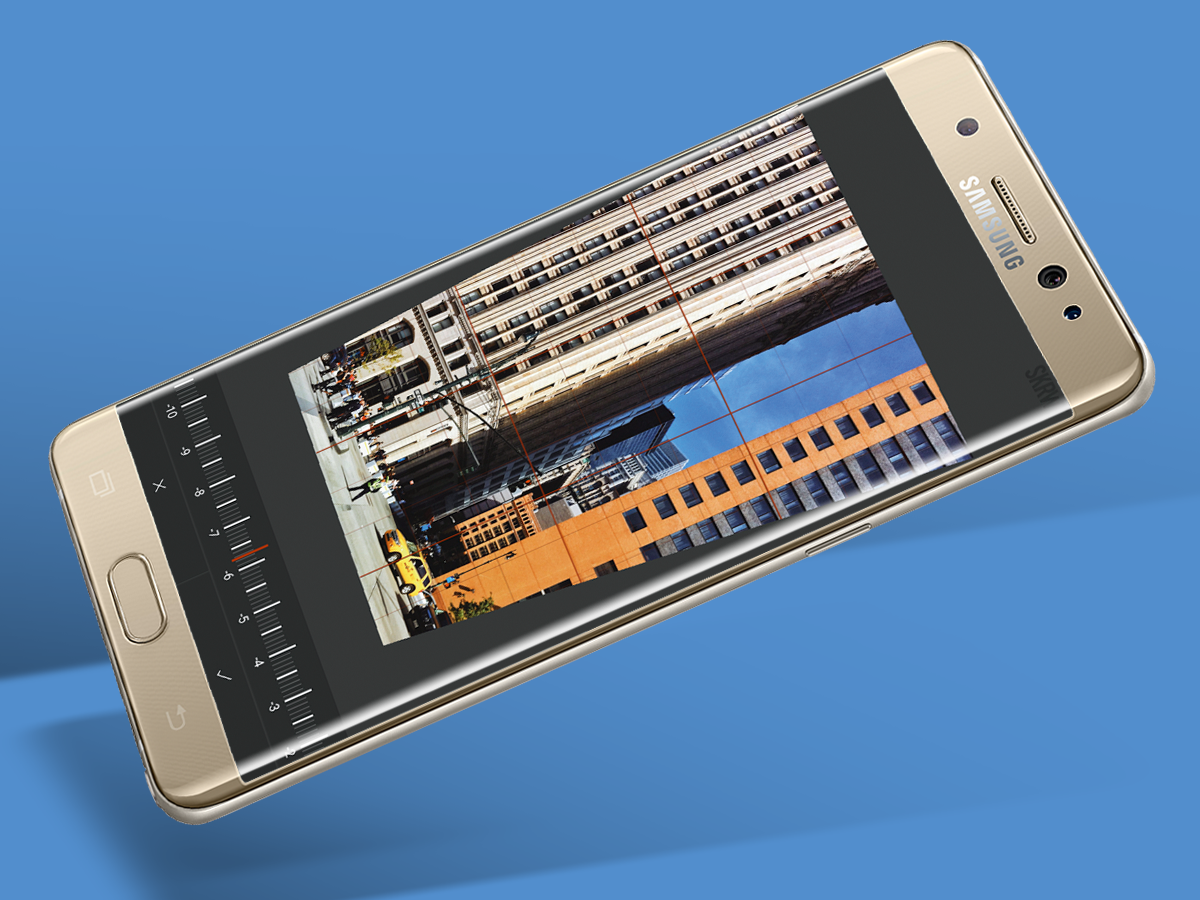
Instagram’s built-in ‘Adjust’ tool is fine for basic photo straightening, but to really iron out those wonky horizons try processing them with SKWRT. It’s particularly good for fixing smartphone lens distortion.
Photoshop Express (£free, IAP)
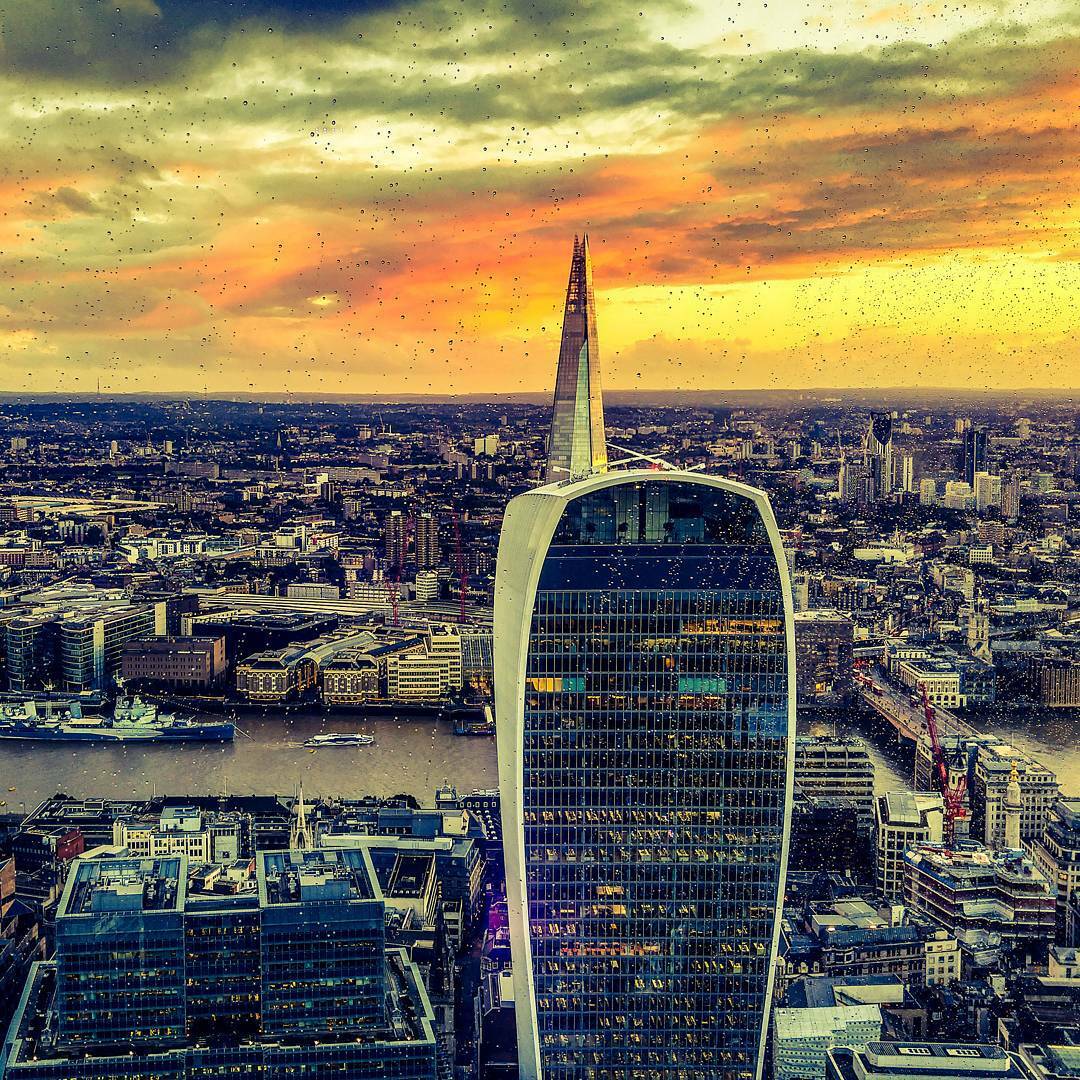
Photoshop Express has a host of essential ‘quick fix’ tools, including ones for softening noise and adjusting shadows. But our favourite is the spot removal and cloning tool for removing any unwanted blemishes including entire objects. Just zoom into the area and tap once. It’s also got a whole host of filters which can even be layered with Instagram’s own offerings to produce some rather funky effects.
Fragment (from £0.10, iOS and Android)
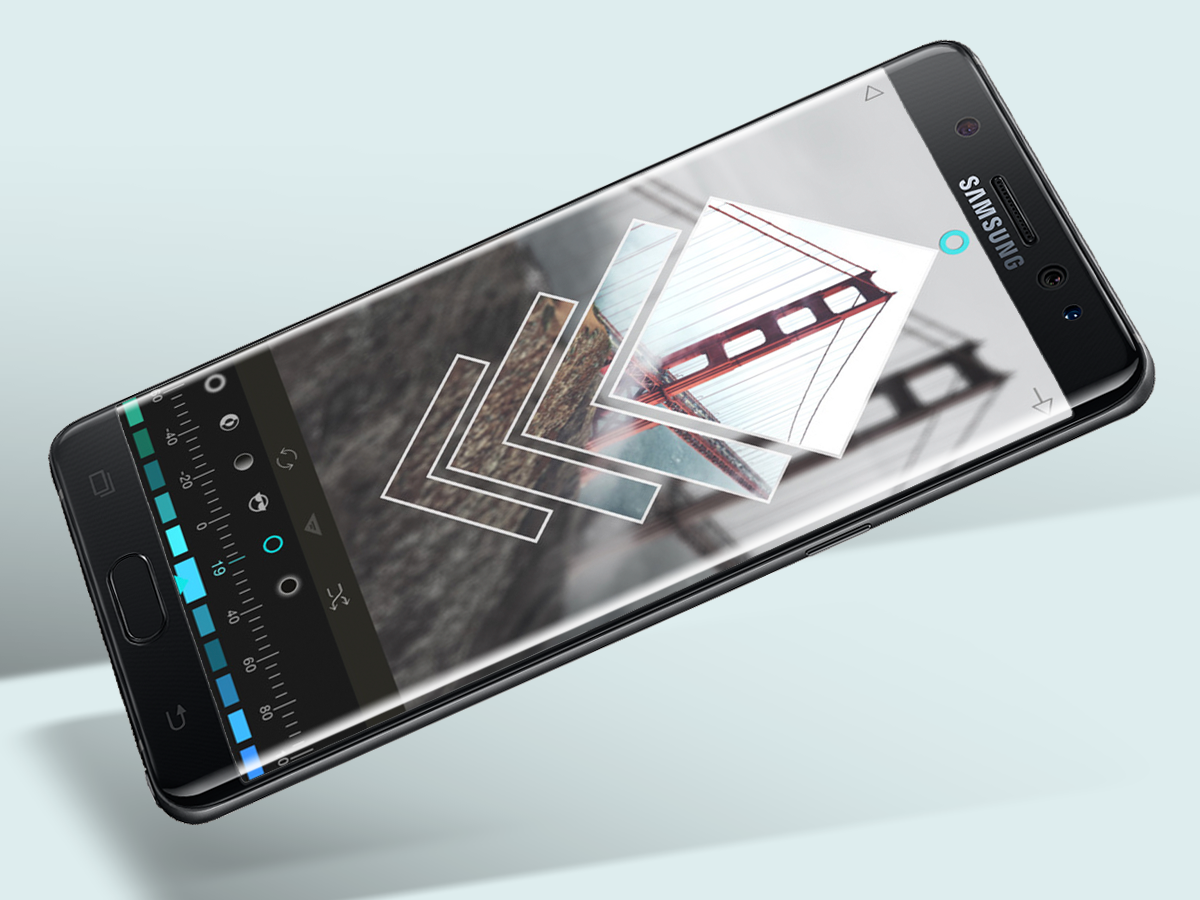
Need to make an emergency album cover? Fragment will give your photos some major reconstructive surgery, warping them into poster-worthy snaps with its shapes and patterns.
It can take a while to experiment and get a feel for what works and what doesn’t, but it’s well worth the impressive results.
Prisma (£free, iOS and Android)

Prisma is an incredibly effective cloud-powered app which transforms your shots into pieces of art that have been inspired by actual artists. It can be a bit hit and miss at times, and can be slow during times of heavy demand, but it’s a superb way to take your photos to new creative heights.
Mirror Image
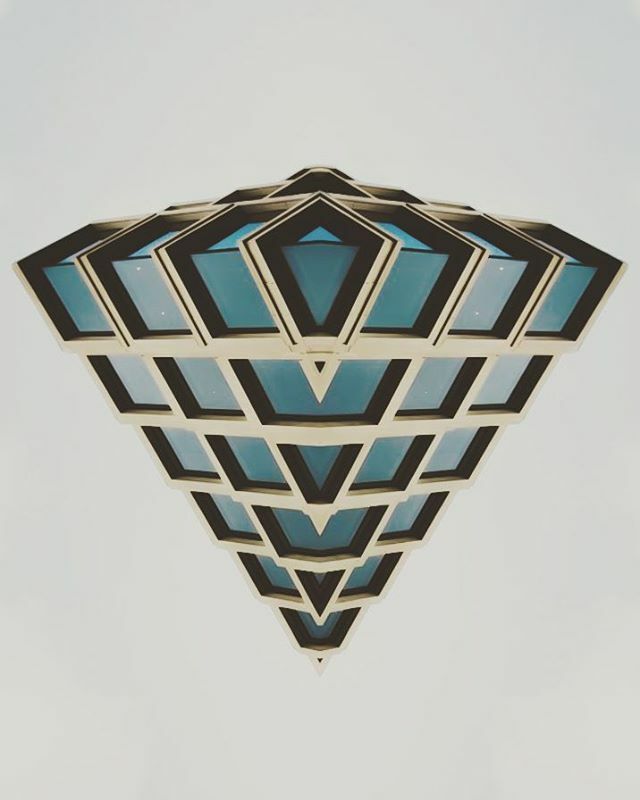
There are various apps on iOS and Android which let you create various mirror images of your shots, which, with some experimentation, can result in some pretty spectacular effects, especially when you use shots that have a relative amount of symmetry in them already, like buildings or flowers.
Who to follow
@nasagoddard
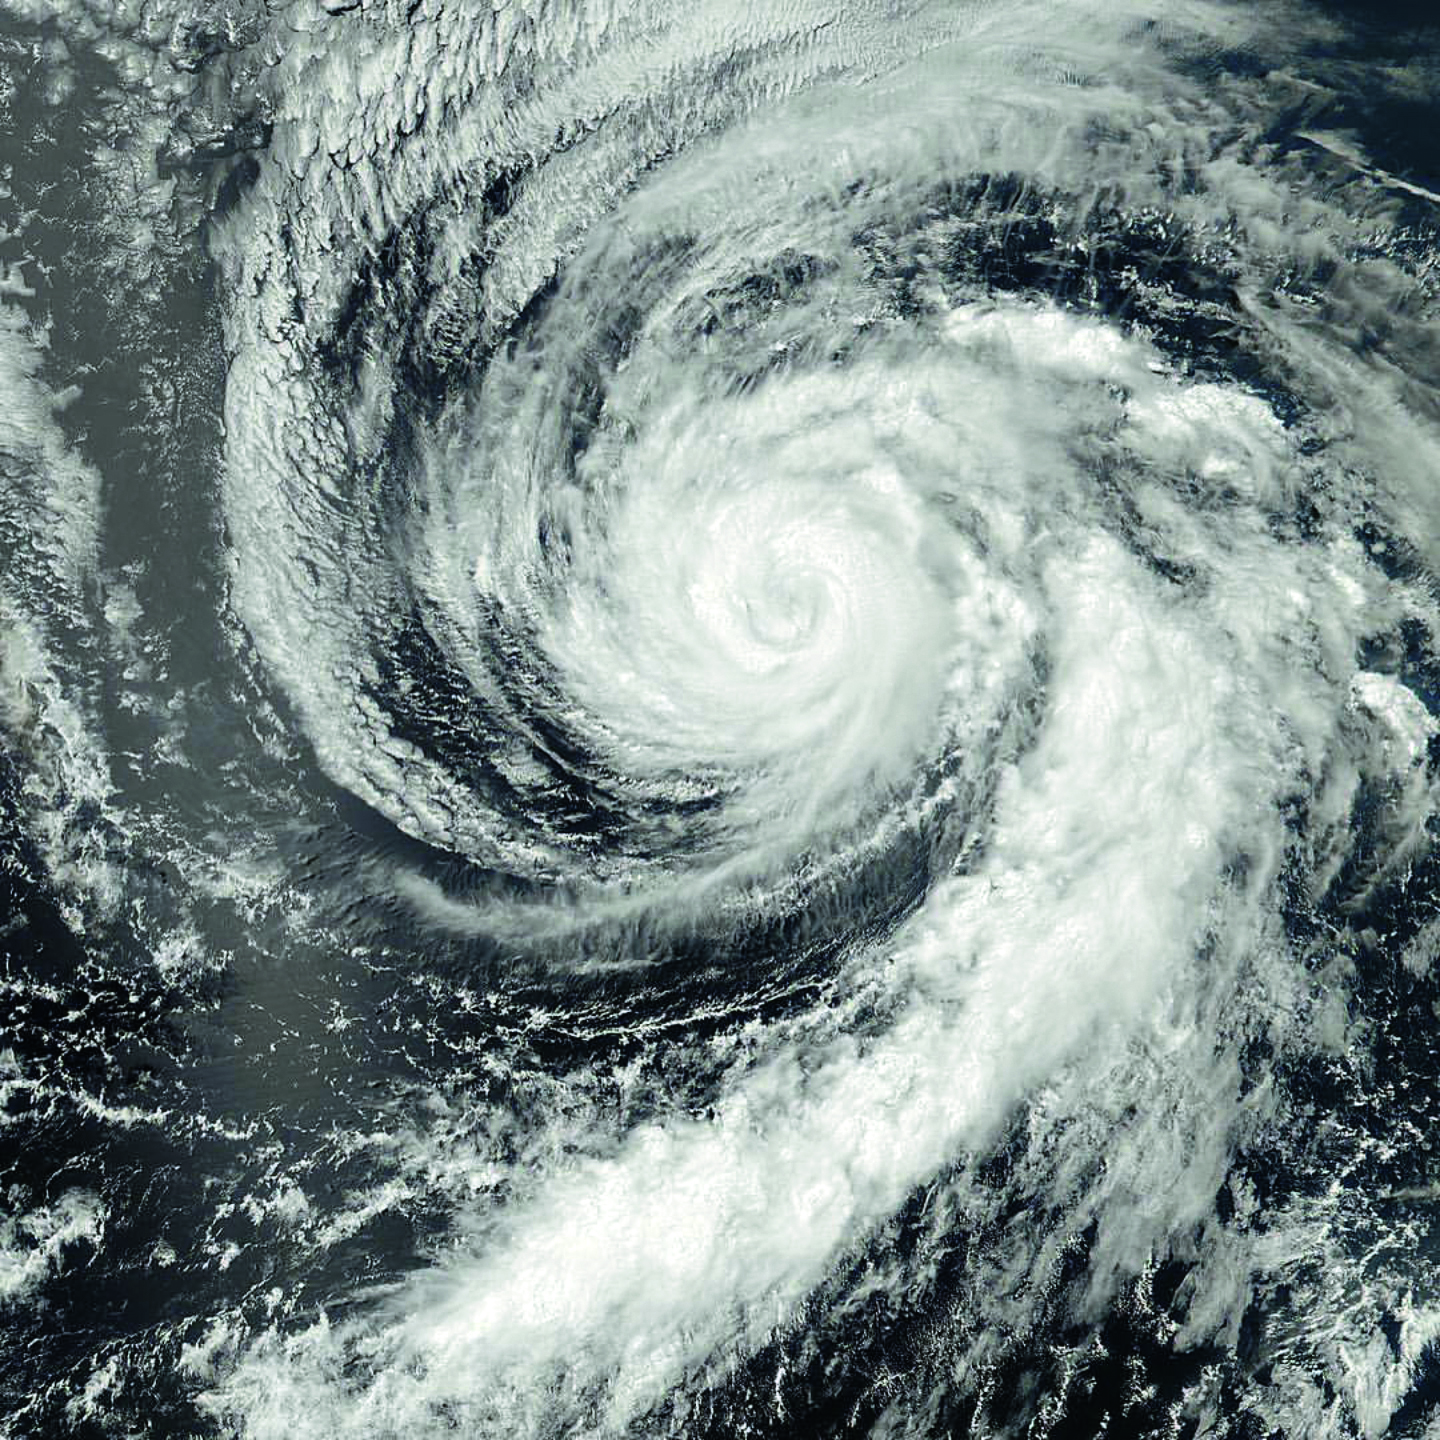
Fact: everyone loves space. Except maybe Sandra Bullock. But for the rest of us, the universe’s wonders never cease to amaze, and Nasa Goddard Space Flight Centre’s official Insta account has plenty of jaw dropping images of the great beyond to inspire and terrify us simultaneously.
@zachlipson
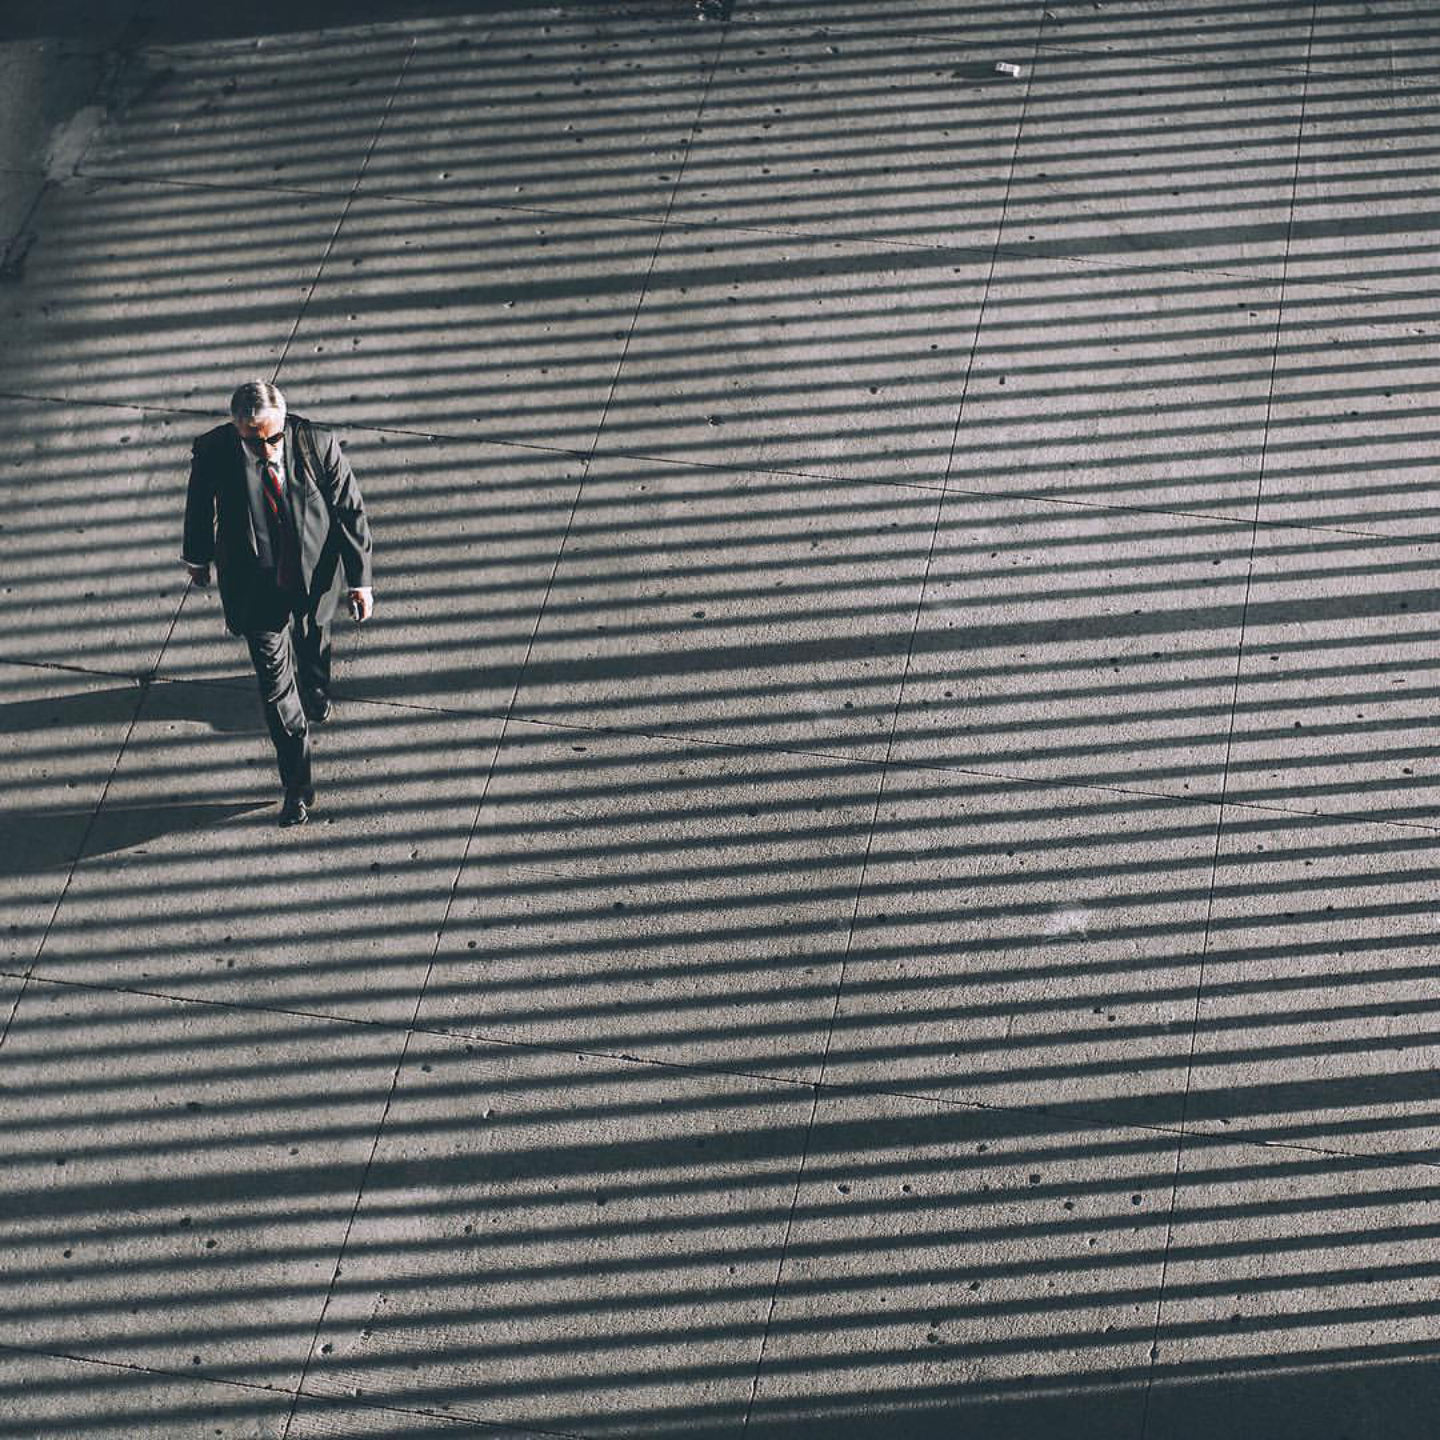
If you’re into city shots, buildings, urban jungles and the people living in them, Zach Lipson has you covered. A resident Chicagoan, his sharp muted shots look like they’re plucked straight from the pages of a graphic novel, and offer plenty of inspiration for architecture fans and city lovers alike.
@tanaka_tatsuya

Tanaka Tatsuya is a genius when it comes to blending in real-world objects with miniature models. From transforming ice cream scoops to planets, belts to roller coasters and many, many more ingenious ideas, he’s created a whole new fascinating world of macro art which we’d happily hang on our walls.
