Mac users: back-up and clone your computer before installing macOS Sierra
Avoid heartbreak and taking an axe to a suddenly dead Mac by following our advice
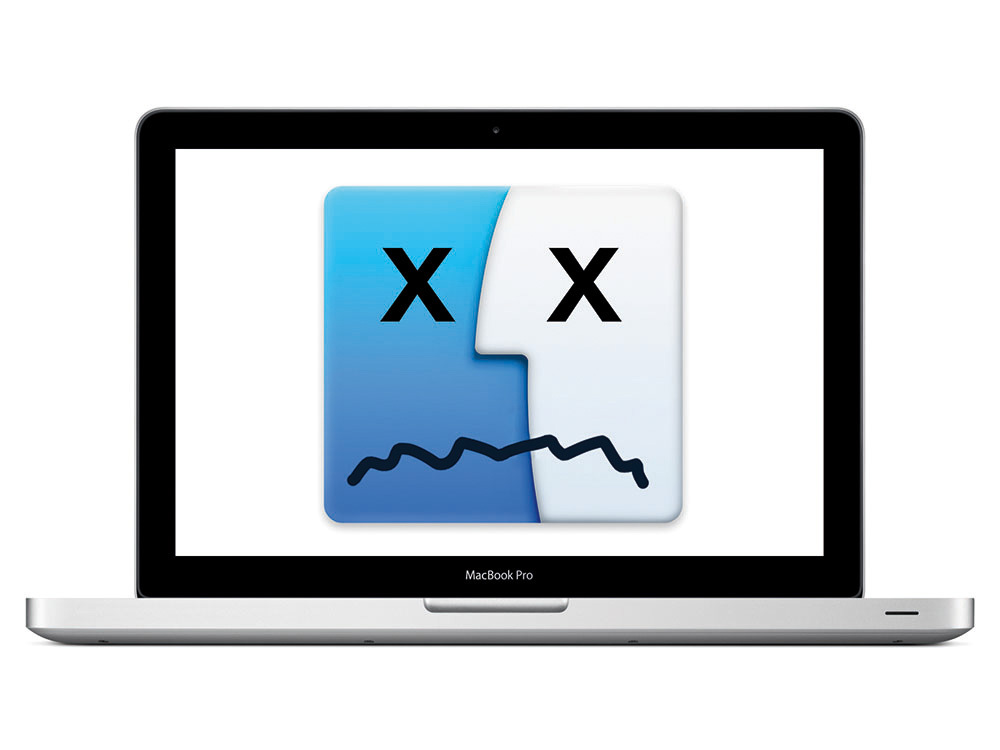
macOS Sierra has arrived, and the App Store app is now tempting you. “Upgrade”, it says. “Upgrade for free! What could possibly go wrong? Nothing bad is going to happen!”
Sure. We’ve heard it all before. One minute, you’re happily emailing your friends and chuckling at LOLcats in Safari, when — BOOM! — your Mac becomes the digital equivalent of a smoking crater.
It can happen in all kinds of ways: an update can go horribly wrong, leaving your Mac unable to restart; or perhaps it’ll restart, only for you to find your data has been obliterated; or maybe it’ll restart, and your data will be fine, but all your apps will choke. Regardless, you need to be prepared. Here’s how.
1. Wait a bit
This is the simplest option. Just don’t upgrade right away. Sit back, enjoy the fact your Mac is still working, and then find out from other people’s misfortune what can go wrong, and how to fix it. Bask in your smugness — temporarily.
2. Back up your Mac
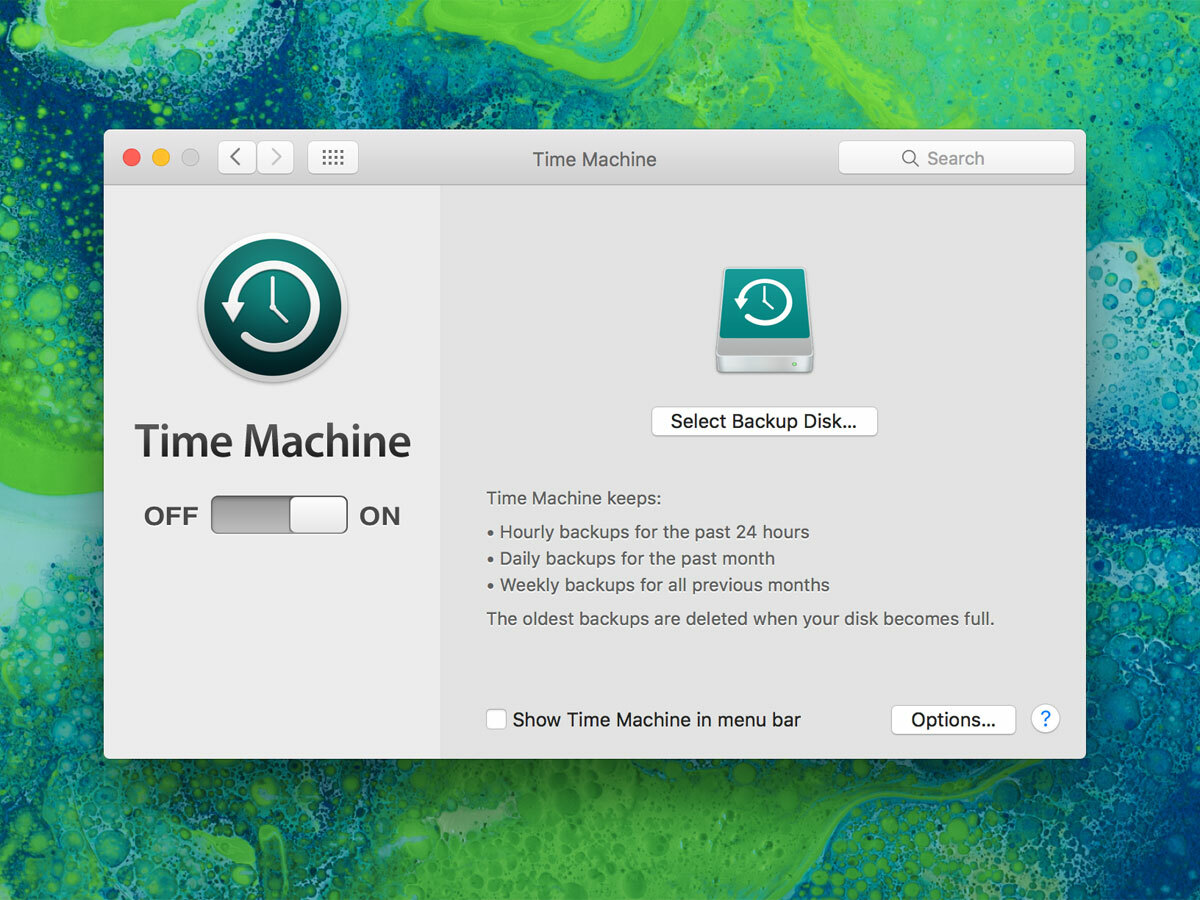
At some point, you are going to want to upgrade to Sierra, because some apps will go Sierra-only, or maybe due to features like Siri or Universal Clipboard. Regardless of whether you’re using Time Machine or another back-up system, ensure your back-up is current.
3. Secure your iCloud data
If you’re a big user of iCloud, you may want to make an additional archive before the changeover – just in case. Apple tells you how to right here: back-up your iCloud data and make it safe.
4. Format a hard drive
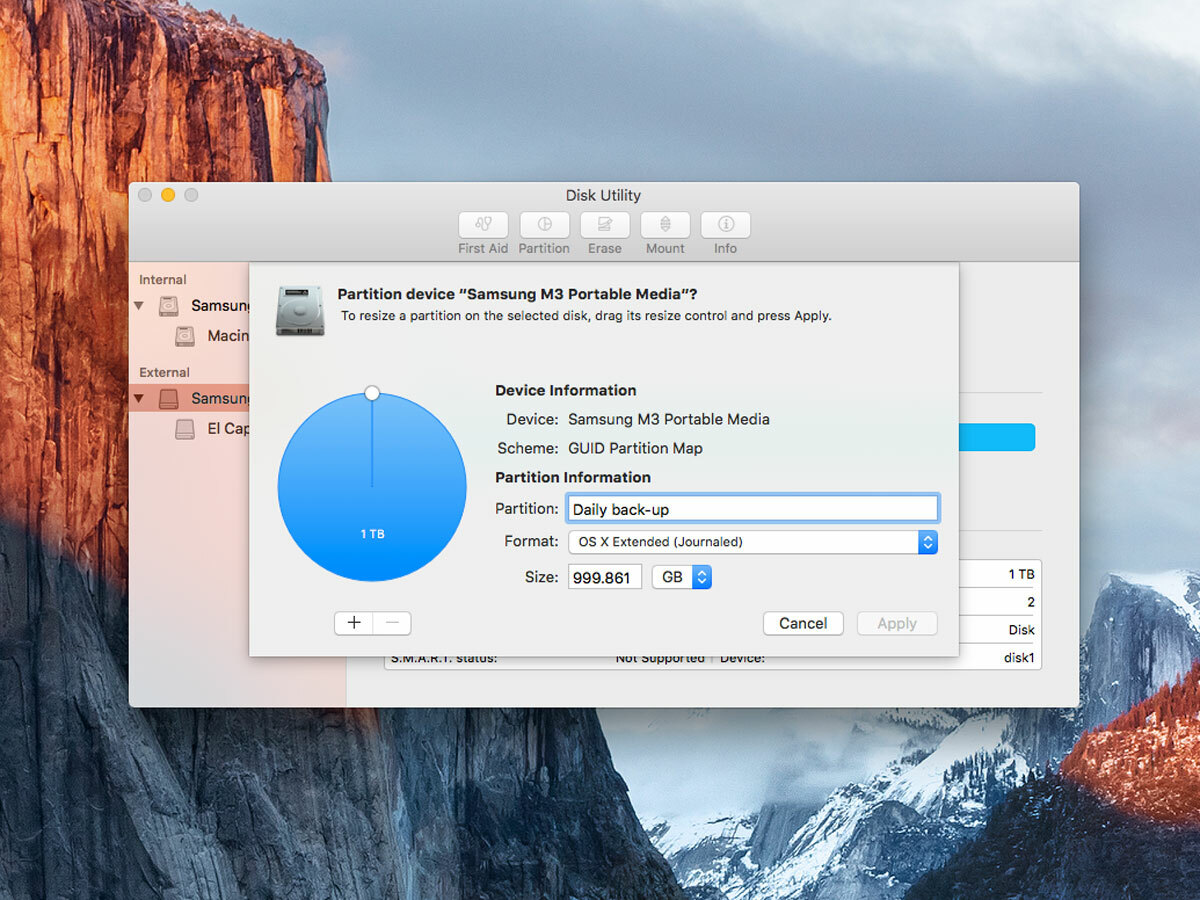
Time Machine’s fine, but it’s primarily a system for data restoration. If things go really wrong, you want a clone of your drive you can boot from. Grab an external drive with at least an equal capacity to the one in your Mac. Then format it using Disk Utility and ensure it uses the GUID Partition Table partition map scheme. (If not, click the Partition tab, select 1 Partition from Partition Layout, click Options, select GUID Partition Table, click OK, give your drive a name in the Name field, and click Apply.)
5. Clone your Mac
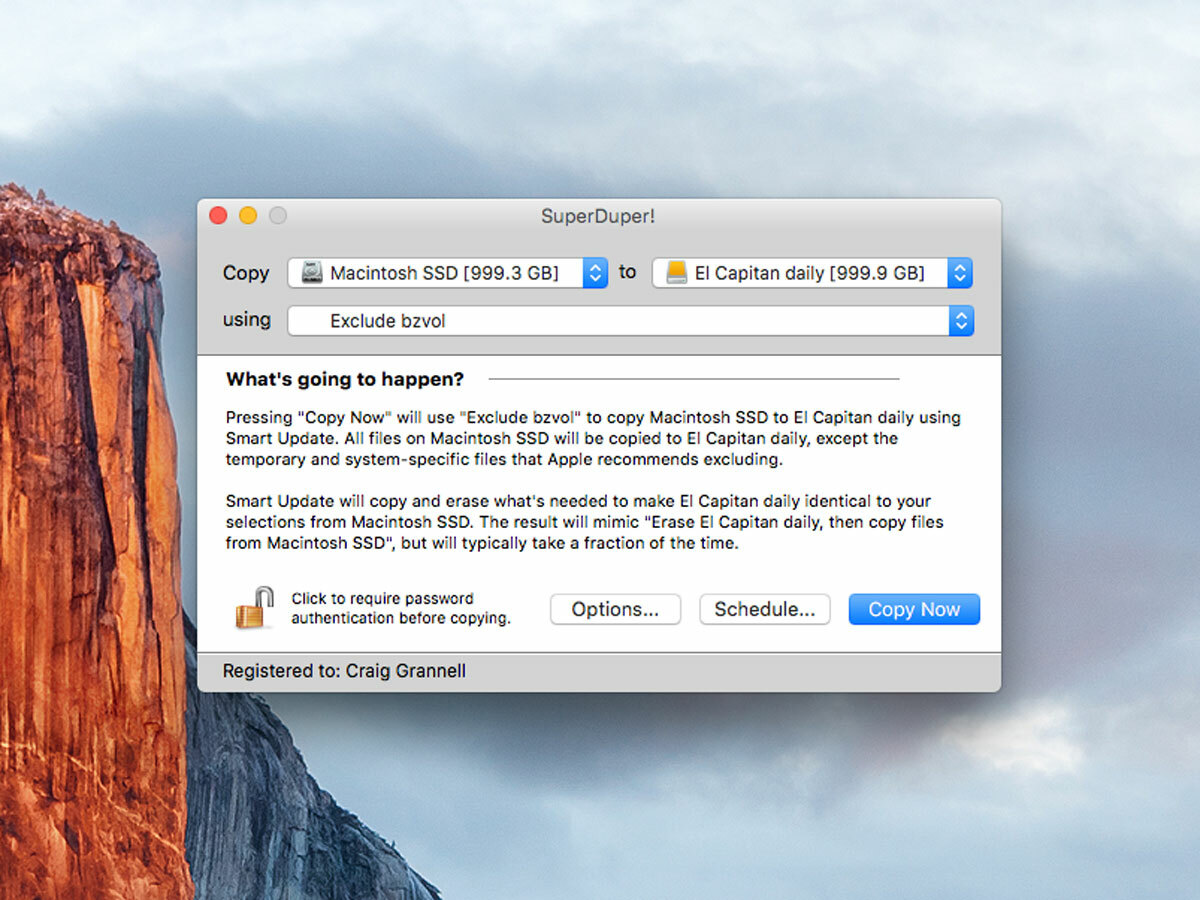
Using SuperDuper! or Carbon Copy Cloner — both reliable and robust products — clone your Mac. With the former, select your Mac’s drive and the back-up from, respectively, the ‘Copy’ and ‘to’ menus, then ‘Backup – all files’ from ‘using’, and click ‘Copy Now’. With Carbon Copy Cloner, choose your Mac’s drive and the back-up from, respectively, ‘Source Disk’ and ‘Target Disk’, and click ‘Clone’.
6. Twiddle your thumbs for a bit
The cloning process can take ages, and it’s a good idea to not be doing anything on your Mac as it occurs. So take a walk! Drink some tea! Play around with some great new apps and games!
7. Make sure everything works
Don’t take it for granted that the clone is viable. Boot into it (selecting the drive via Startup Disk in System Preferences) and poke around a bit. Launch some apps. Ensure everything’s working OK. When satisfied, reboot from your Mac’s internal drive, unmount the clone and bung it safely in a drawer.
8. Install macOS Sierra
Finally! Install macOS Sierra and hope for the best. Even if your Mac isn’t catapulted out of the window and into the heart of the sun, leave your clone alone. You never know when you might happen across a broken or missing piece of data, or find a critical app no longer works.
9. Wonder why upgrading an OS is still so stressful
Because it probably shouldn’t be these days.
10. Feel pity for people whose Macs went splat on update day
But blissfully happy inside that yours didn’t.


