Beta yourself: Home photo studio
Looking to take some pro-looking product photos for your blog or eBay empire? Stuff snapper Jools Whitehorn shows you how to set up a sparkling studio in your spare room
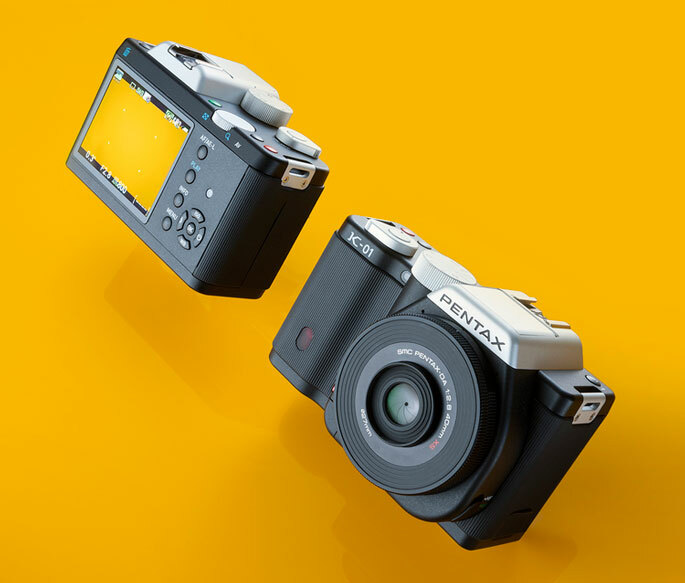
Photography ain’t what it used to be.
With prices tumbling and quality better by the day, you no longer need a DSLR to capture a cracker (check out Apple’s iPhone 6 World Gallery if you don’t believe us), meaning its harder than ever to make your shots stand out from the crowd.
Thankfully, Stuff writer/photographer Jools Whitehorn is here to show you how, with a bit of kit and a few simple techniques, you can take your snaps from Kim Kardashian to David Bailey in your own spare room. Note: this doesn’t apply to selfies…
The basics
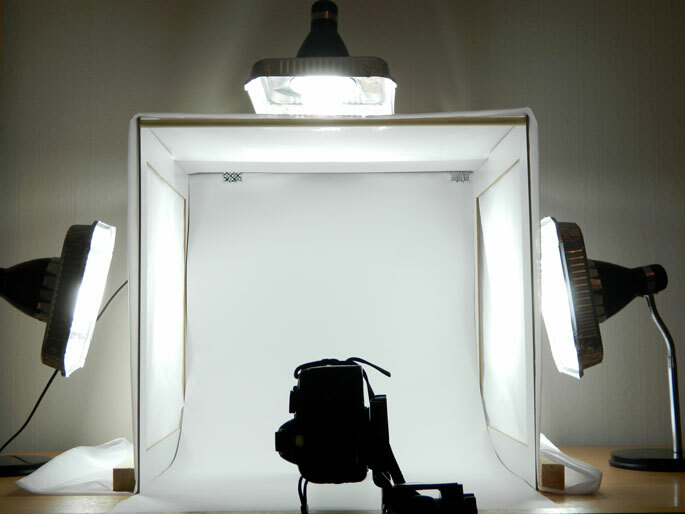
● The most important thing is getting soft, diffused light. Hard shadows have their place but even coverage is best. A constant light source makes this simpler, but is less versatile than flash.
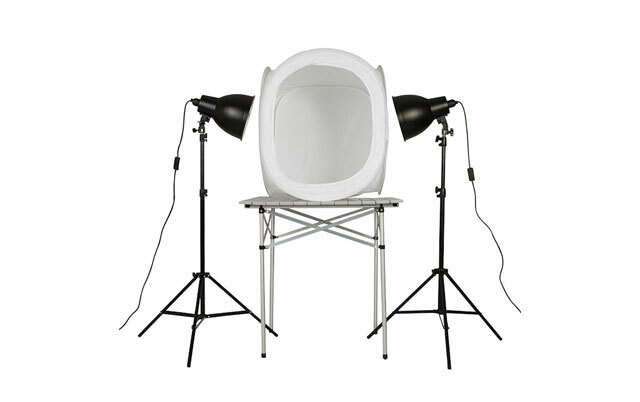
● Start with a small pop-up light tent (like PhotoSel’s 80cm Photo Light Tent, from £42), which surrounds whatever you’re photographing in a lovely light-softening white fabric and is big enough for most small-to-medium items.
● Start with some basic flashes, like the Yongnuo YN 460 (£30). You can set the light output individually and use an ‘optical slave’ mode so that when one goes off, they all go off.
● The key to pin-sharp, easily repeatable shots is to set your camera up on a tripod. Manfrotto’s Compact Series tripod (£50) comes with a quick-adjust head for swapping between portrait and landscape.
● You’ll need to directly trigger at least one flash, using either a long cable or a remote trigger system like the Phottix Strato 2 5-in-1 Trigger Set (£85), which lets you position your flash up to 150m away.
● A large sheet of thick paper is great for making an ‘infinite’ backdrop. Simply curve it from the table surface up to the wall or any vertical object and fix it there with clips or tape.
Smartphone democracy › How photography is becoming every man’s game
Setting up
● You’ll need enough space to use a focal length of 50mm or more on a full-frame camera. High ceilings are helpful too.
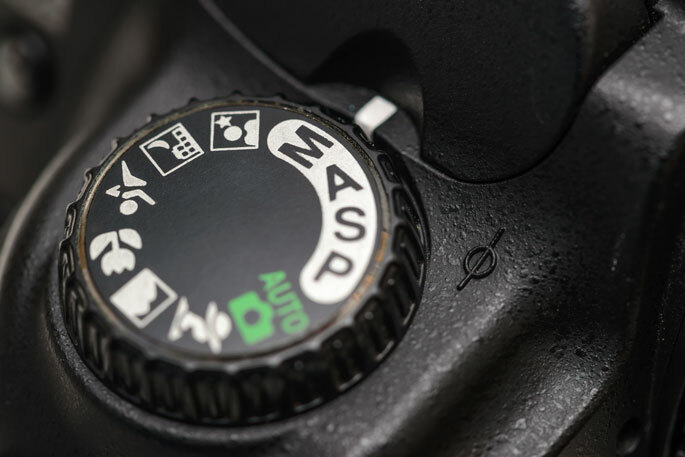
● Set to manual: this lets you adjust things a little at a time. Set to auto and the camera will try to guess what you want, which leads to wildly variable results.
● You’ll want an aperture of around f/8-f/11, as the lens tends to achieve sharpest results around this area. You can also combine multiple shots in Photoshop, a process known as focus stacking.
Light controls
● Set up your shot with a window to one side and a diffuser in front of it. To cut out the light completely, get a good set of curtains… or work after dark.
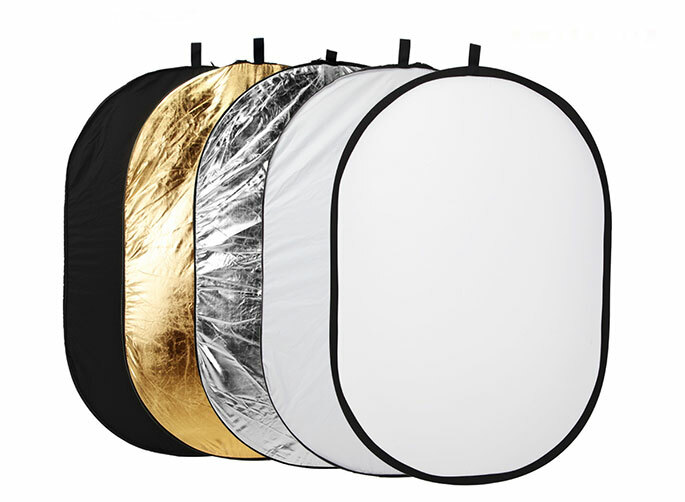
● Reflective objects are some of the hardest to photograph. You’ll need to surround the object with black or white reflectors to manage the shape of the highlights.
● Shiny objects benefit from hard (direct) light to bring out highlights and edges. It’s also adds a bit of drama.
Exercise
1 Decide how you want your subject positioned. Only then can you move on to perfecting lighting.
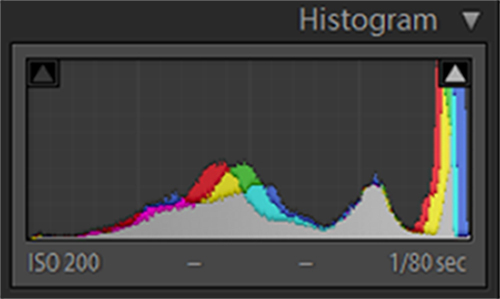
2 Check it’s in focus, then transfer your shots to a laptop. Most brands have their own software, but Adobe Lightroom (£100) is worth splashing out on.
3 Give the object a good clean and take your final shots. Depending on the result you want, you can then give them a tweak in Lightroom or Photoshop to get the exposure right and remove any blemishes.
You need to focus › Or do you? Meet the inventors re-imagining cameras
Mixing it up
● Sitting your object on a sheet of glass can do wonders, revealing hidden details and adding depth. Use clear glass on white paper or spray-paint the back black.
● For product 360°s or animated GIFs, use a turntable. Mark the edge every 10°. Then take a shot, turn to the next mark and repeat. Test the lighting to make sure it works well from all angles.
● Try out coloured backdrops, or transparent film over the flash to alter a white background.
Push it further › Geek Projects Special: Photography
Level up with…

THE BOOK: TABLETOP PHOTOGRAPHY
Taking a low-cost approach to small-scale studio photography, this book outlines techniques that you can reproduce at home and will scale up as you progress. Particularly handy are the guides to making DIY accessories, including a honeycomb filter for your flash, which could save you £50.
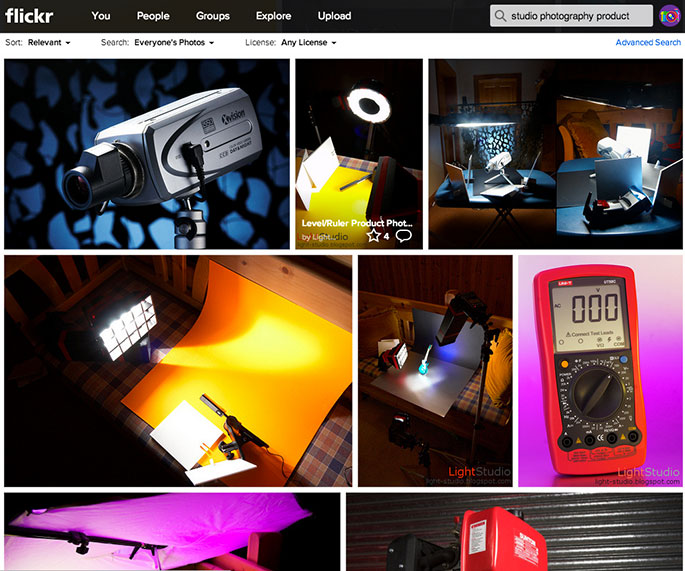
THE PEOPLE’S GALLERY: FLICKR
It’s easy to forget that whatever you’re trying to shoot, someone else has definitely tried to shoot before. A little browsing can turn up some behind-the-scenes shots of other people’s lighting setups to help you work out how to get the look you want, or simply give you inspiration on effects to use or angles to try.
THE BLOG: STROBIST
For getting into flash photography of all kinds, the long-running Strobist blog has bags of tips on techniques and gear for all kinds of picture types from tabletop to portrait and beyond. Beginners should start with its Lighting 101 section, then go to ‘On Assignment’ to see those tips used in practice.
Feeling inspired? › Beta your smartphone photography
 StuffTV