So you just got… an Apple Watch
You’re the lucky new owner of the finest smartwatch yet made – here’s how to get the most out of it on Day One
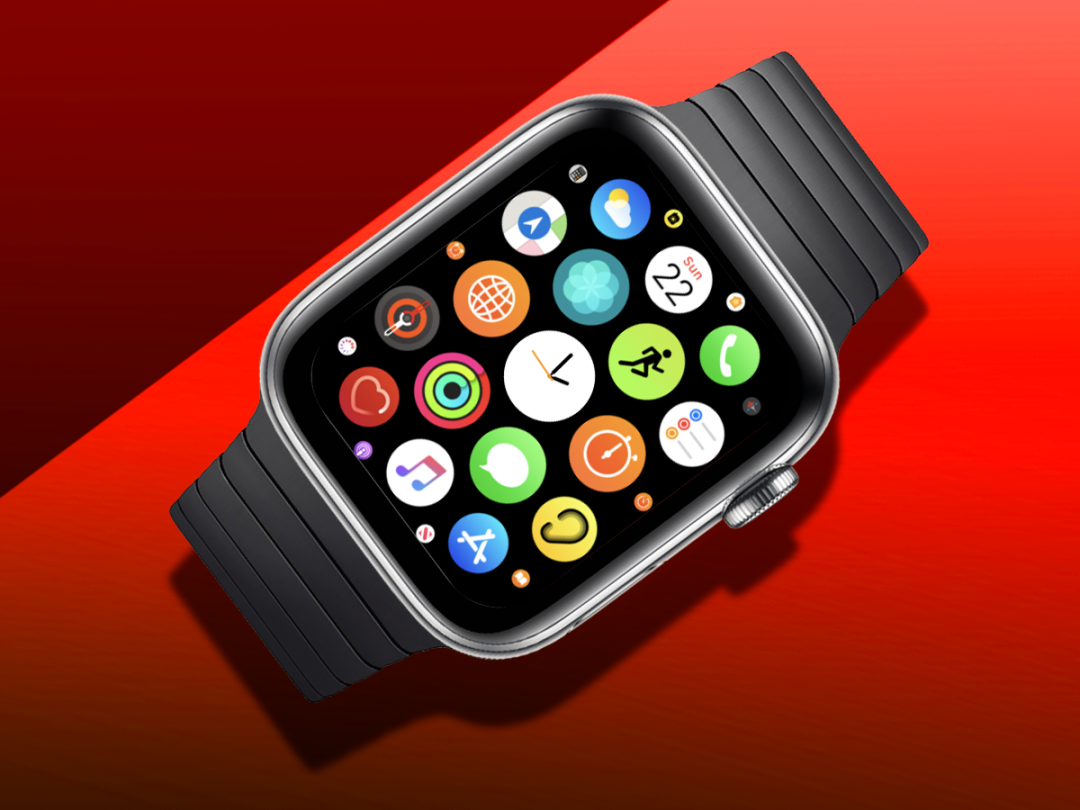
The Apple Watch is the best smartwatch you can buy, so congratulations. You have the best piece of wrist-based tech going.
If you don’t have an iPhone though then we hope you or whoever was nice enough to buy it for you kept the receipt. The Apple Watch only works with a paired iPhone – not an Android phone. Presuming you’re a lover of all things Steve Jobs then please proceed.
Series 5 watches and later have an always-on display, so now it always shows the time and other information. No longer is it a dormant, expensive black pebble when not in active use. Models like the Apple Watch Series 7, released in 2021, delivers everything a smartwatch should, but now for a price of around £300. Most of getting used to the Apple Watch is in the setup process.
In this handy guide we’ll walk you through the setup as well as the first four things you should do to make your Apple Watch more useful and more yours.
1) Pair your Apple Watch with your iPhone
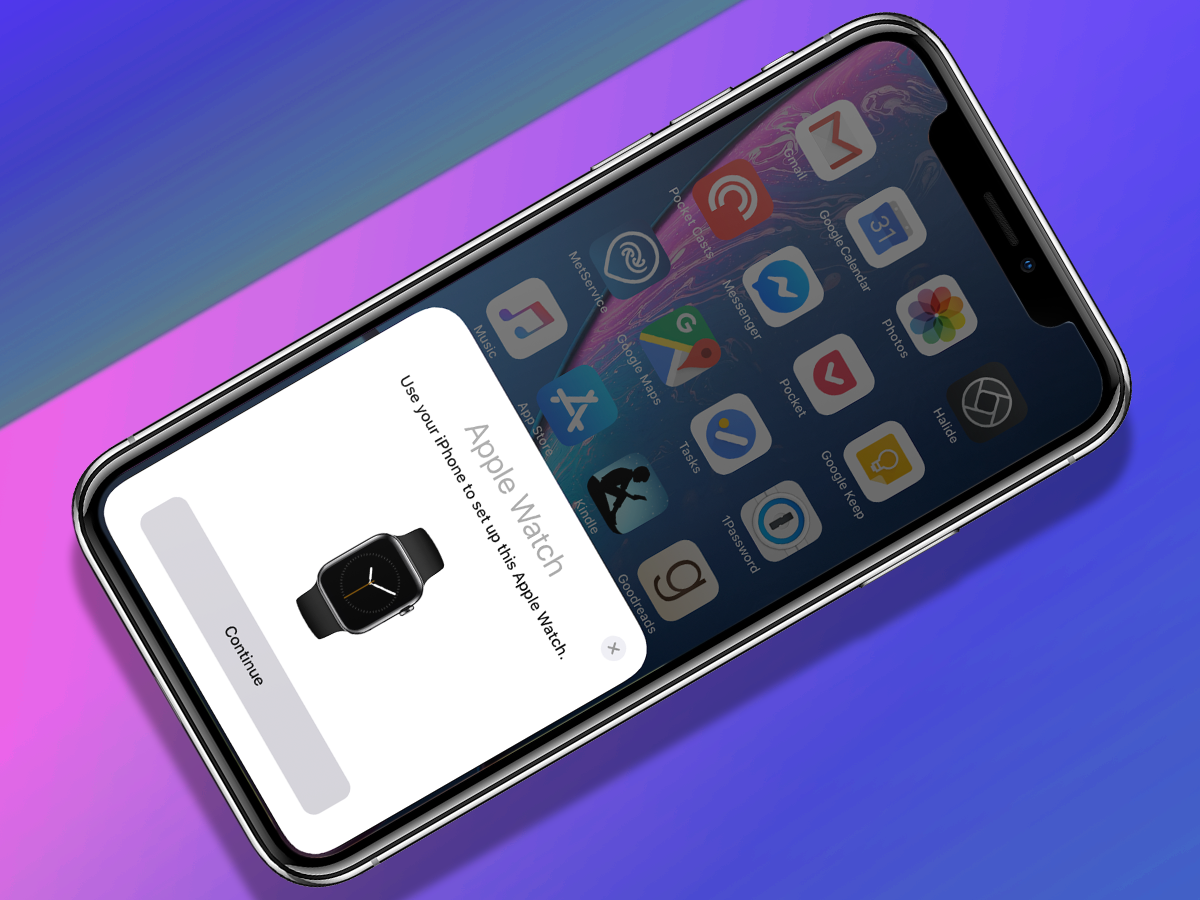
This stage is fairly long and a little daunting if you haven’t done it before. It’s also where you’ll setup several features like Apple Pay, and where you’ll choose the settings that work best for you.
To start, turn on your Apple Watch by pressing holding the pill-shaped button the right edge. It’ll soon tell you to bring it close to your iPhone – unlock your iPhone and you’ll get a pop up prompting you to pair. Then a clever part – a swirl of glitter and dust will whirl around the Watch’s screen. Use your iPhone’s camera to scan it.
You’ll then be asked whether or not you want to set up the Watch from a backup, or as a new Watch. Unless you’re upgrading from an older Watch and have owned one before, you’re most likely going to set up as new.
Pick which wrist you wear your Watch on, and then agree to the terms and conditions. You can also sign into the iTunes Store to access Apple Music on your new Watch. Additionally, the setup will prompt you to sign into your Apple ID and whether you want to share data with Apple. Unlike other services, you really will get the most out of your Apple Watch if you say yes and sign into everything.
You can also create a passcode – something you’ll have to tap in every time you put your Watch on to unlock it, but it’s compulsory if you want to use Apple Pay. It also keeps all your data secure if you lose your Watch. Go through the rest of the setup, adding Apple Pay if you have a bank that’s supported and installing all available apps. Tap this, and your iPhone will add every companion Watch app from the apps on your iPhone.
From here, just wait until the screen says, ‘Press the Digital Crown to start’, and you’re off.
2) Change the app layout to List View
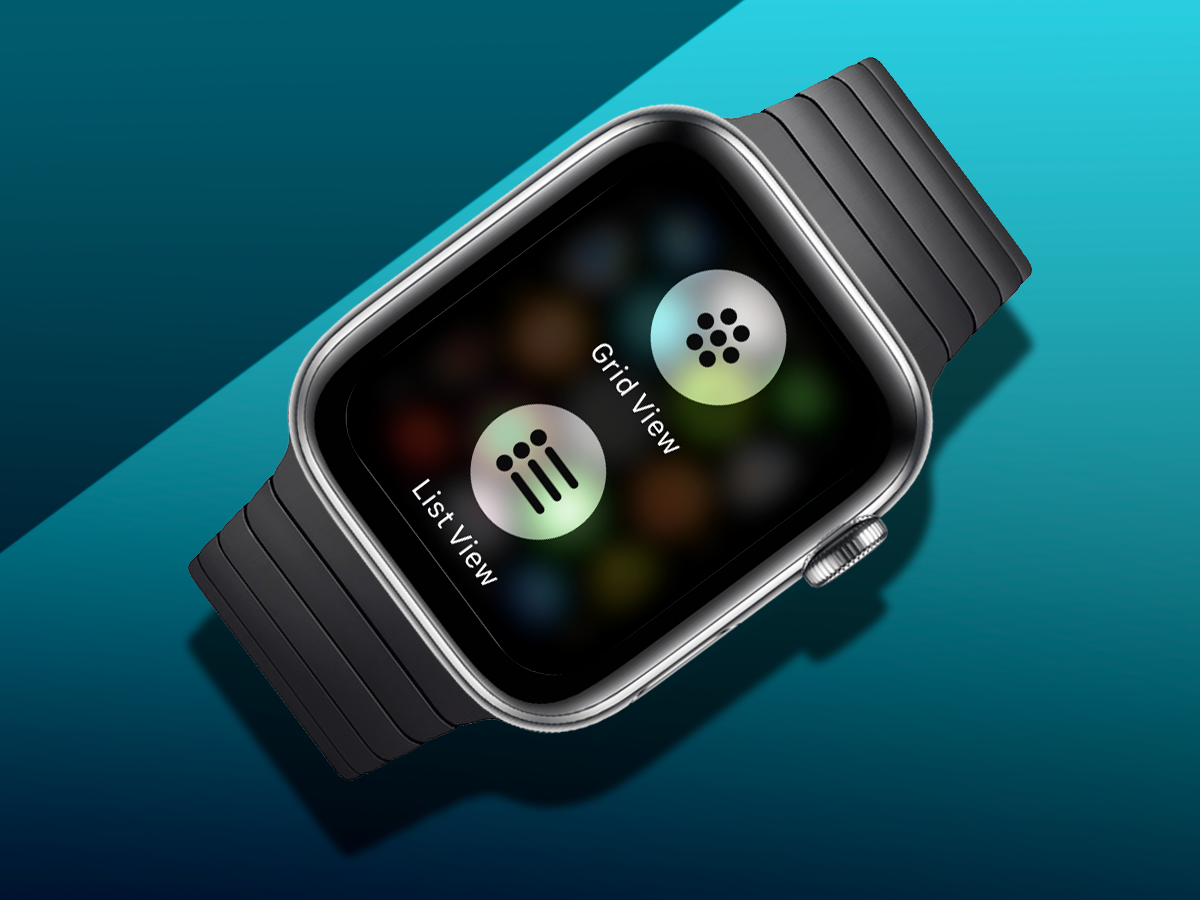
When you press the Digital Crown on the Apple Watch you’ll see the now-famous honeycomb grid of apps. Some don’t like it, but we’ve grown to love it – but it can still be hard to find some apps.
Even before you’ve installed any extra apps it’s so hard to see which app is which. Thankfully there is an alternative. Press the Digital Crown to bring up the apps, then press hard down on the display. The Apple Watch has Force Touch where you can sometimes access extra features with a hard press as opposed to a tap or long-press. Force Touch the display, and then tap List View to change the app page to a scrolling list with names of the apps next to them. Ah, much better.
3) Download apps
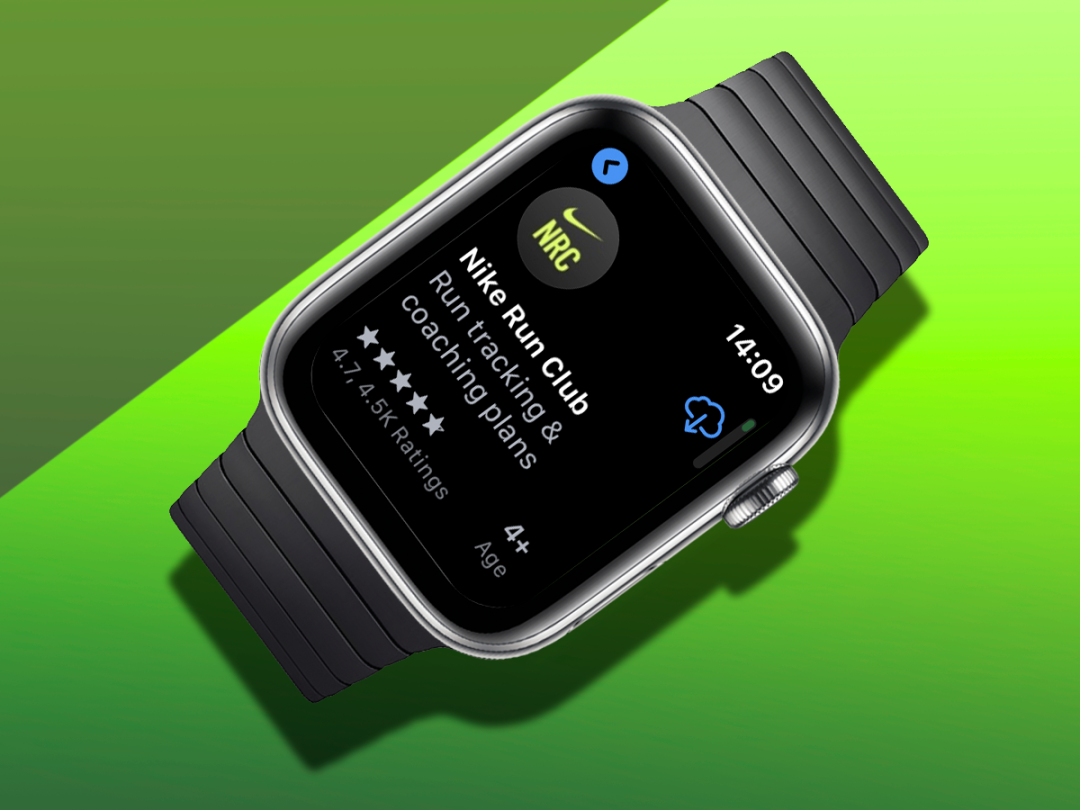
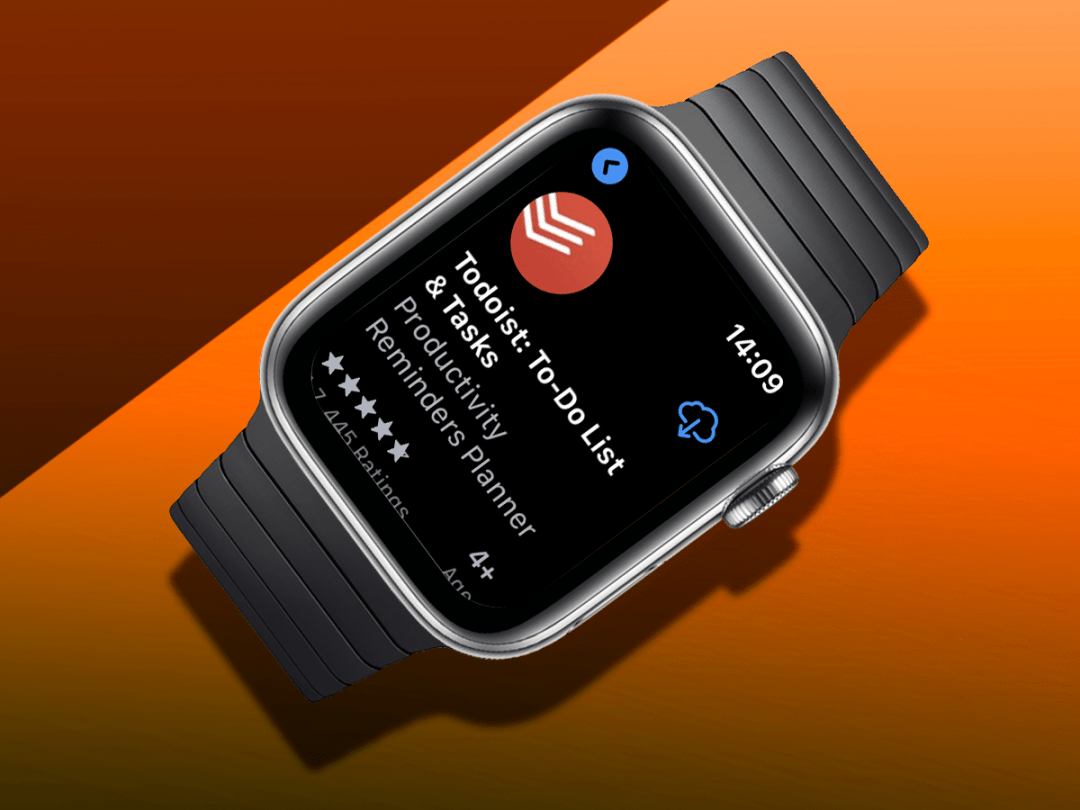
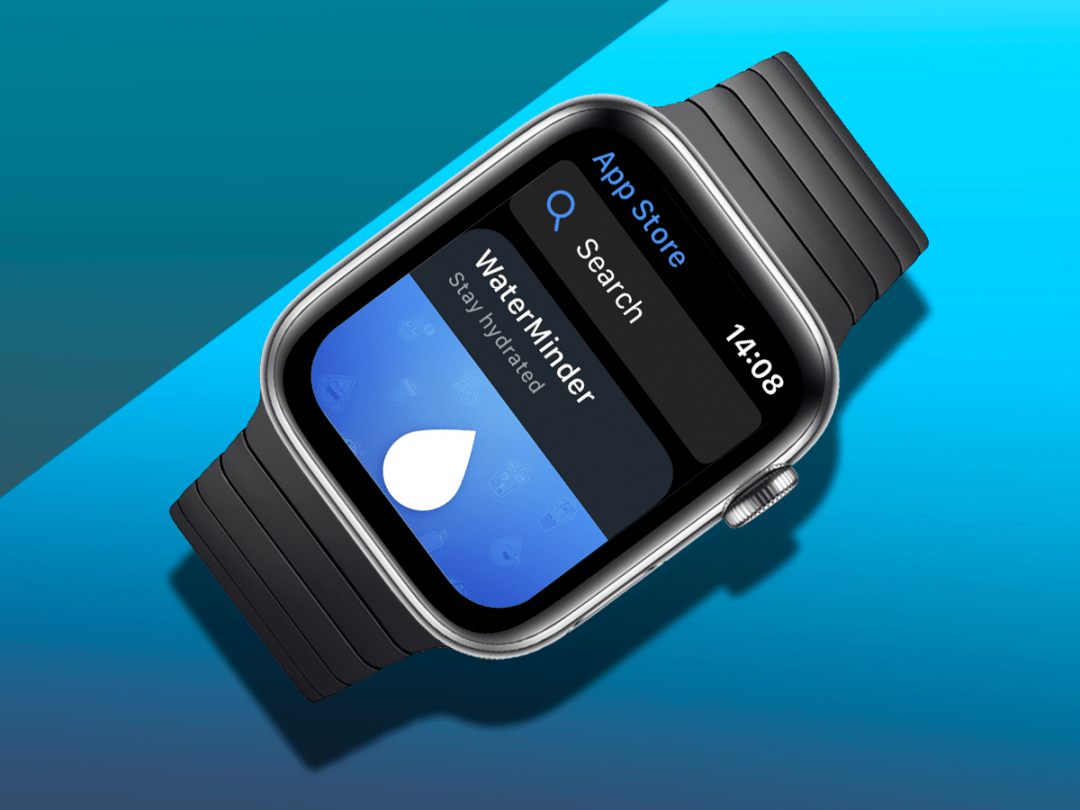
You may have chosen to install your iPhone apps’ companion Watch apps during setup, in which case you’ll have a lot of apps on your Watch. But nowadays, you can download apps directly using the Watch rather than having to do it on your iPhone.
Having an App Store directly on the Watch is great because every app you browse is obviously compatible. On the iPhone App Store, you can search by Watch app, but sometimes it’s easier just to do it on the Watch, Press the Digital Crown and open the App Store.
From here the Watch will surface some cool apps for you, or you can use the Search function to get downloading. We recommend Pocket Casts for an excellent on-wrist podcast experience, Nike Run Club for community-based fitness tracking and ToDoist for an awesome productivity and reminders app – each are excellent on iPhone and are then improved by having access to them on Apple Watch. And if you’re hungry for more, we’ve listed all the Apple Watch apps we use, so you’ll find something you like there.
They showcase using the Watch as a media remote control (Pocket Casts), using it to track your workouts (Nike Run Club), and an always-with-you reminders list (ToDoist). Once you start seeing how the Apple Watch can make small improvements to your day like this, you’ll become obsessed with finding the next app that works for your interests and routine.
4) Use Raise to Speak
Now to make your Watch extra useful. We love that you can use a function called Raise to Speak, where the Watch will detect the motion of you bringing it to your mouth, activating Siri. You can then make a Siri request without saying ‘Hey Siri’.
It’s on by default, but to check, on your Watch go to Settings > Siri and make sure it’s toggled on. We like using the feature when cooking to set timers, but it’s also useful to ask a quick question about something or to check something like what’s next on your calendar if you need to be concentrating while driving, for instance.
5) Strap up
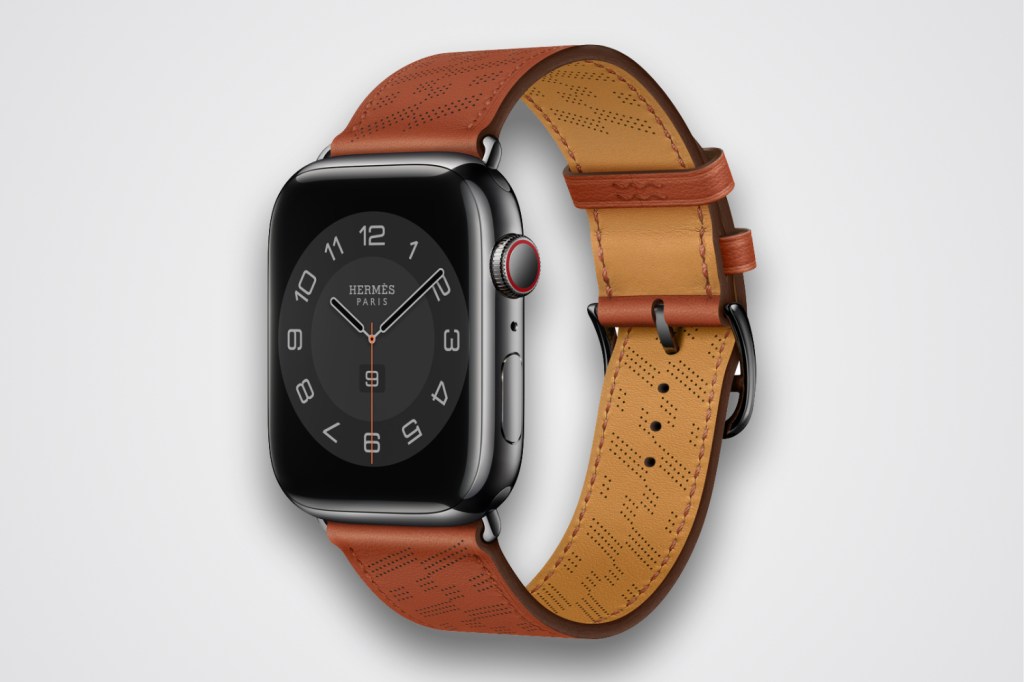
The Apple Watch comes with so many straps we dedicated a whole article to personalising your piece.
There are simple rubber straps to metal ones. You can spend a little or a lot. Some straps a great for sports and soaking up sweat, while others, like the Hermès Leather Strap, caters to a more up market client. Most options we’ve featured before will fit the standard Apple Watch Series 7 onwards (with the 41mm and 45mm sizes), and the pricier Apple Watch Ultra.


