How to use a VPN on your Android phone
Safeguard your searches with our guide to setting up a VPN on Android

Trying to fiddle with almost any element of home networking is a headache. But getting a VPN to work on your phone? It’s a doddle. Any of the best VPN services we’d recommend using these days has its own app, and will virtually handle the entire setup process for you.
You might need to look a little deeper into where this configuration info ends up, in case you need to alter your settings manually. We can help with that, and before you know it you’ll be securely surfing the internet on your Android in no time.
From there, you can surf the web or use one of the best streaming services to stream to your heart’s content.
Read on to find out how you can get VPN services set up on your phone. There may be a few elements in this process that’ll vary depending on the Android phone you own, and the VPN service you choose to use. We’ll let you know if that’s the case.
Step one: download the right app
Open up Google Play and search for the VPN service you are looking to use. Download its companion app.
- Not sure which VPN app is best for you? No problem. Our guide to both the best paid for VPN and best free VPN will give you all the info you need to get started.
Step two: create an account
Once you open up the VPN app you will likely be asked to create an account. The usual rules apply here — don’t use the same password as you use for the email account you are linking the VPN service to. Obviously.
Don’t fancy yet another membership? Hotspot Shield is a VPN that lets you try its free service with no sign-up at all. However, you are limited to 15 minutes of access in exchange for viewing an ad, and can only get reconnected after that by watching another ad.
Step Three: the VPN setup process
A connection request pop-up should appear on your phone screen as part of the setup process. This will warn you that you should only accept this request if your trust the source, which in this case is the VPN service.
It’s a sensible warning, as the VPN acts as a middle man between your phone and the sites you choose to access. They know what you are searching for, even if you phone provider does not. However, we’re not going to get anywhere unless we agree to connection access.
Step Four: basic experience
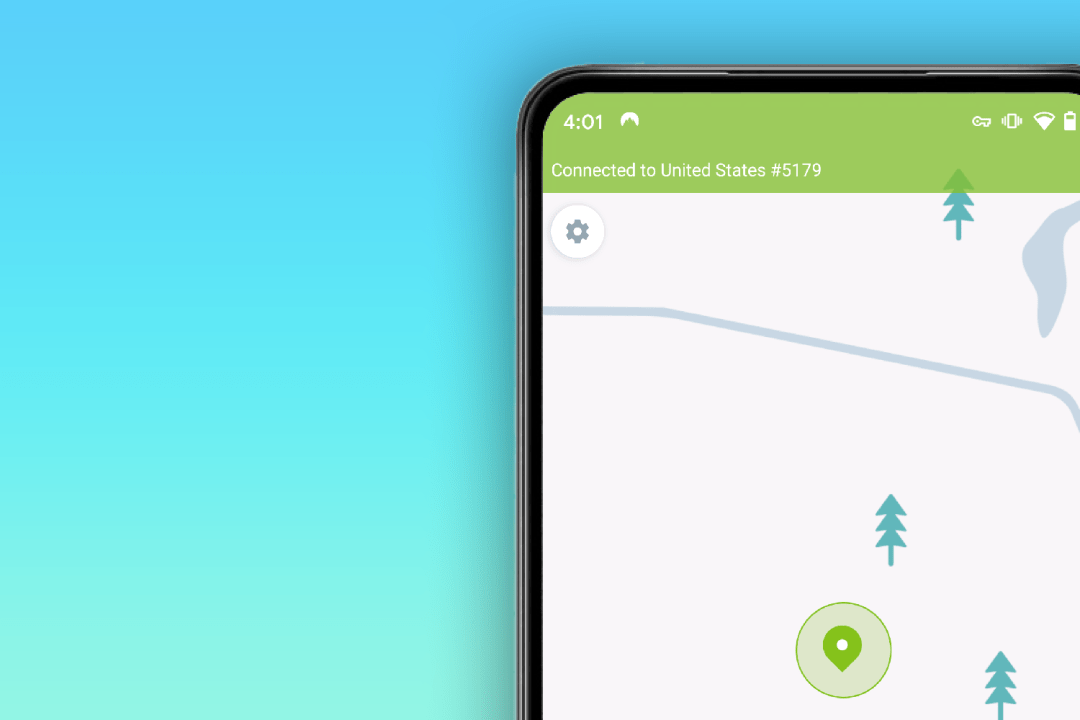
After you accept that connection request, your Android phone will start accessing the internet through your VPN. While active, you will still see an icon at the top of the screen.
The default is a little key. But in our Xiaomi test phone, it is actually a little box that explicitly states ‘VPN’, up among your other notification icons.
Step five: customising your VPN

The features differ, but a key thing to consider when running an Android phone with a VPN is whether you want your internet connection to continue if the VPN can’t connect.
In Settings > Network and Connections > VPN, or similar, you should see a list of the VPN networks you have setup on your phone. Tap the arrow icon to access the ‘always on’ VPN mode and the kill switch function, which may be described as ‘block connections without VPN’, or similar.
With these two settings engaged, your phone will only allow internet access when connected to the VPN. You’ll be completely cut off when the VPN is not active.
Step six: advanced customisation
These final tweaks are going to vary depending on the VPN you use, but one of them is crucial. You will want to specify the server you use if you plan on unlocking content not available in your country, or seeing the video streaming library of another country.
If you see a list of country flags in your VPN app, or a map of the world, this is where you choose which server you want to use. You can flick between them freely. A VPN will make it seem to apps and websites that you are in that country.
You may also want to look into ‘trusted’ Wi-Fi networks, handy if you primarily want a VPN to keep you safe and secure when using public Wi-Fi. Not all VPN apps have this feature, but it effectively disables the VPN network when you are connected to certain Wi-FI networks — most likely the one you have at home.


